Create rows in sharepoint from excel using power automate
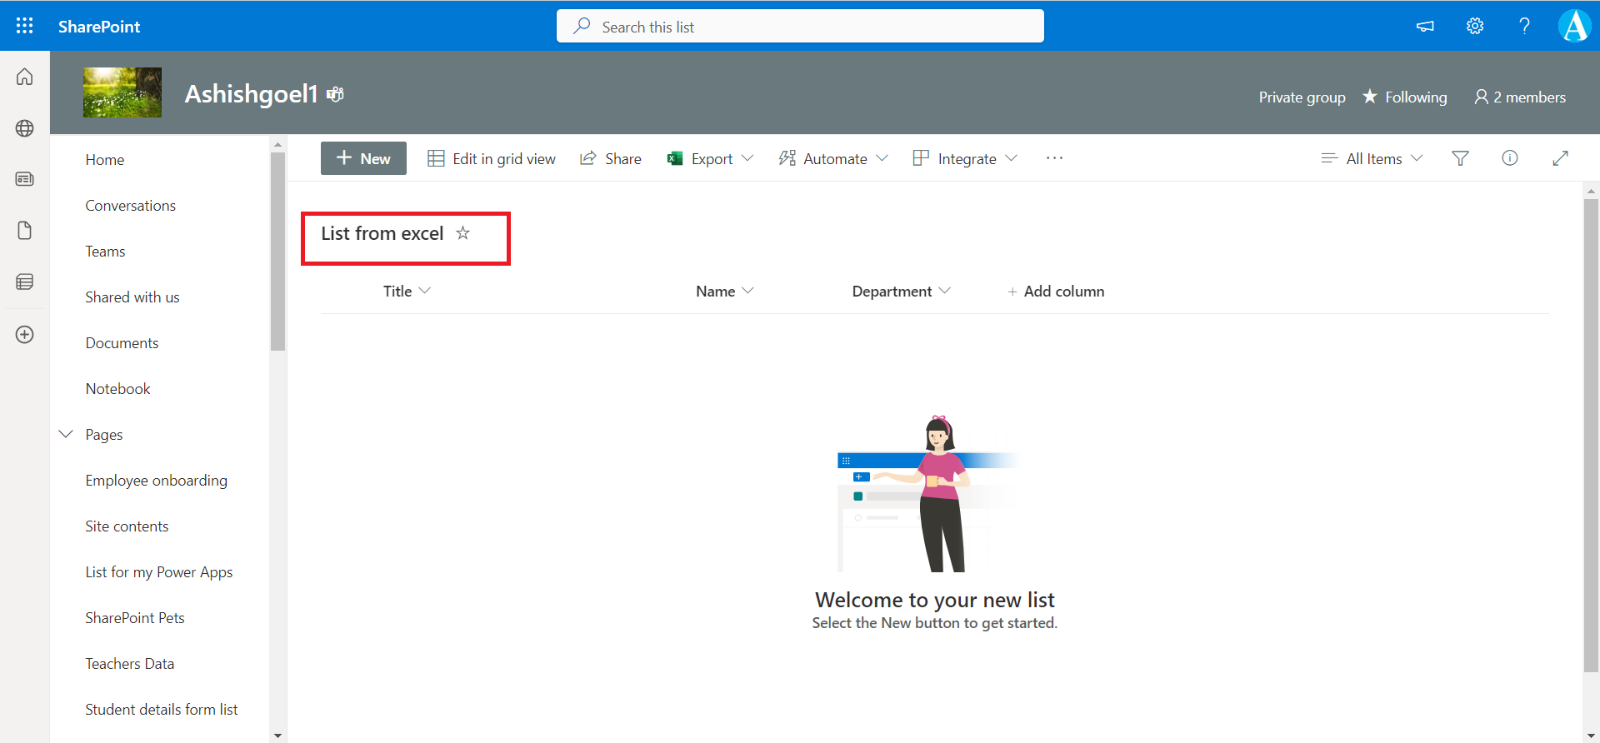
We can create rows in a sharepoint list by using the excel as the data source. We already created a sharepoint list with some columns.
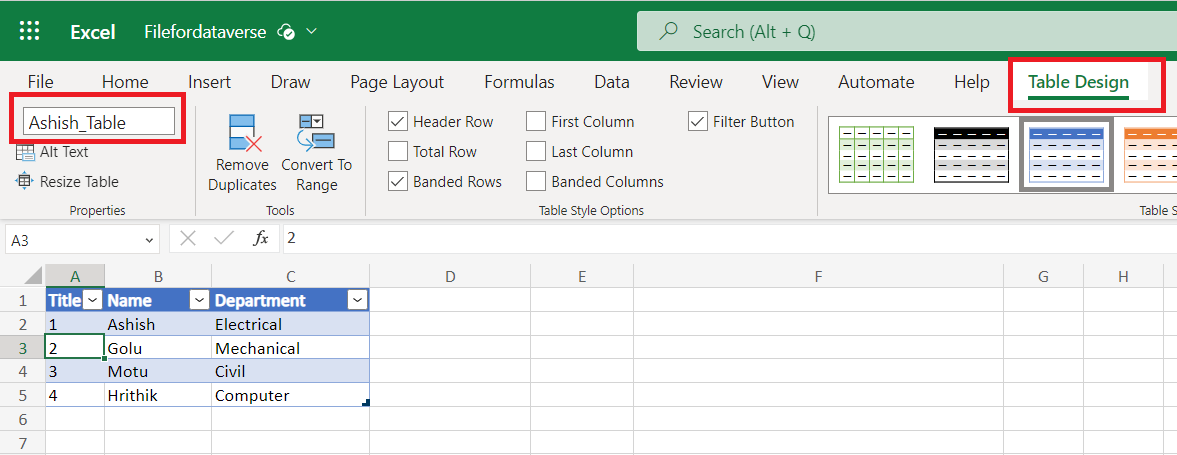
We have an excel file with some data in table Ashish_Table. Here name can be given anything and please note that it is used in the power automate.
Step 1: Go the Power Automate website (https://make.powerautomate.com) and sign in with the Microsoft account or work/school account.
Step 2: Select an action “List rows present in a table”.
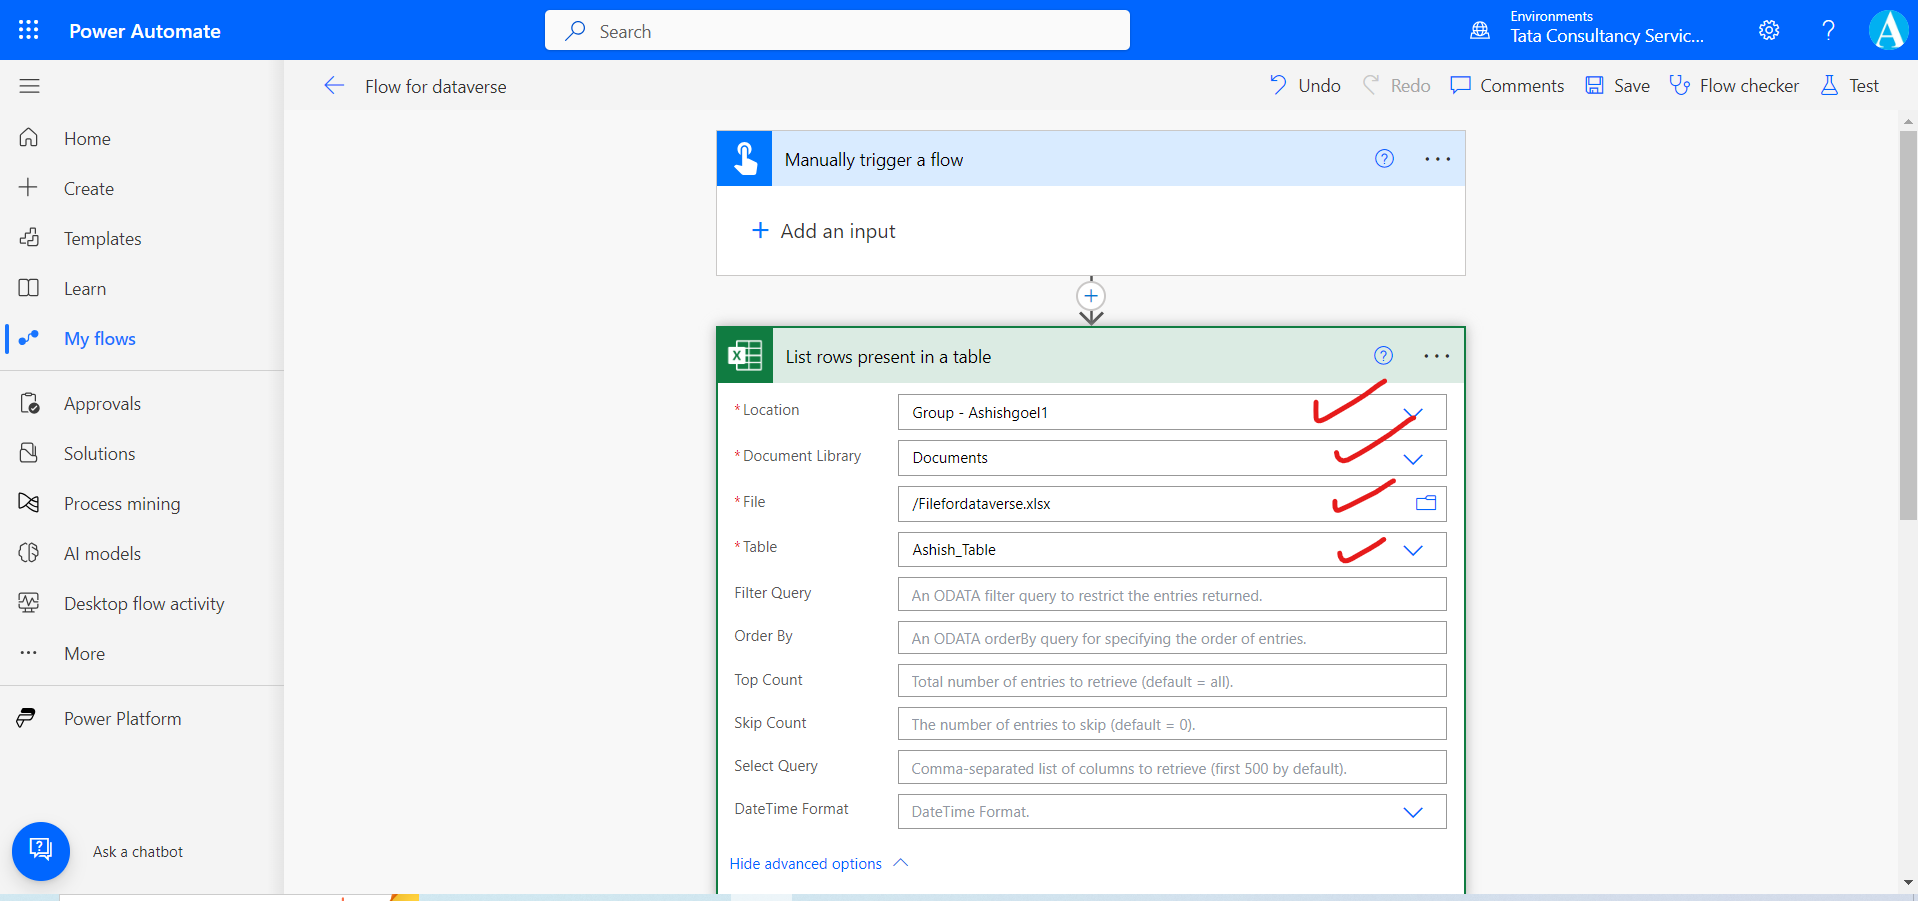
In this action, we need to specify the Location which can be the sharepoint site or the OneDrive or where our file is stored. Select the Document Library and then select the file and select the table because an excel table can contain multiple tables.
Step 3: Add the action “Create item” from the sharepoint section.
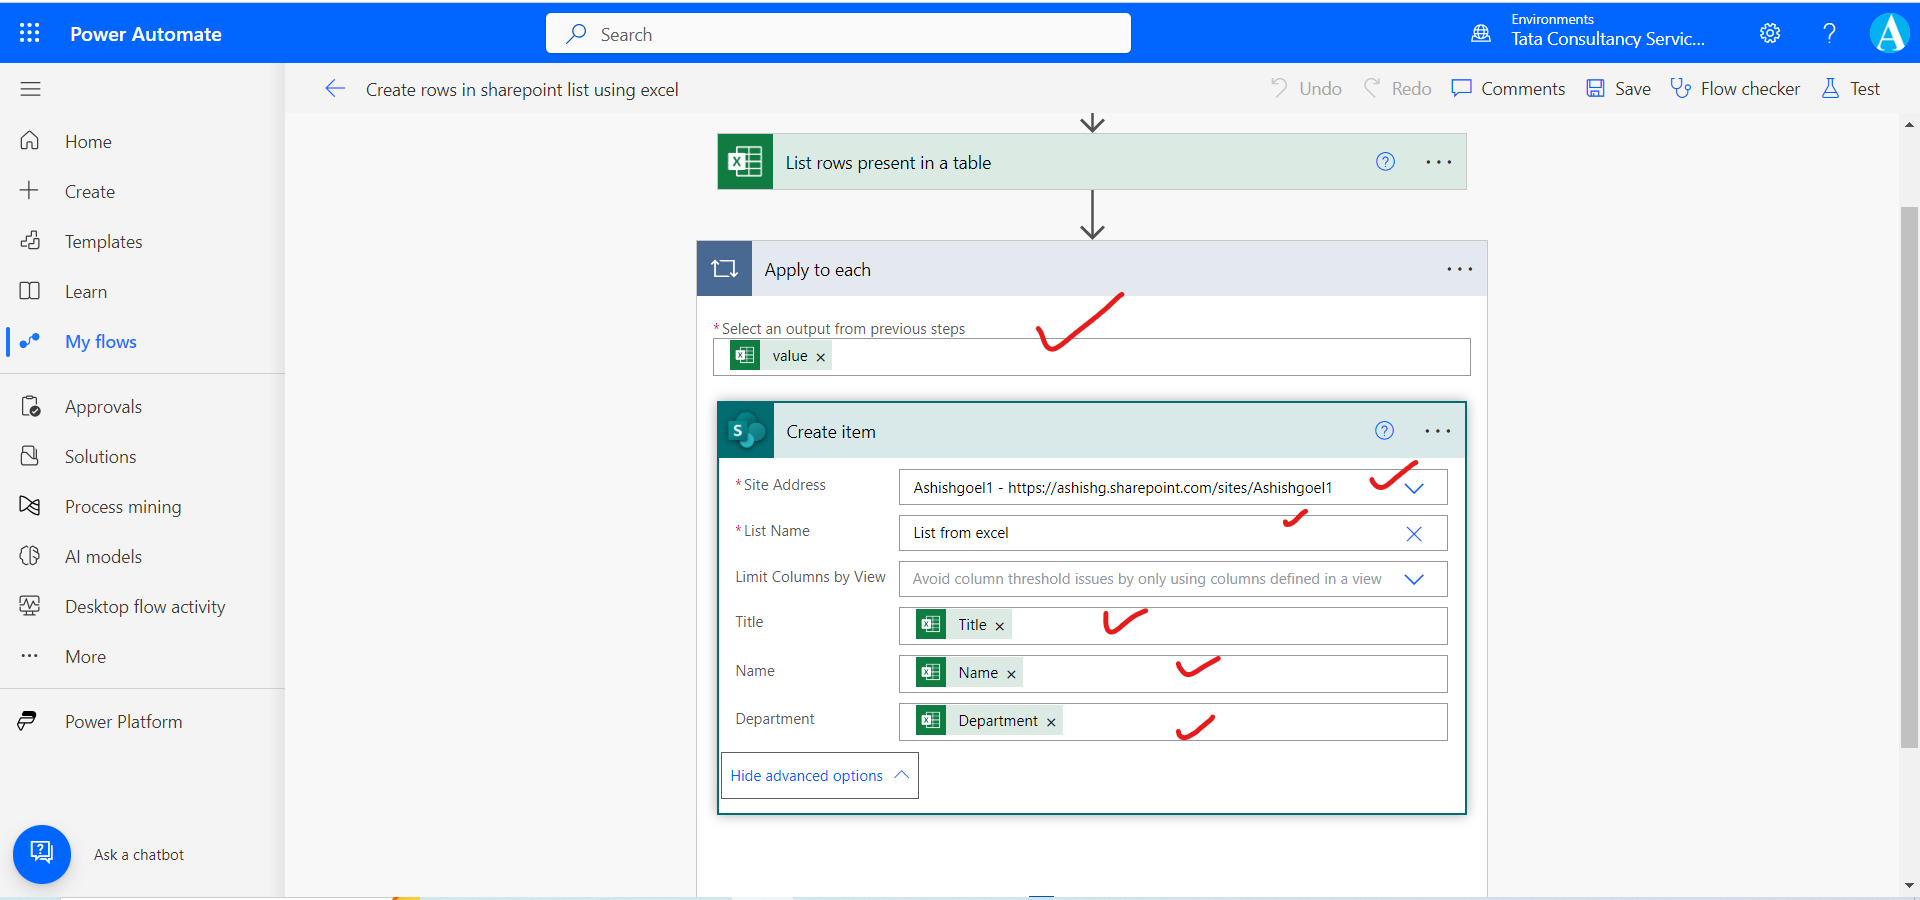
In this action, we need to specify the name of the sharepoint list. And then map the excel table columns with the columns of the sharepoint list.
Step 4: Click on Run to run the flow.
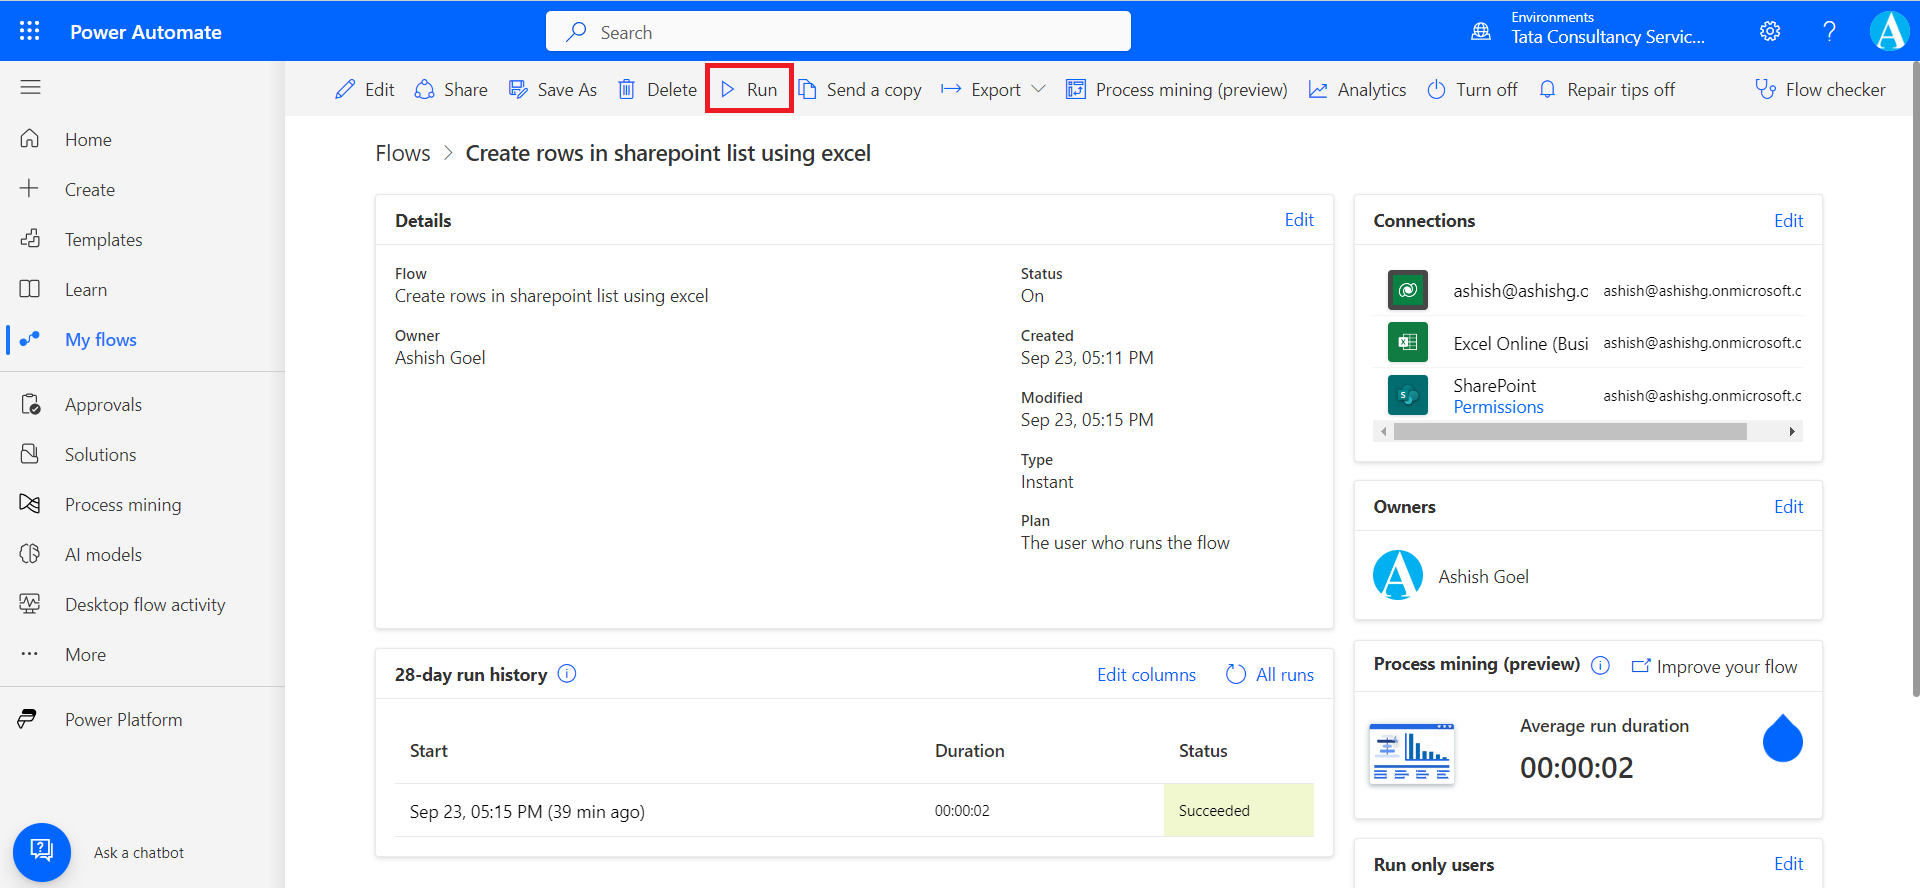
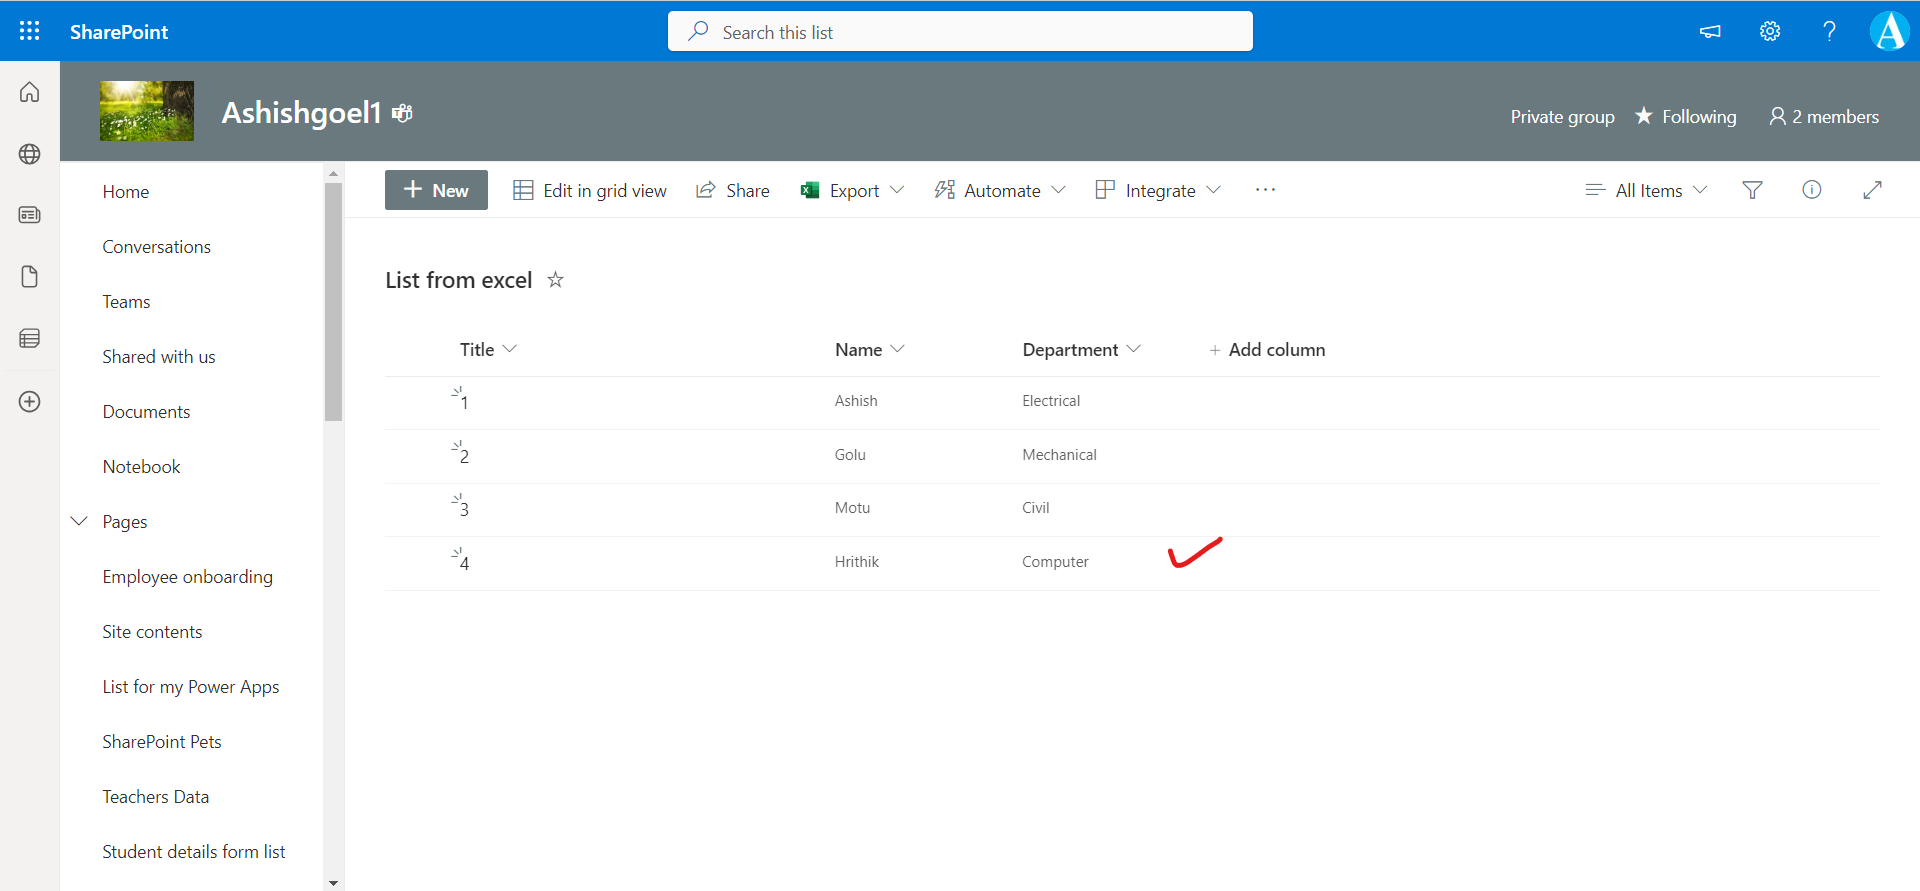
We can see that the data is successfully populated in the sharepoint list.
