SharePoint – For a selected file Trigger
In this exercise, we will learn how we can trigger flows for files directly in SharePoint library. We can use the “For a selected file” trigger for sharepoint to do this.
These flows are categorised in Instant flows. Choose the “For a selected file” trigger for sharepoint in the power automate. There are a following field in this trigger which we need to configure.
• Site address Select the site Address to connect this trigger to that site. • Library Name Within sites, there are multiple libraries, so we need to indicate what library we want to select.
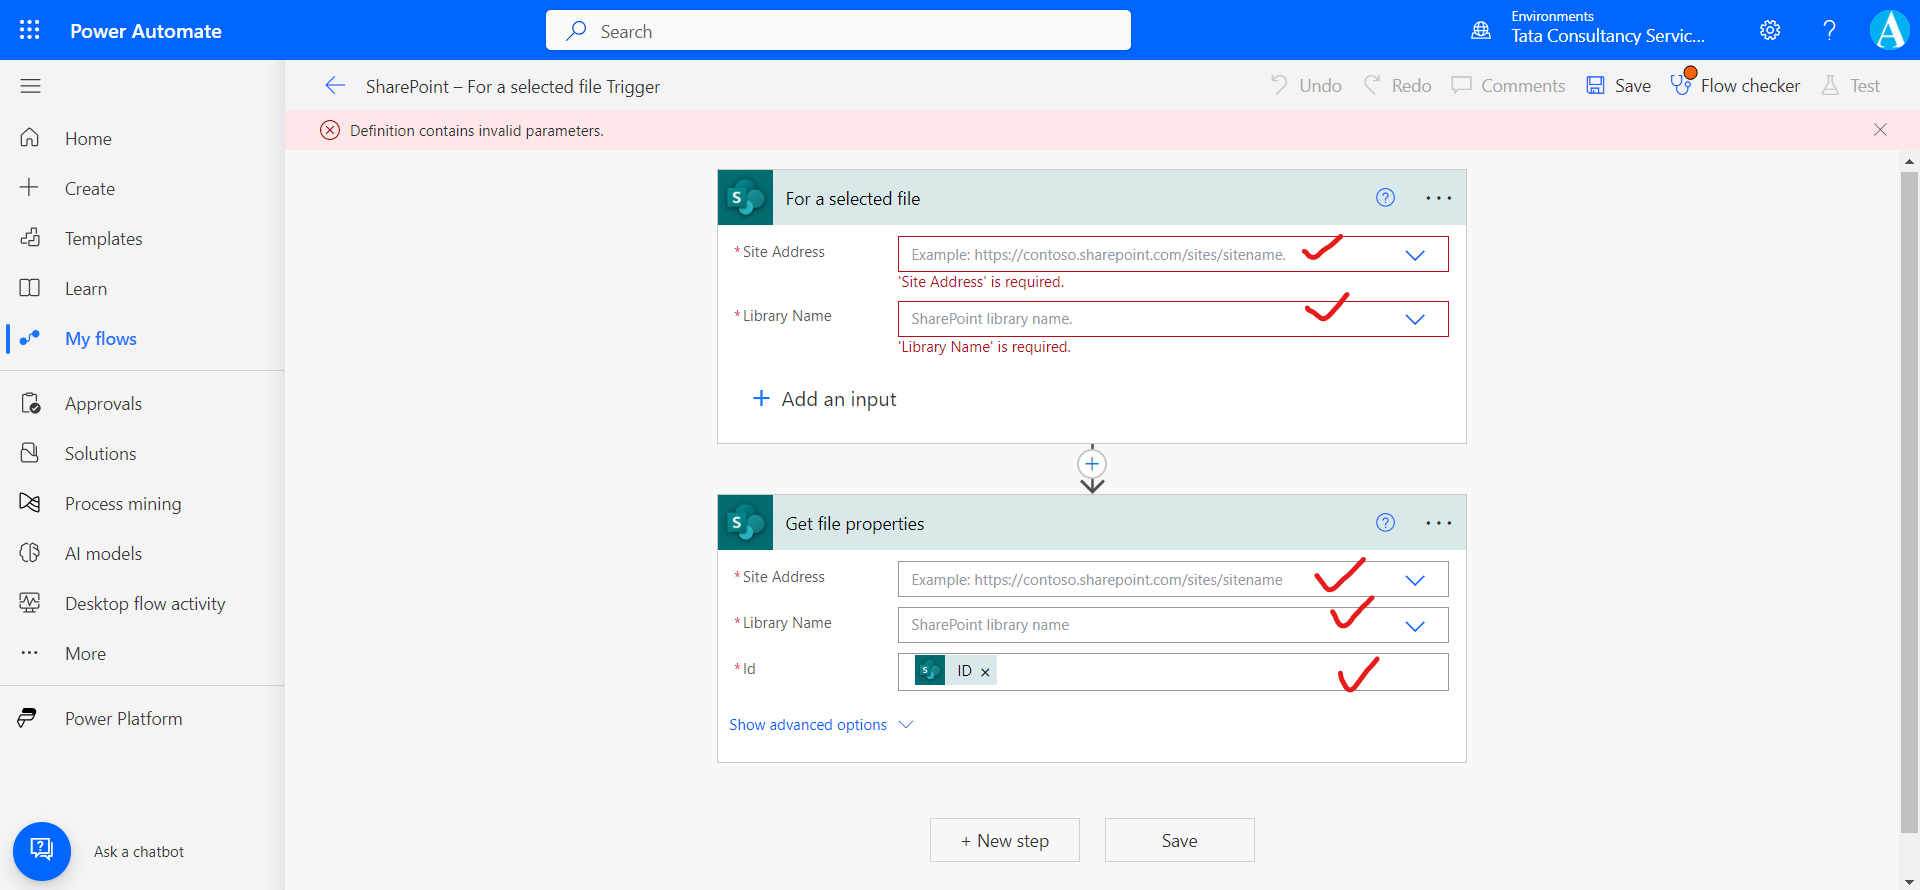
After this one action “Get file properties” is added. This action gets the properties saved in the columns in the library for the item specified by the item id. The item id is getting in our flow by the dynamic expression from the “For a selected file” trigger.
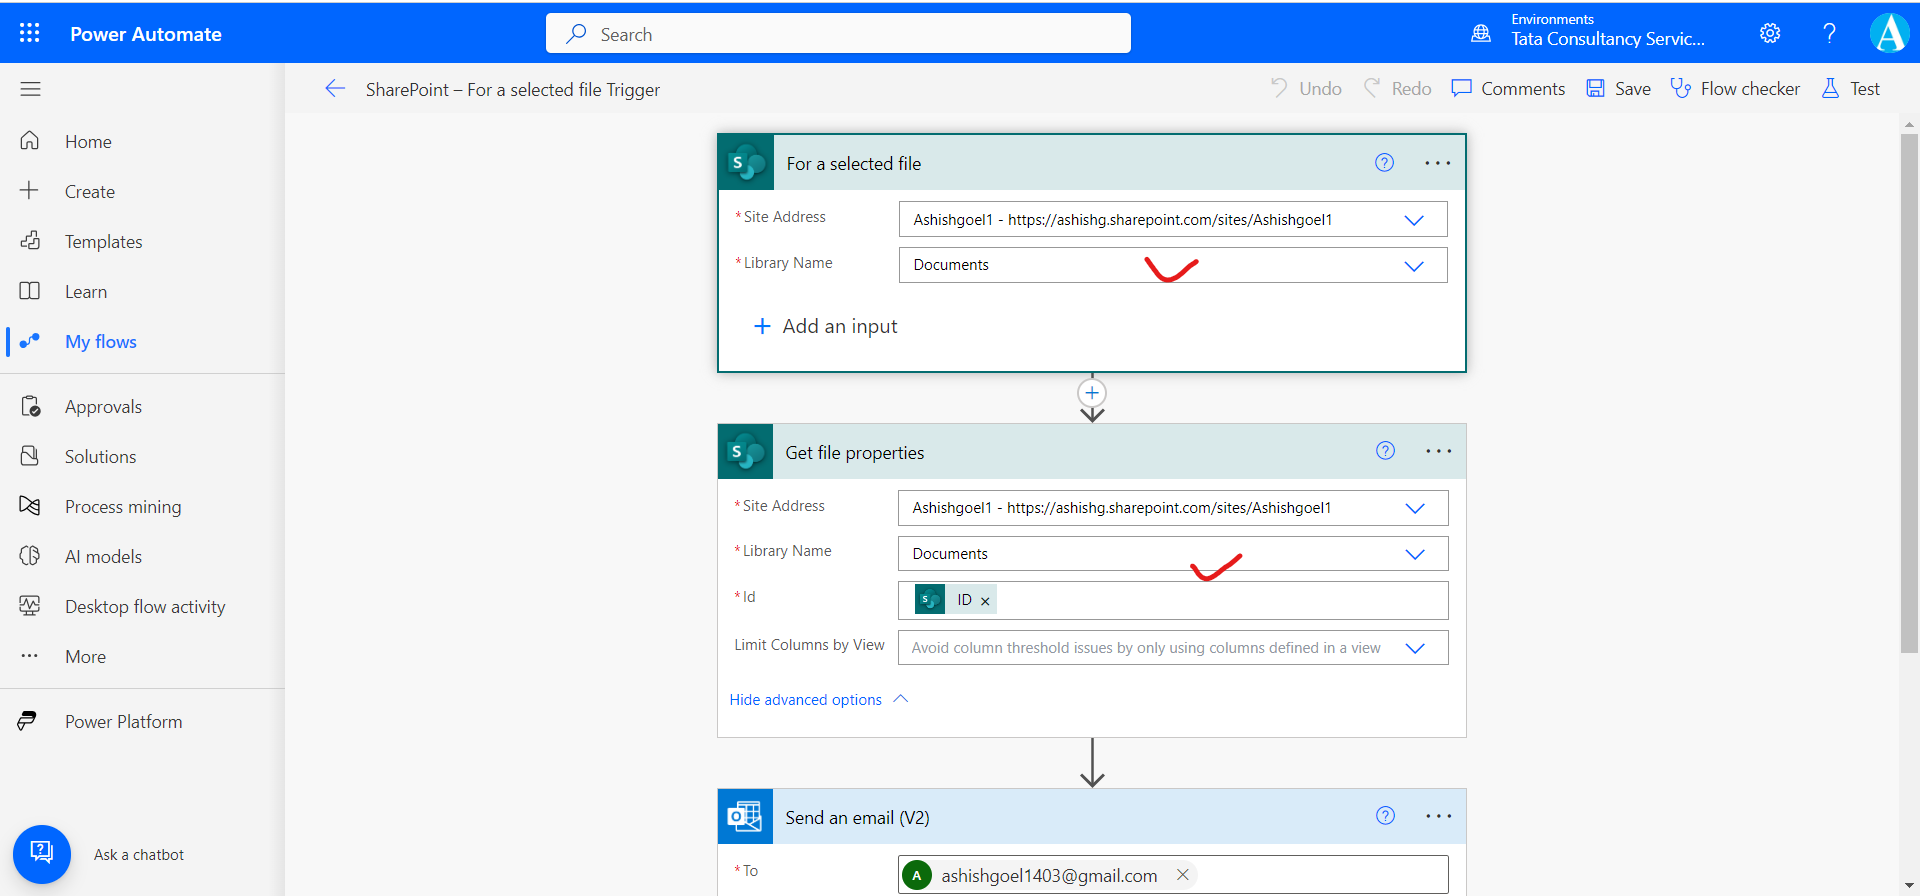
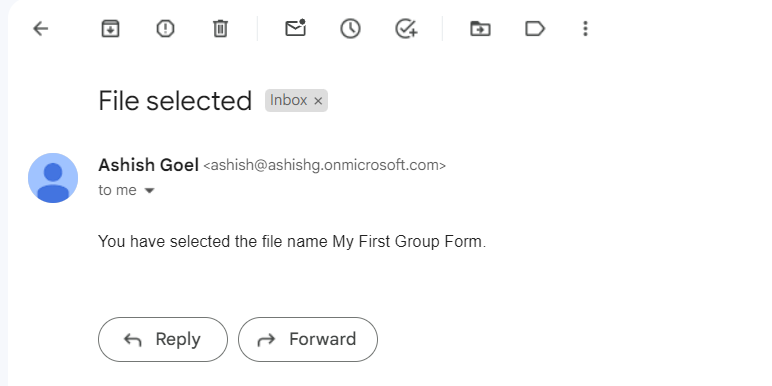
After this add a “Send an email(V2)” connector by the help of this we can send an email. In the email, we are extracting the Name column value of our selected file.
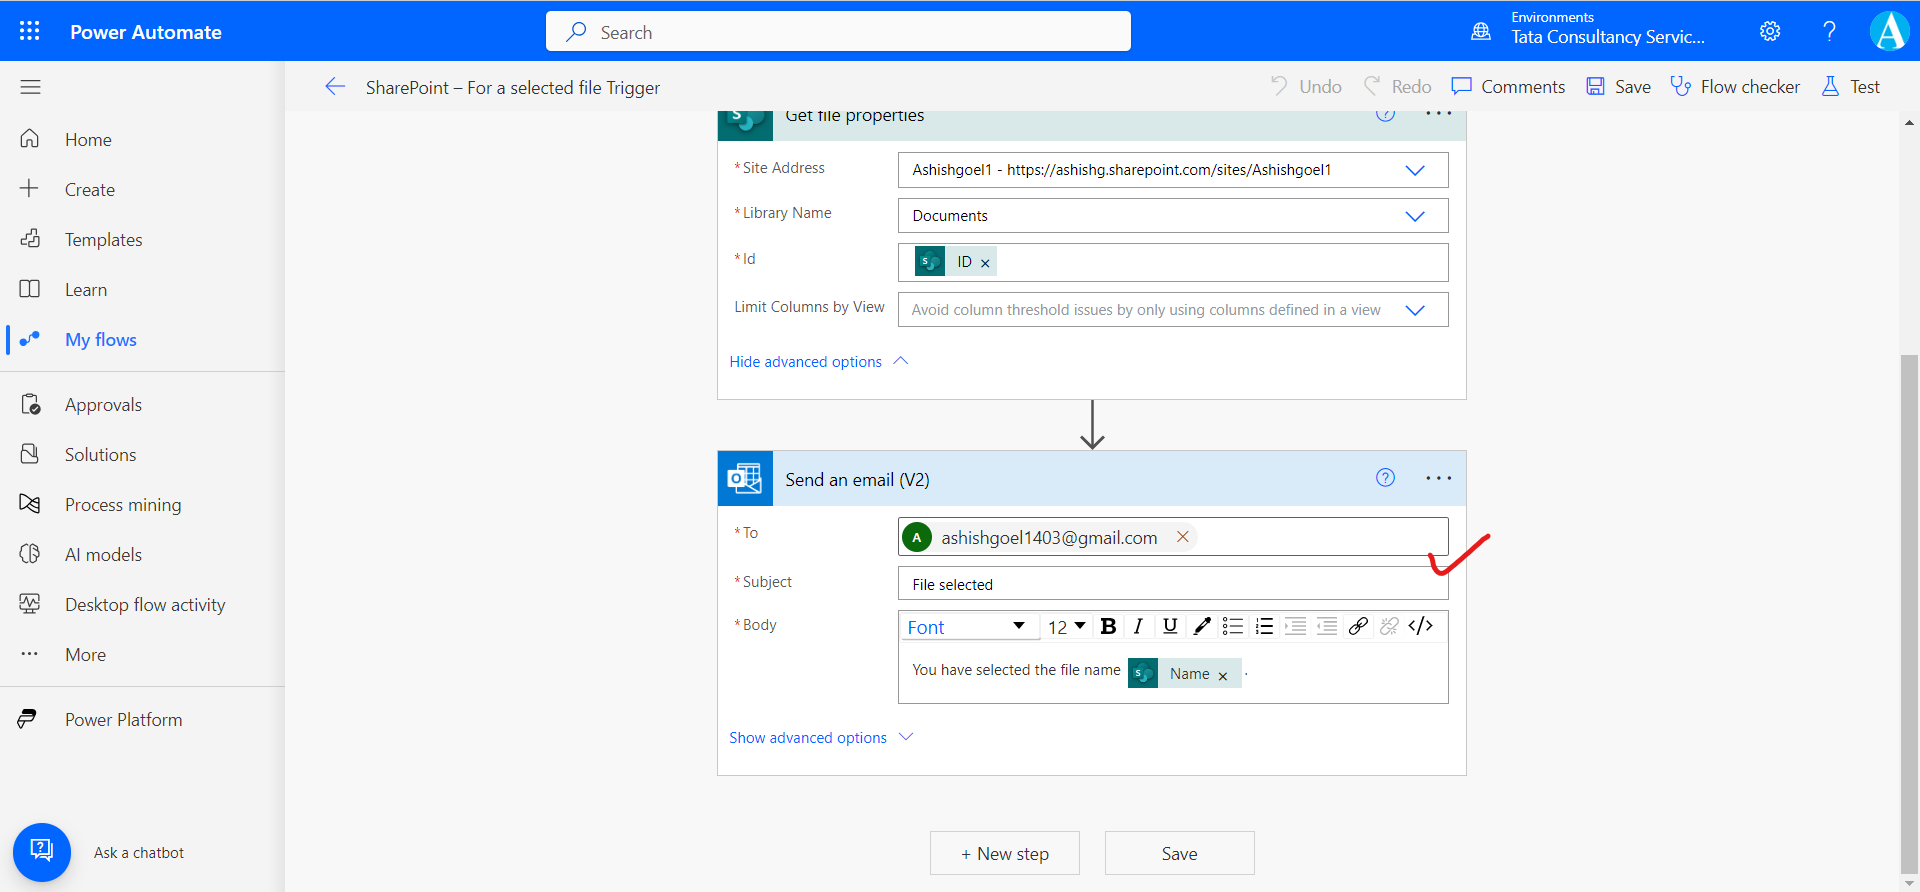
After this our flow is ready. Now it’s time to test it.
Select the file and click on three dots, then select Automate and then we can see our Name of the flow. Click on the Name of our flow.
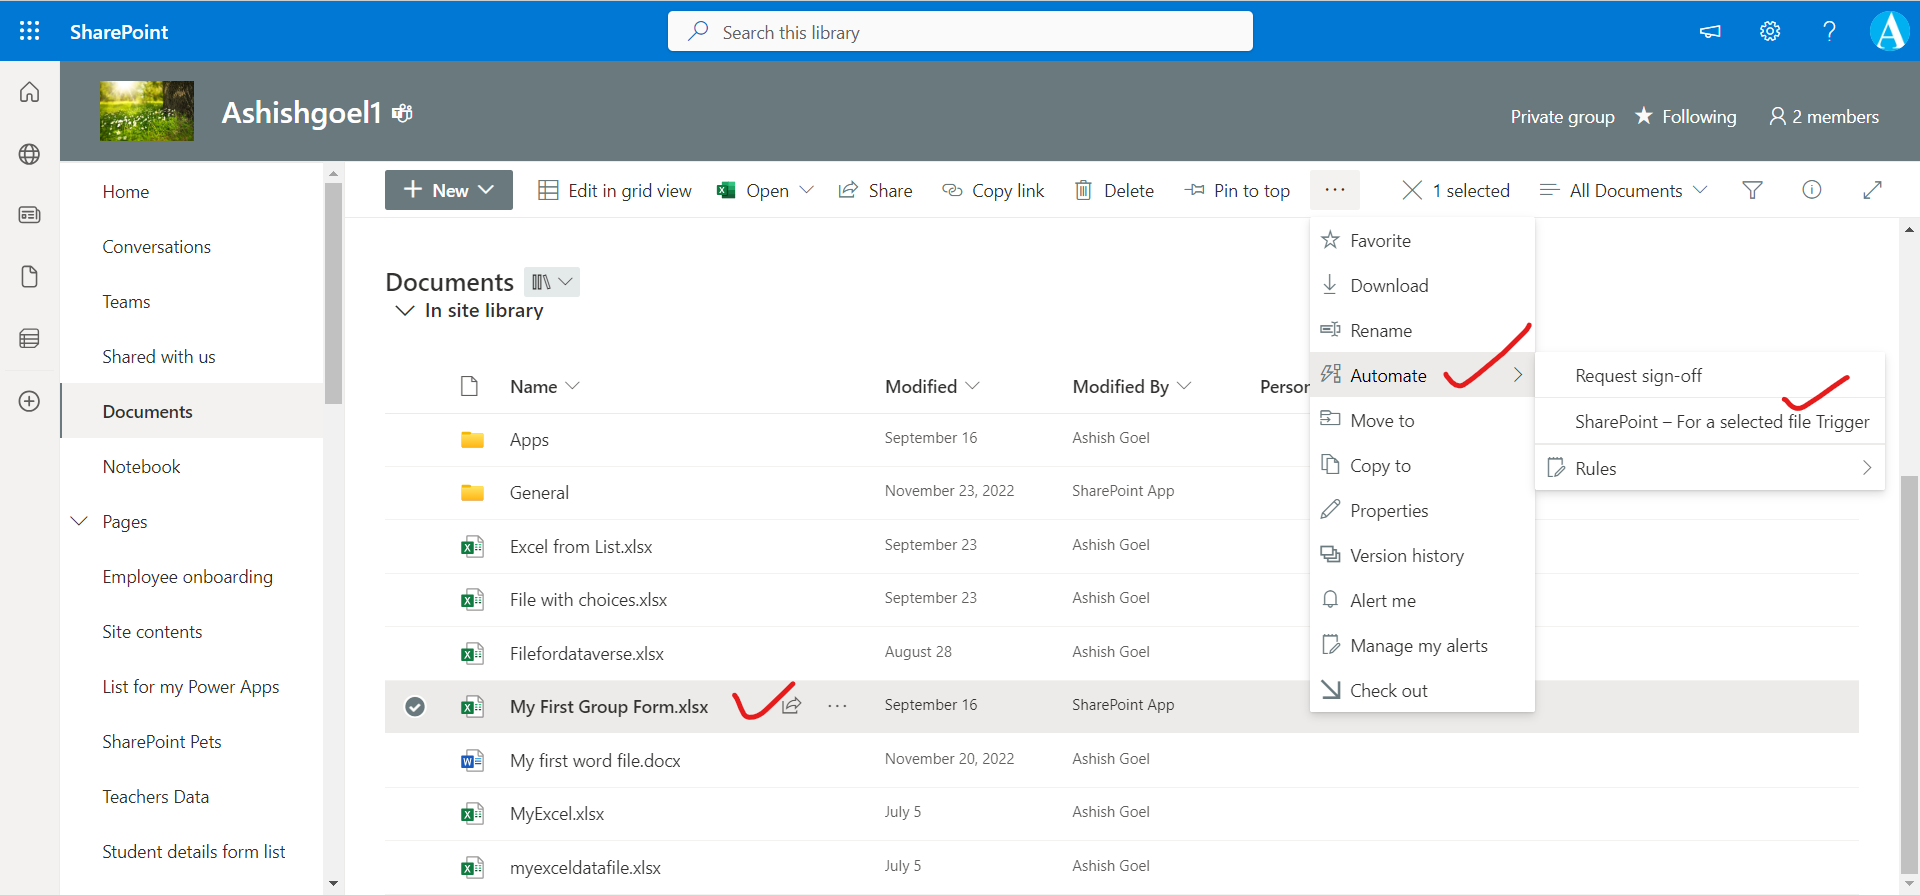
It may ask for allow the connection once it’s done, click on Run. If the flow runs successfully, we will get an email as shown in the following image.
Click on Save and run the flow.
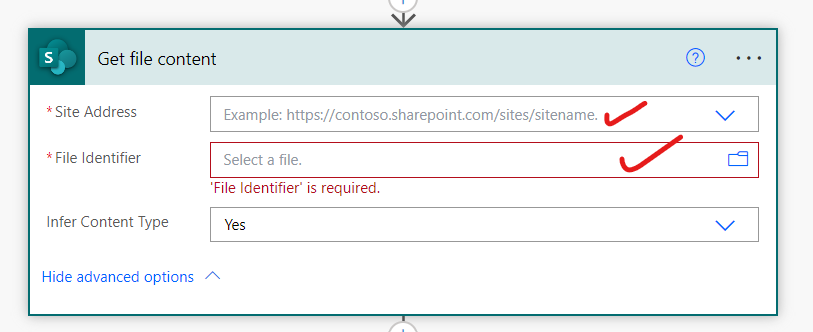
Note: We can add a "Get file content" step and use the "File identifier" property returned by the “For a selected file” action to get to the contents of the file.
