Comments and Notes in Power Automate
In this exercise, we will learn how we can use the comments and notes in Power Automate.
1. Comments in Power Apps
The comment feature is enabled for cloud flows that are edited in Microsoft Power Platform environments that have Microsoft Dataverse set up. Our cloud flow doesn't need to be in a Dataverse solution or use Dataverse connector actions. We can use Dataverse to store the comments. If we are using Dataverse solutions, we can only add comments to cloud flows in unmanaged solutions, which typically happen in the development environments.
After we have saved our flow the first time, we can start adding comments from the trigger or any action step in the cloud flow.
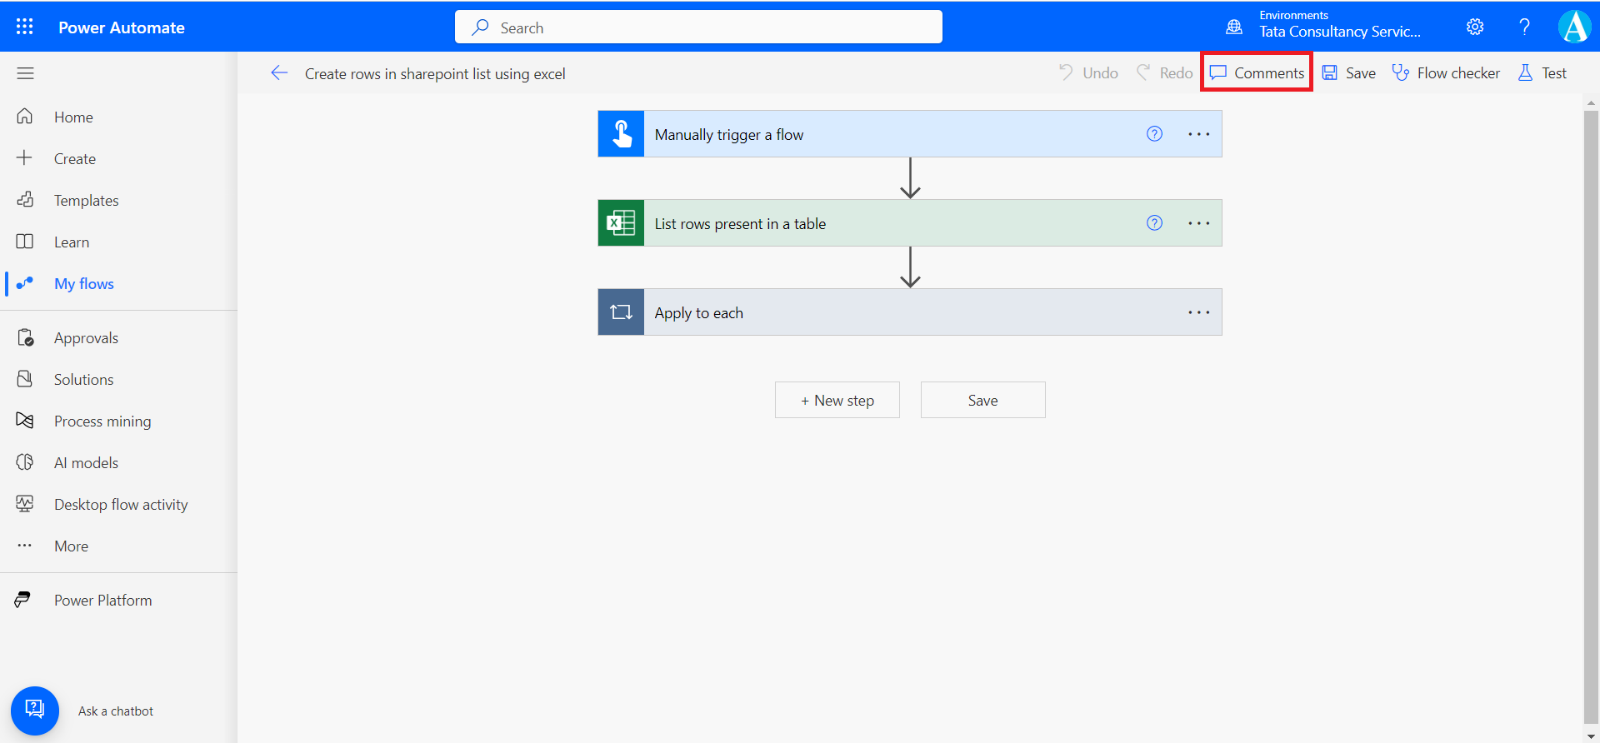
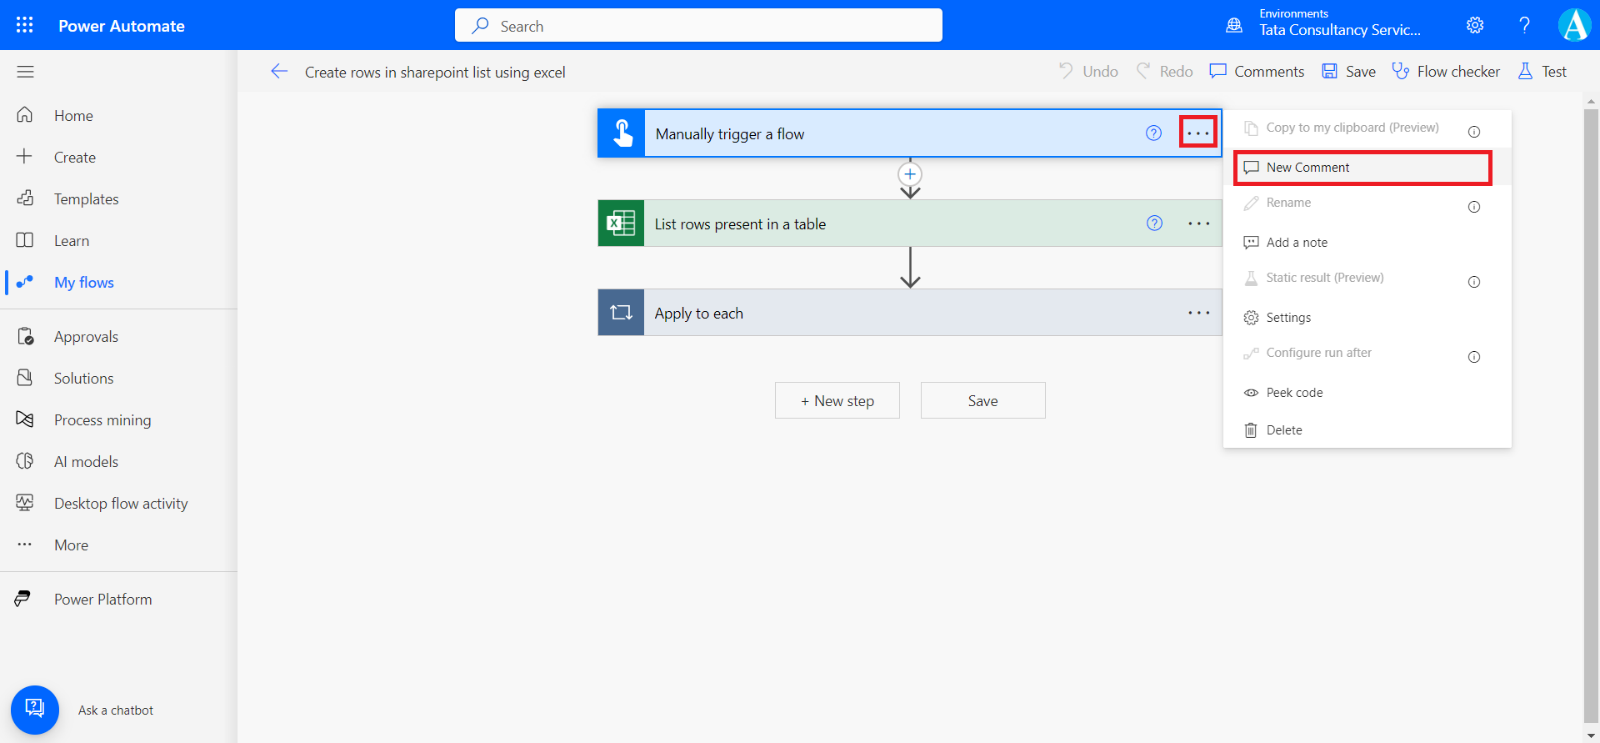
Additionally, we can open the Comments pane to add a comment. The comment will be associated with the currently selected trigger or action when it's added from the Comments pane.
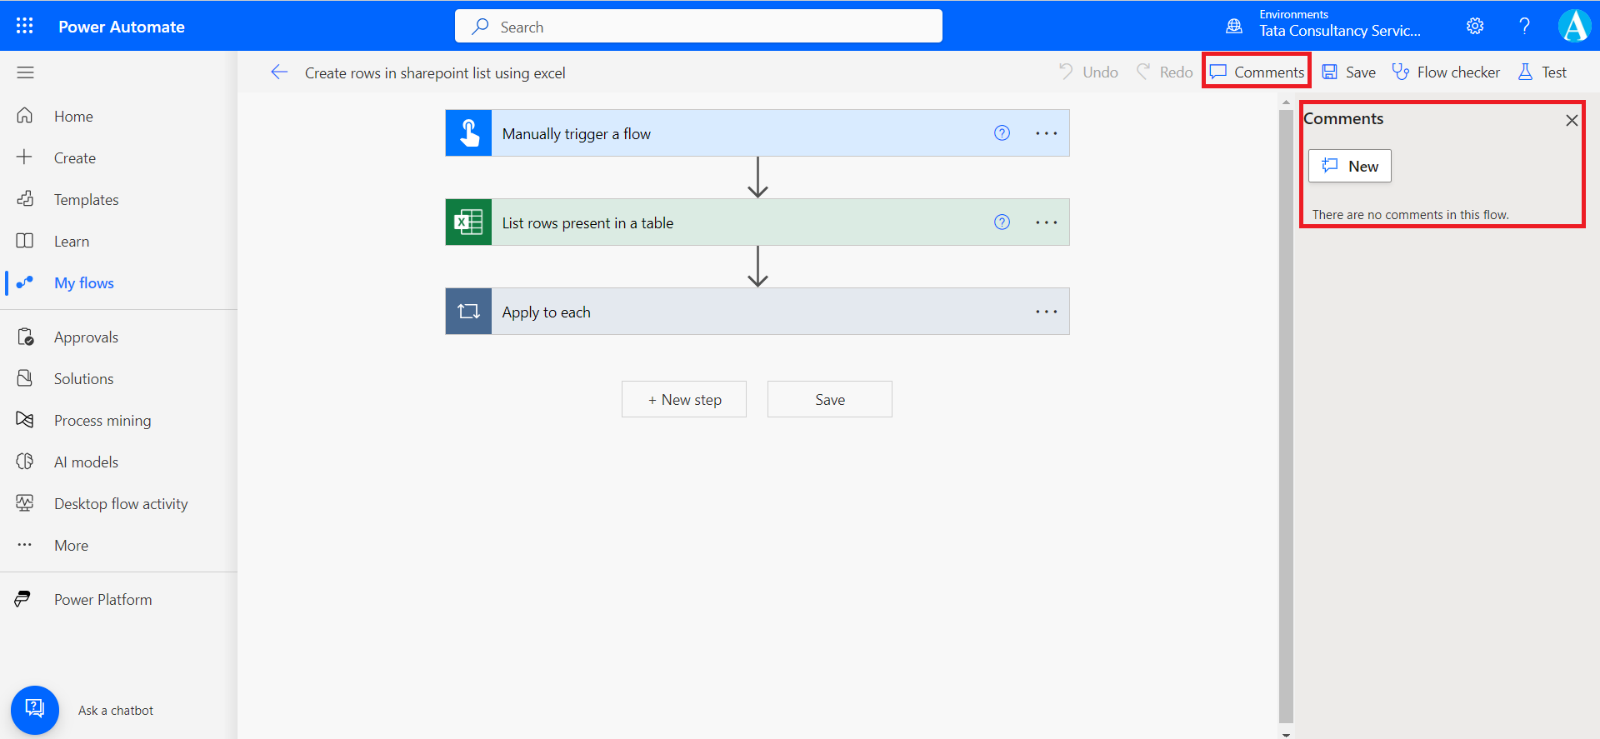
Click on three dots on any trigger or action there we can see New Comment option in the context menu.
Collaborate with others
We can use comments to collaborate with other users, which will allow us to get help or seek input on the flow. Any user who is a co-owner of a cloud flow can view and add comments. We can @mention a user in a comment or reply to notify them of our comment.
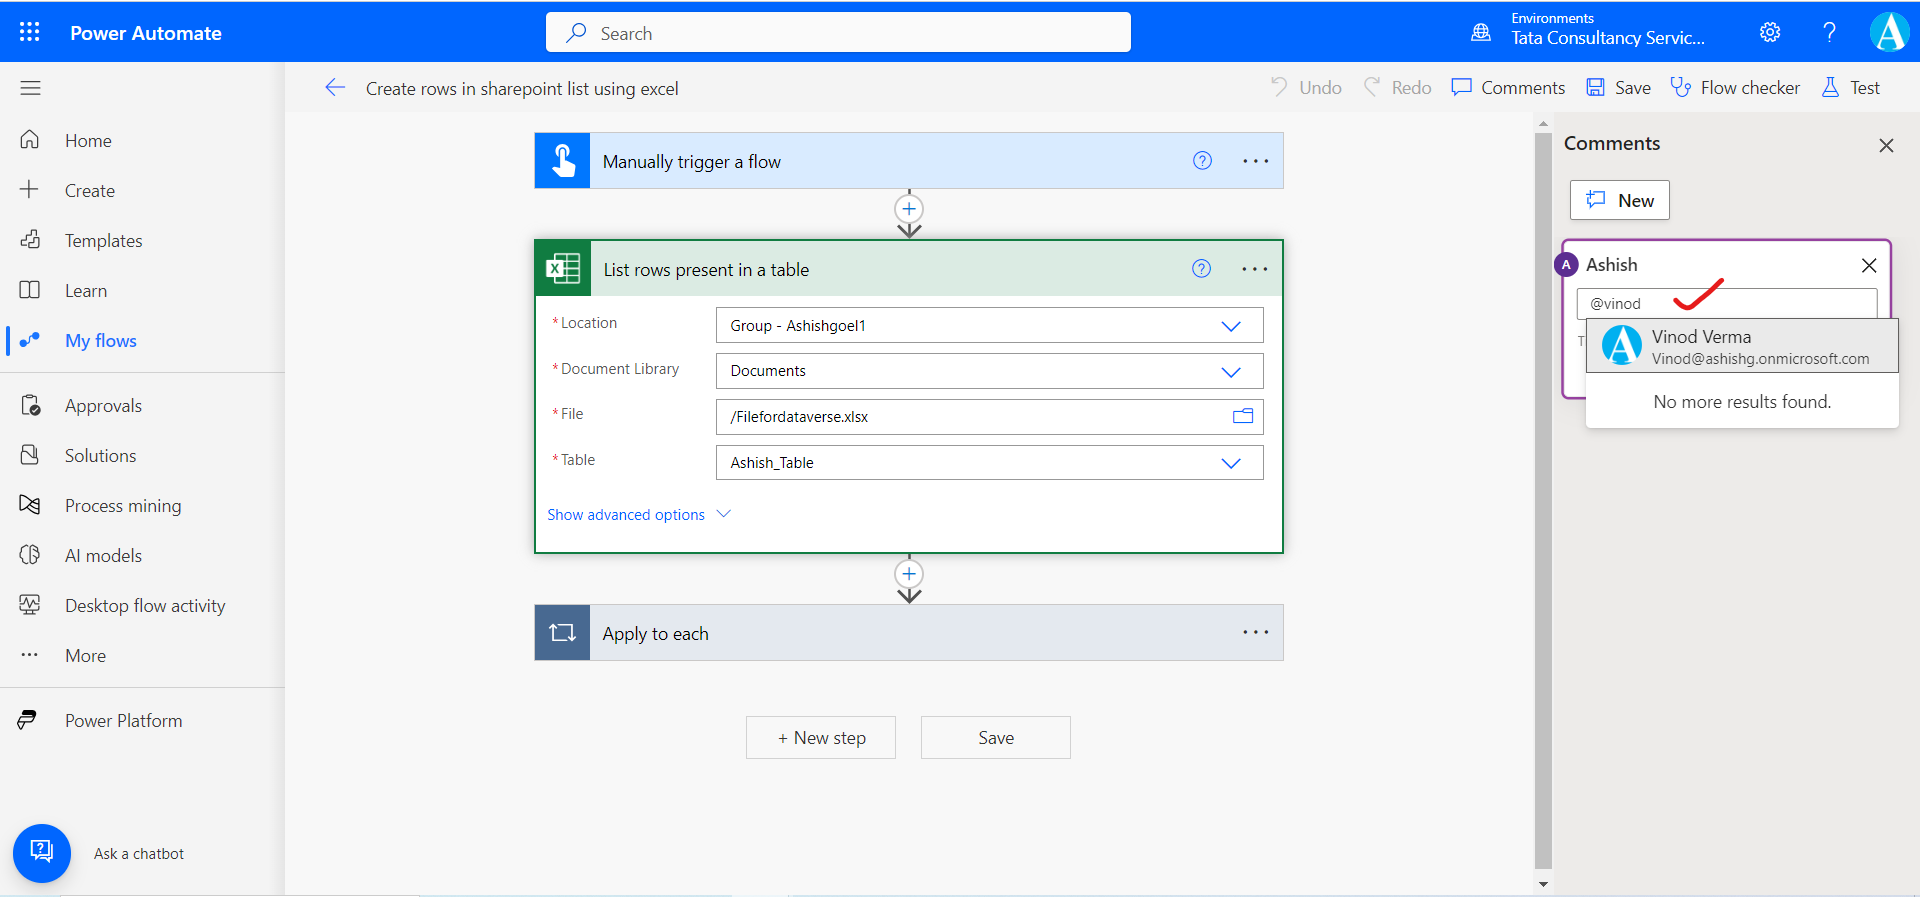
Click on the Arrow mark to post the comment or press Ctrl + Enter to post the comment.
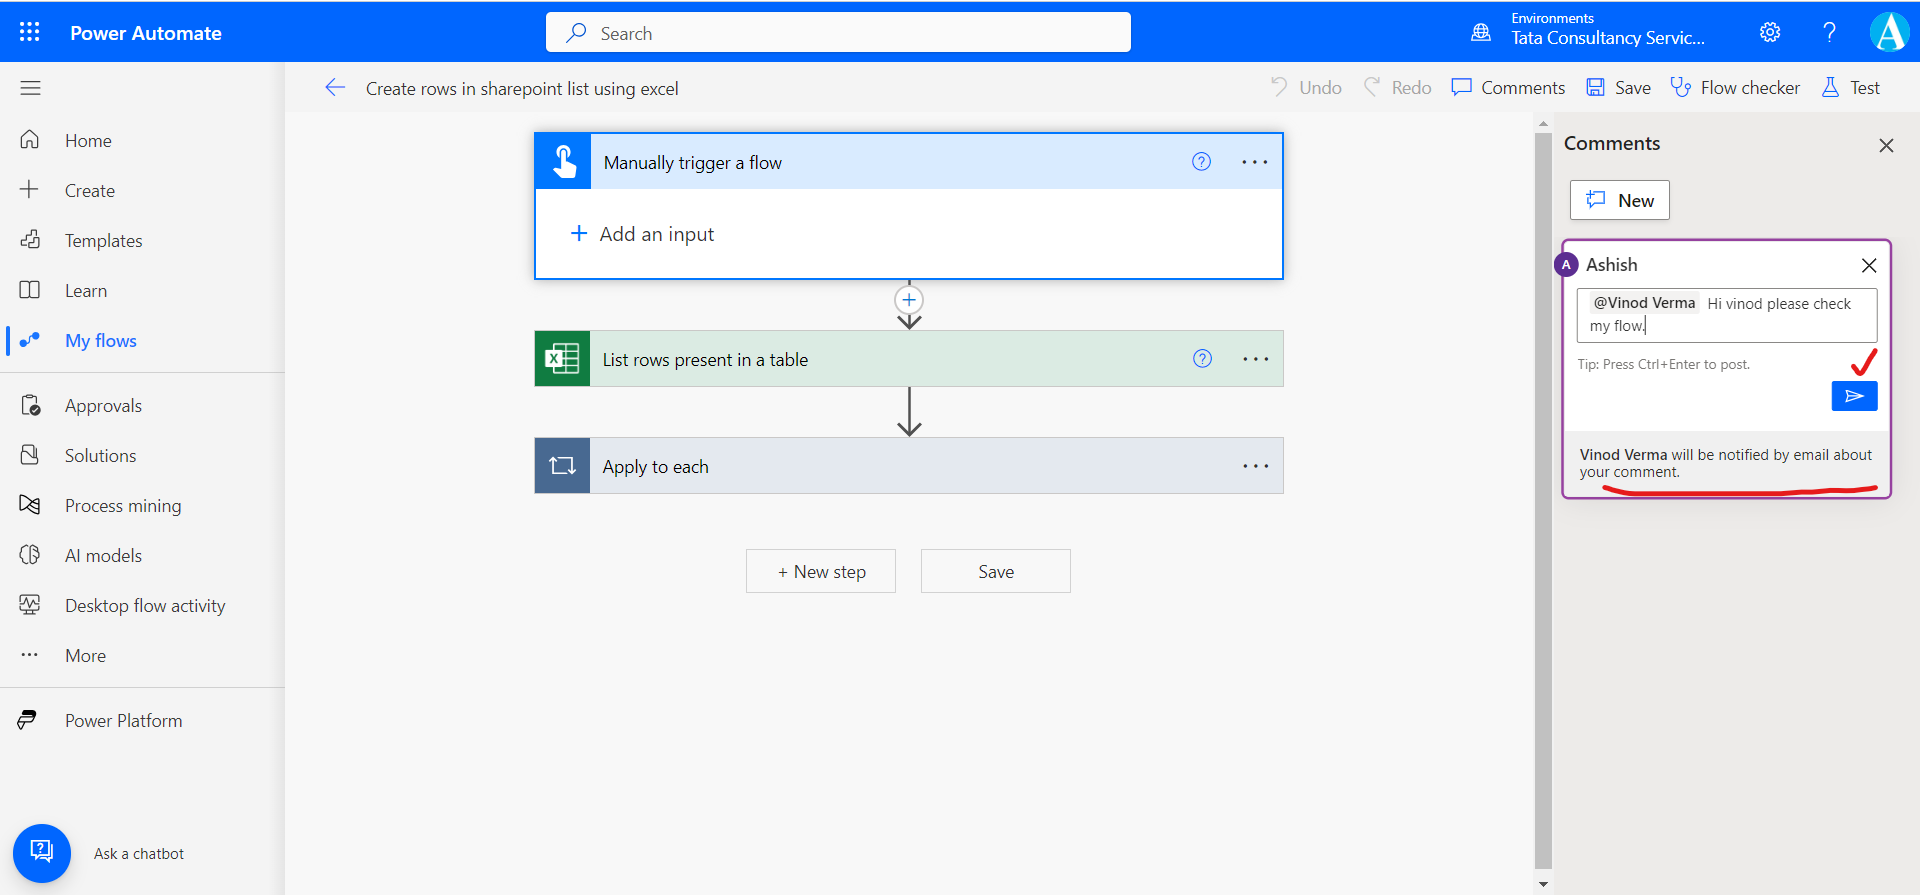
We can @mention any existing co-owner. If the cloud flow is in a Dataverse solution, we need to add users manually as co-owners before we can @mention them. For non-solution cloud flows, it will prompt us to Share and notify.
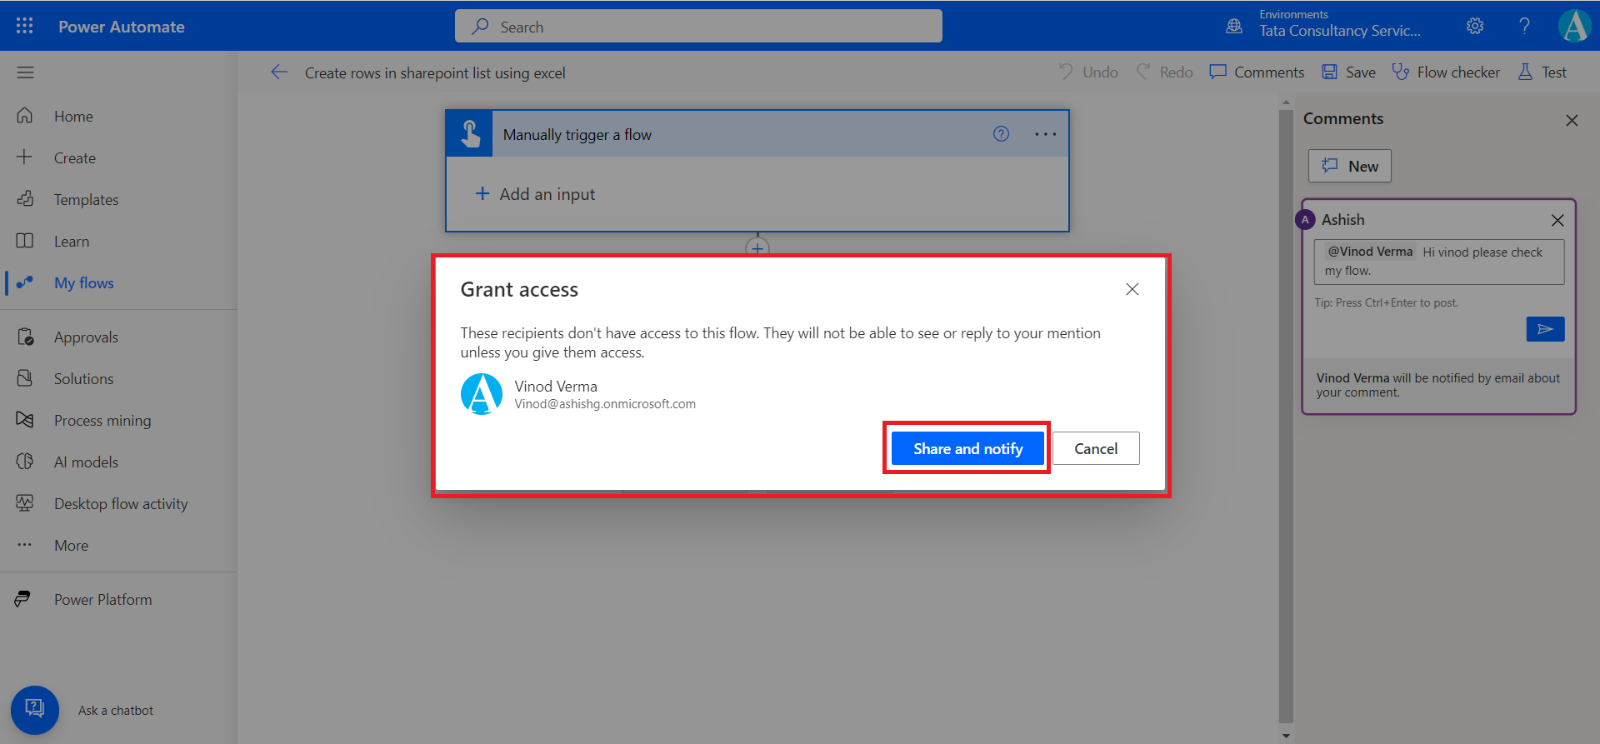
Important When we click on Share and notify the user is added as the co-owner, as to see the comments or do a comment, the user must have the owner access to the flow.
The user has received an email that you are added as a Co-owner to the flow.
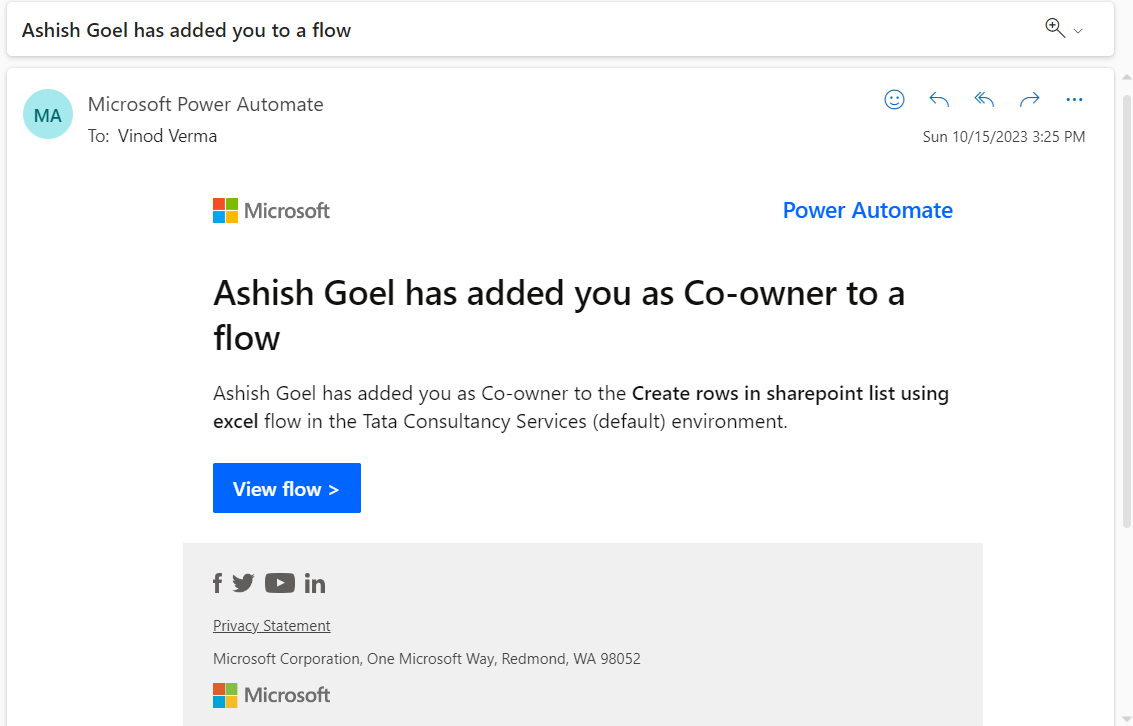
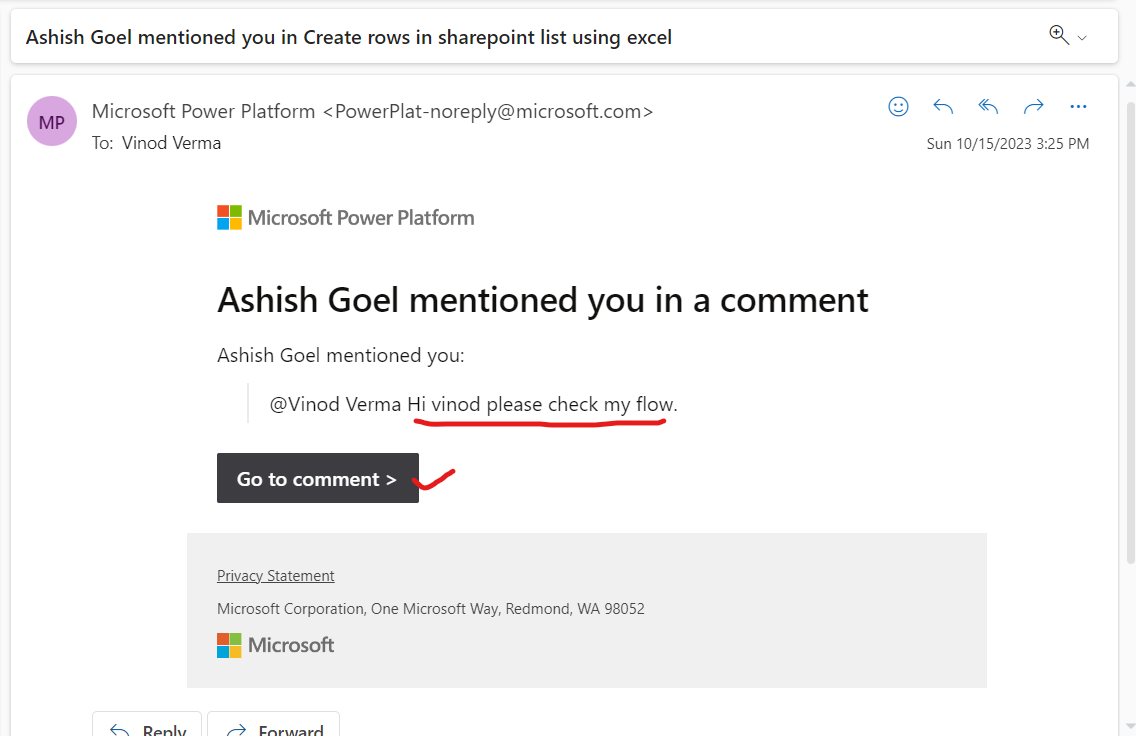
The user whom we mentioned in the comment will receive an email inviting them to view the flow.
2. Notes in Power Automate
We can add a note to the triggers and action to describe the specified trigger or action. We can add text which can be helpful for the fellow developer to understand the power automate quickly.
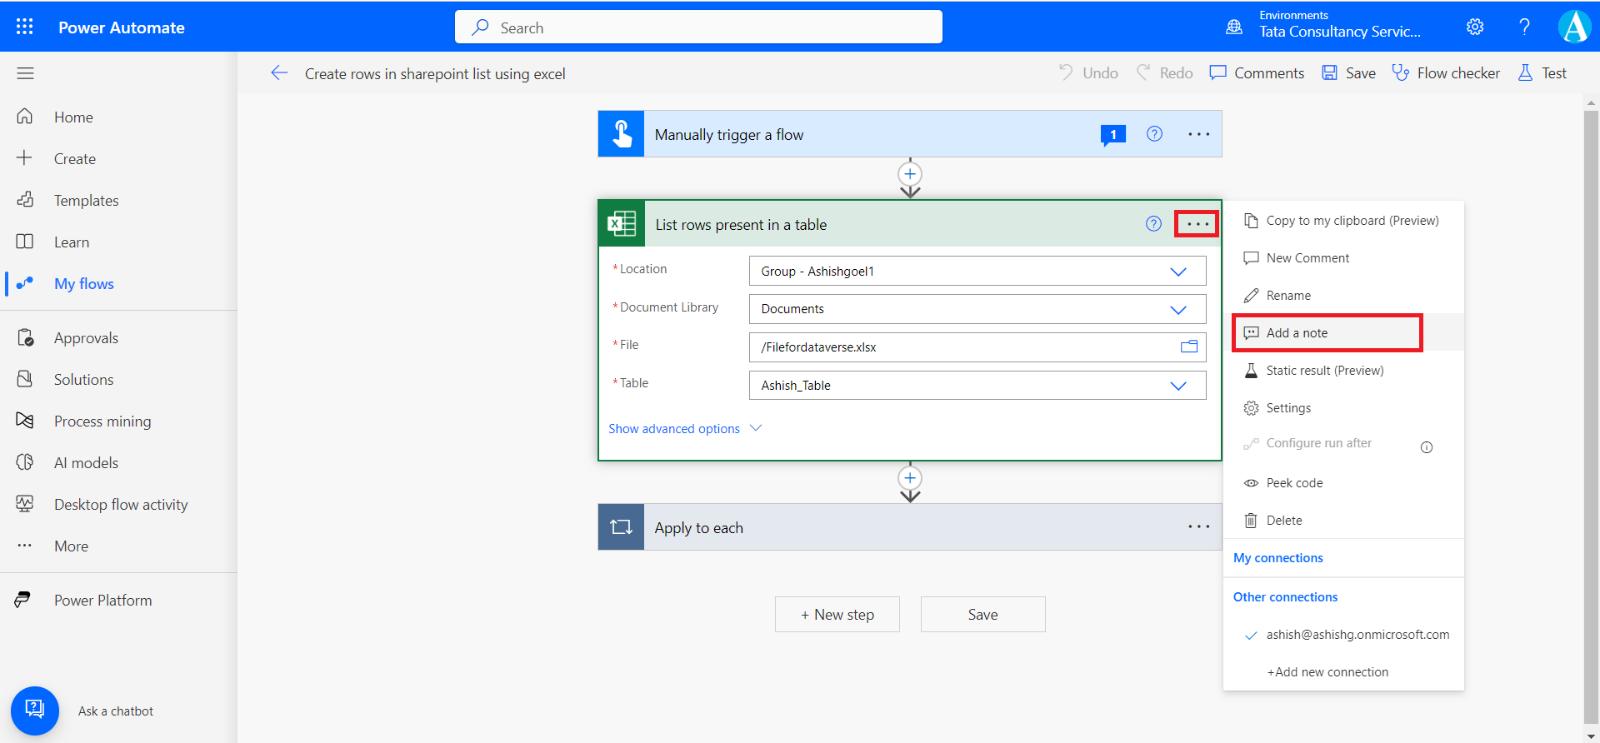
Click on the three dots (…) on the trigger or action and click on the Add a note to add a note to the step itself, as shown in the following image.
Write a note and then click outside the note. Click on Save to save the changes.
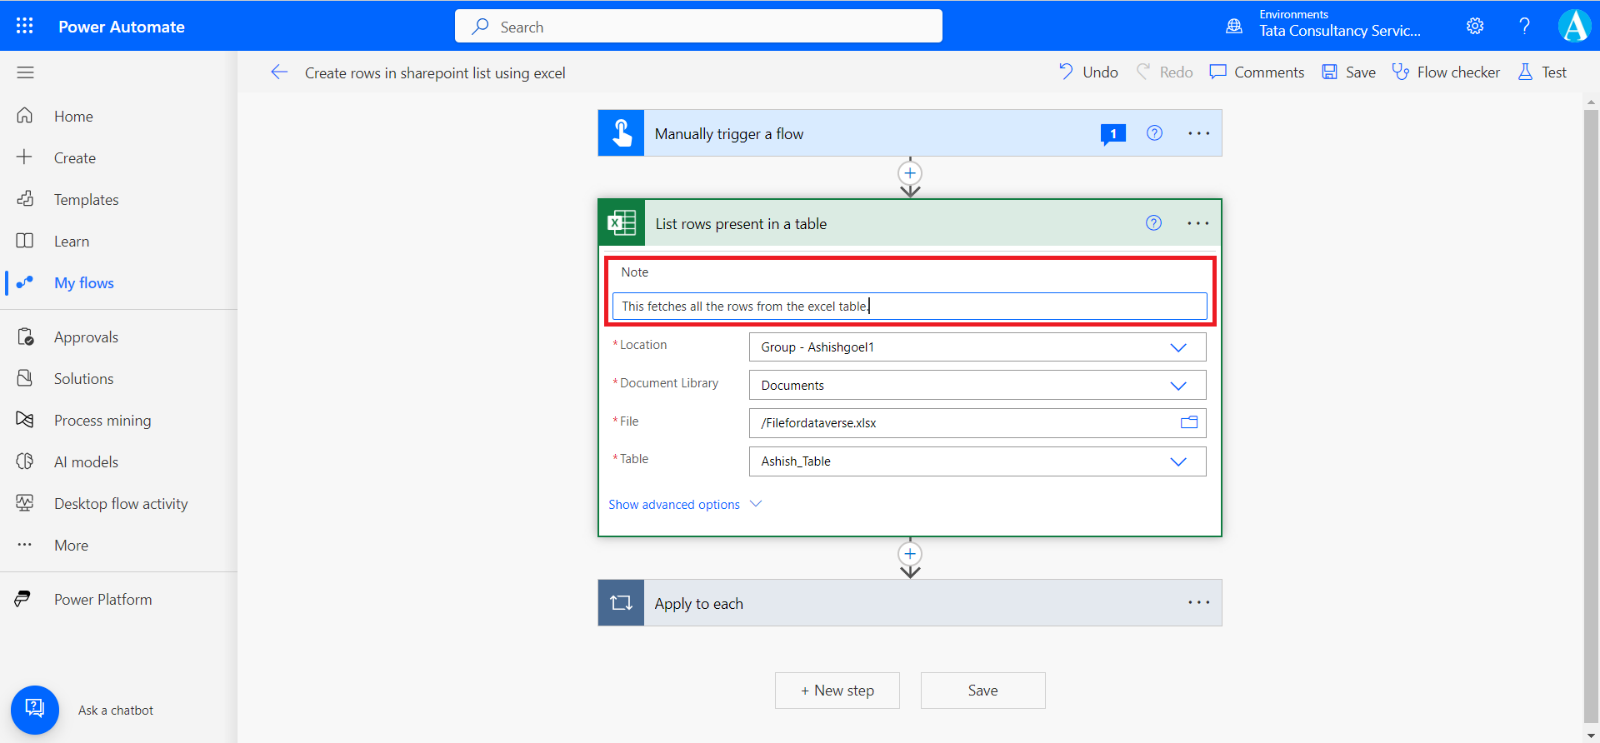
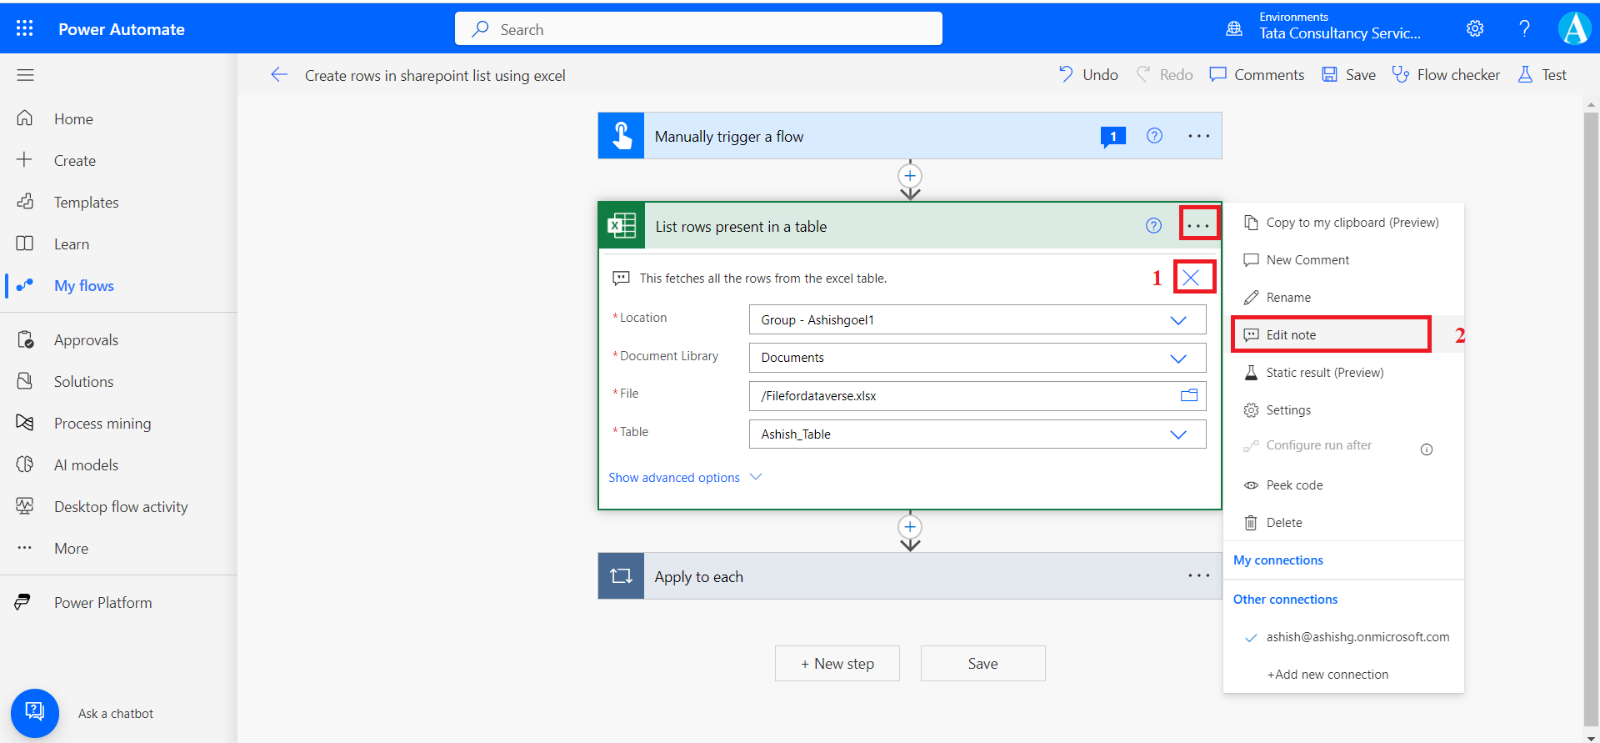
To edit the note after adding click on the three dots (…) again and then click on Edit note.
