Button Slicer in Power BI
Button slicer is a new slicer visual in the Power BI. Basically, the button slicer is same as the normal slicer with Tile slicer type. But on top of that in button slicer we have a lot of customization options available which are going to see in this exercise.
Let’ add a button slicer visualization and format it in the Power BI.
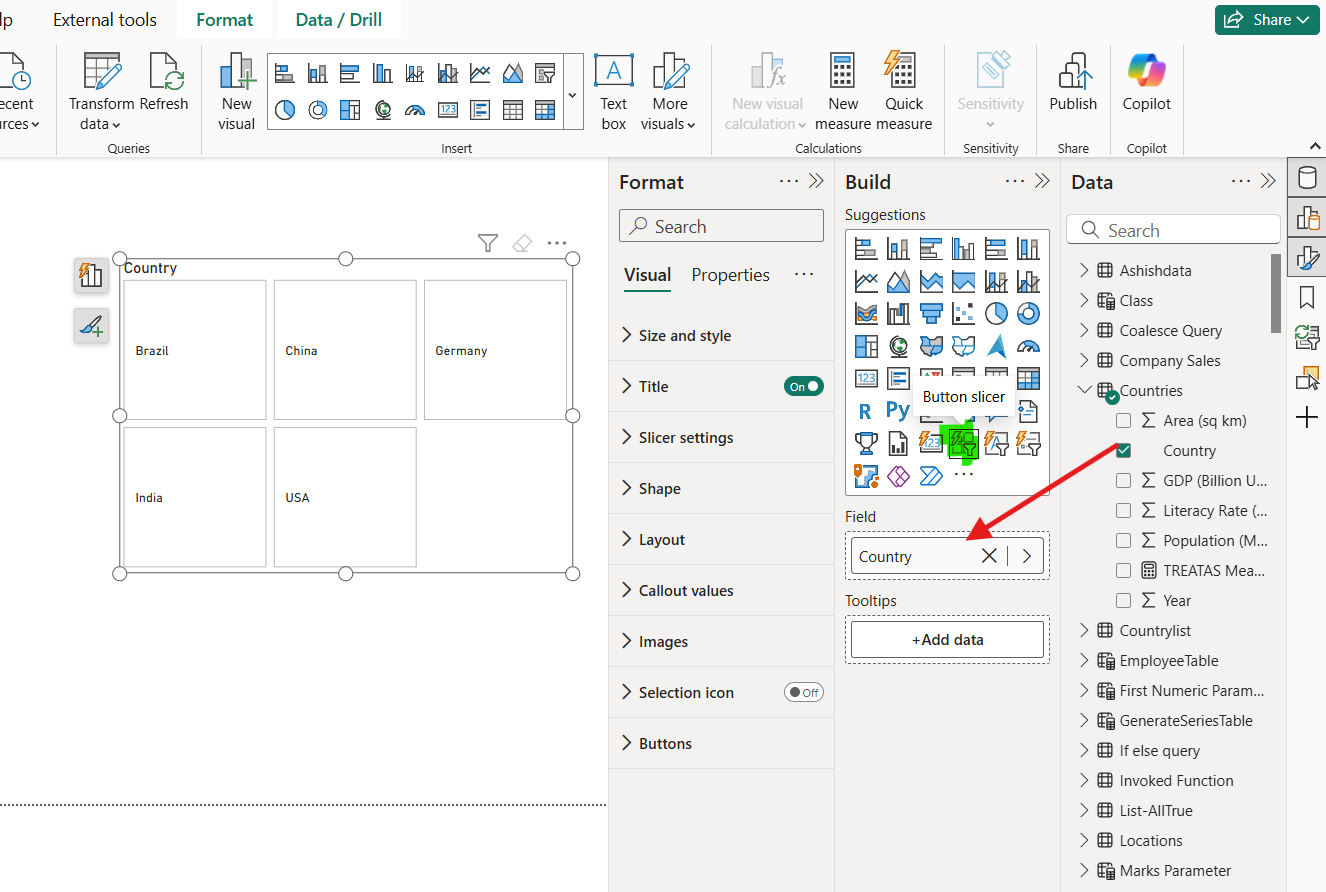
Step 1: To add a list slicer from the Build pane, click on Button Slicer. The button slicer requires a single field to display its content. Measures are not allowed.
Step 2: Let’s format the slicer.
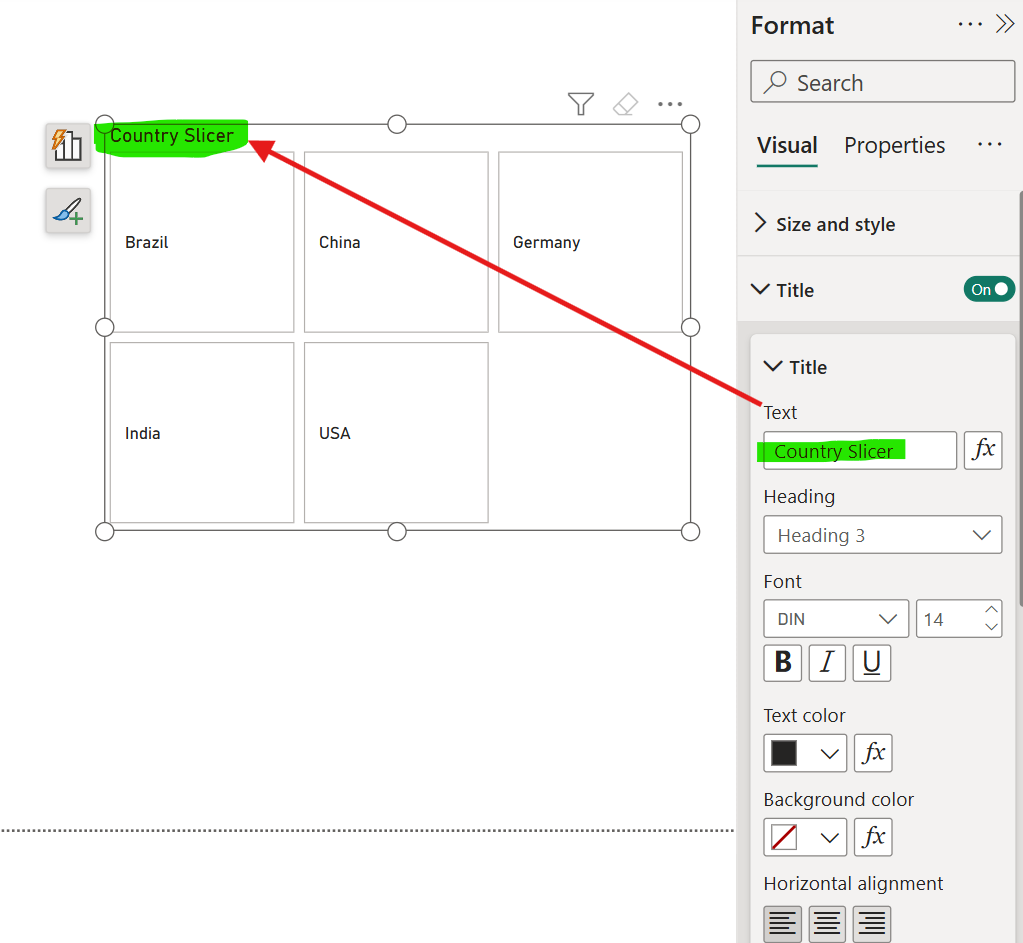
We can specify the Title of the slicer; we can also omit title in the slicer.
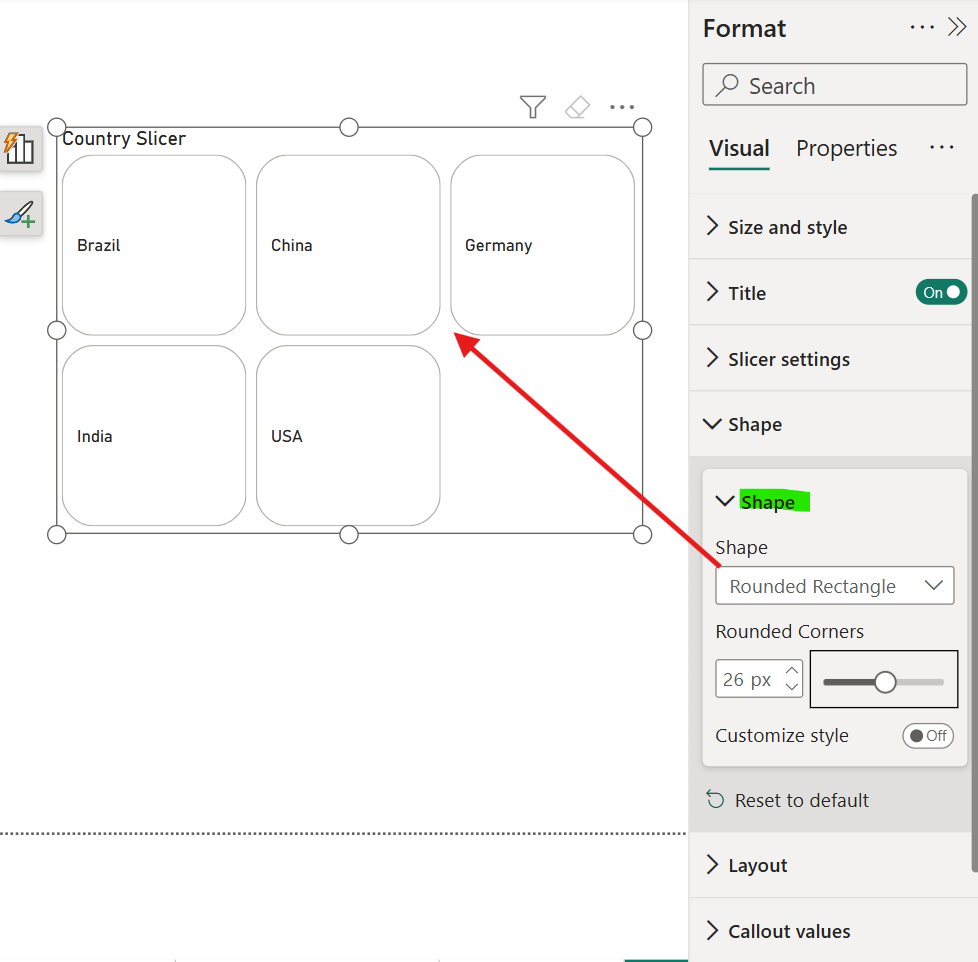
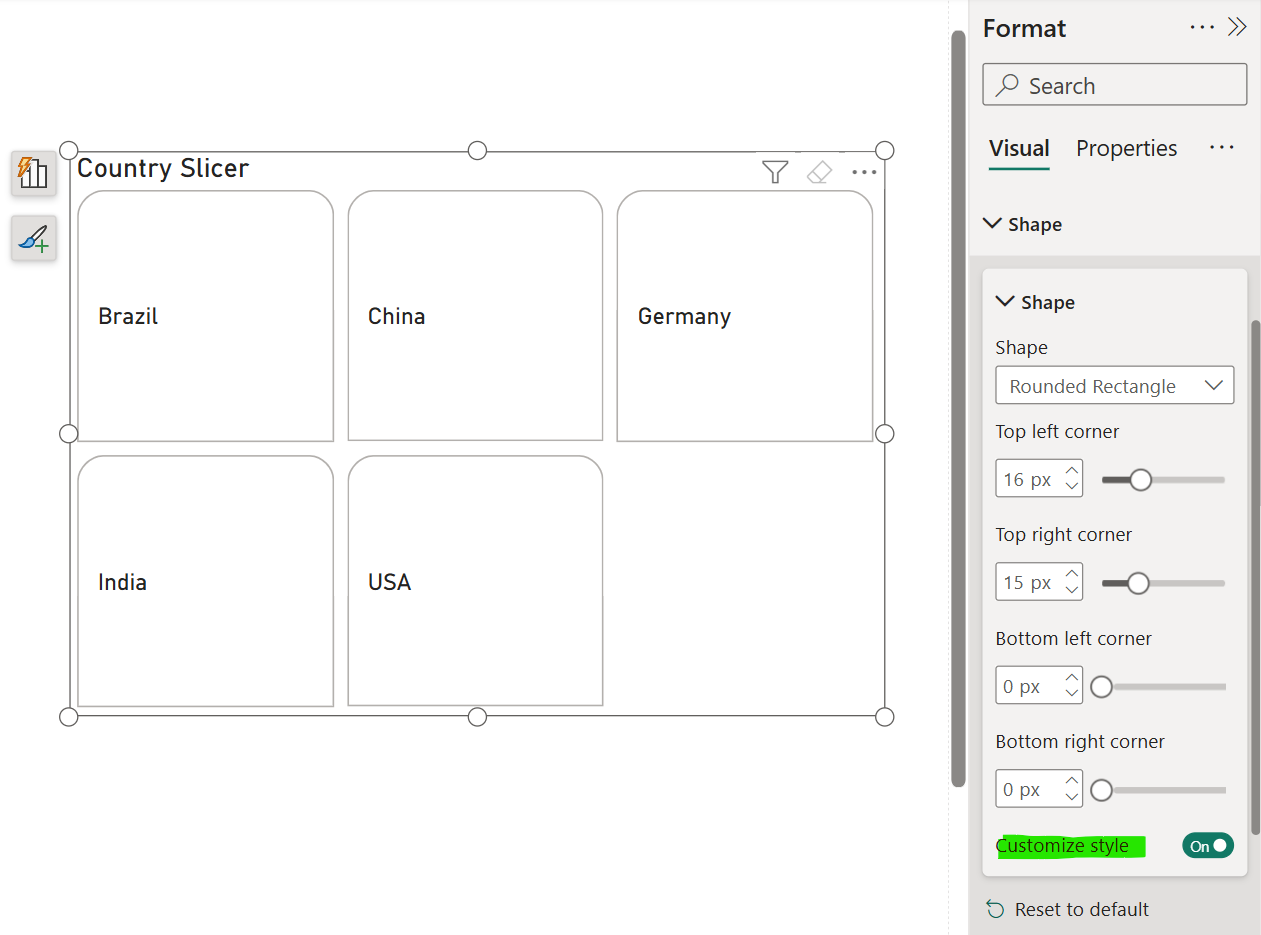
Step 3: We can format the shape of the button in the slicer, we can give it rounded corners.
We can click on Customize style toggle to on to see more customization options for the shape of the button.
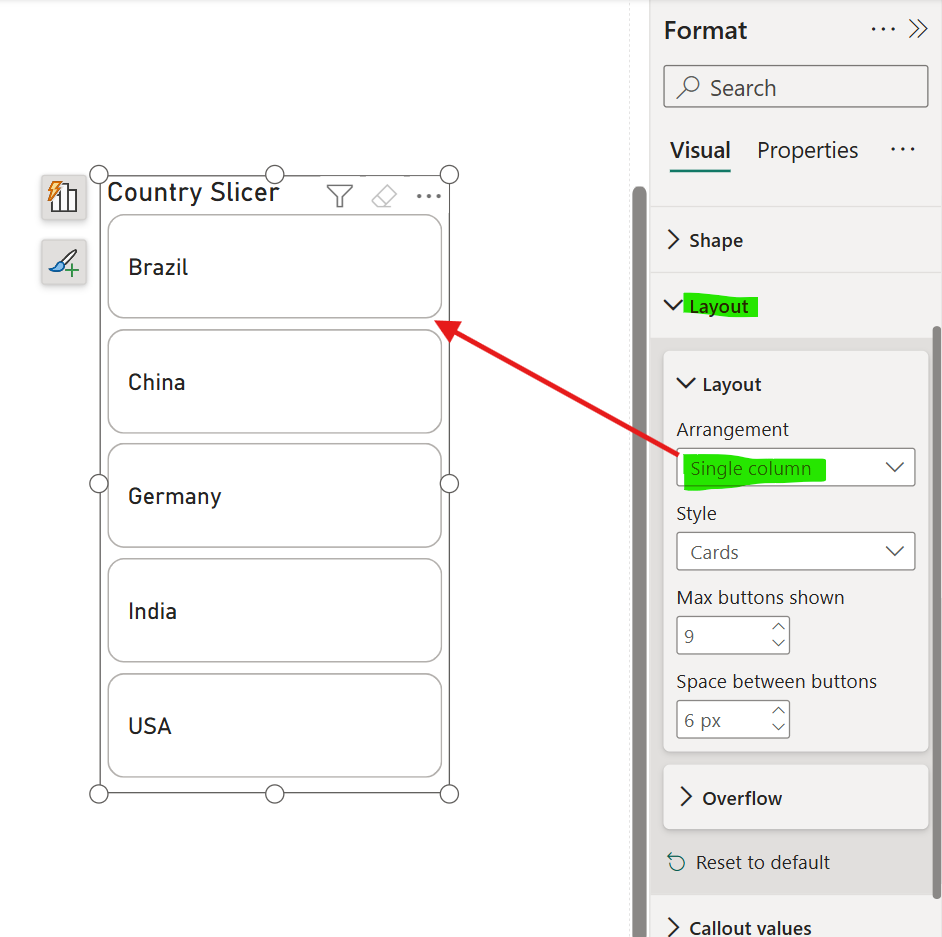
Step 4: We can customize the layout of the slicer, like Single Column, Single Row or Grid layout. With the Grid layout we can divide the slicer into rows and columns. We can specify the space between the buttons.
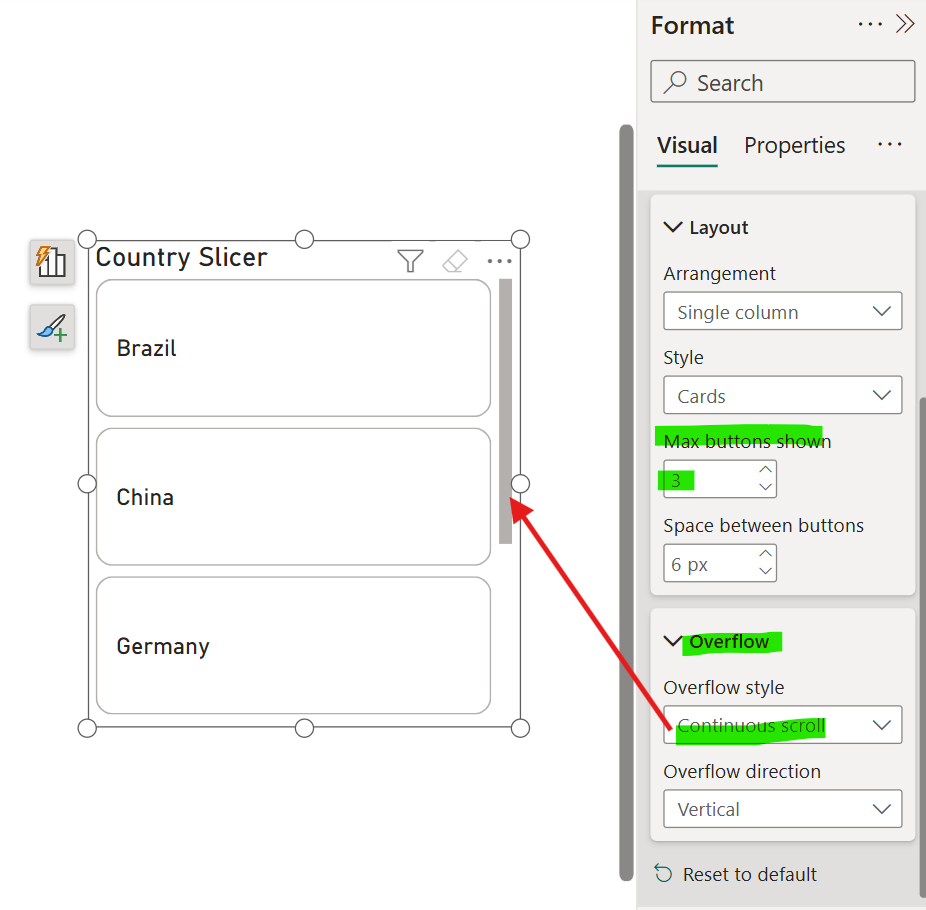
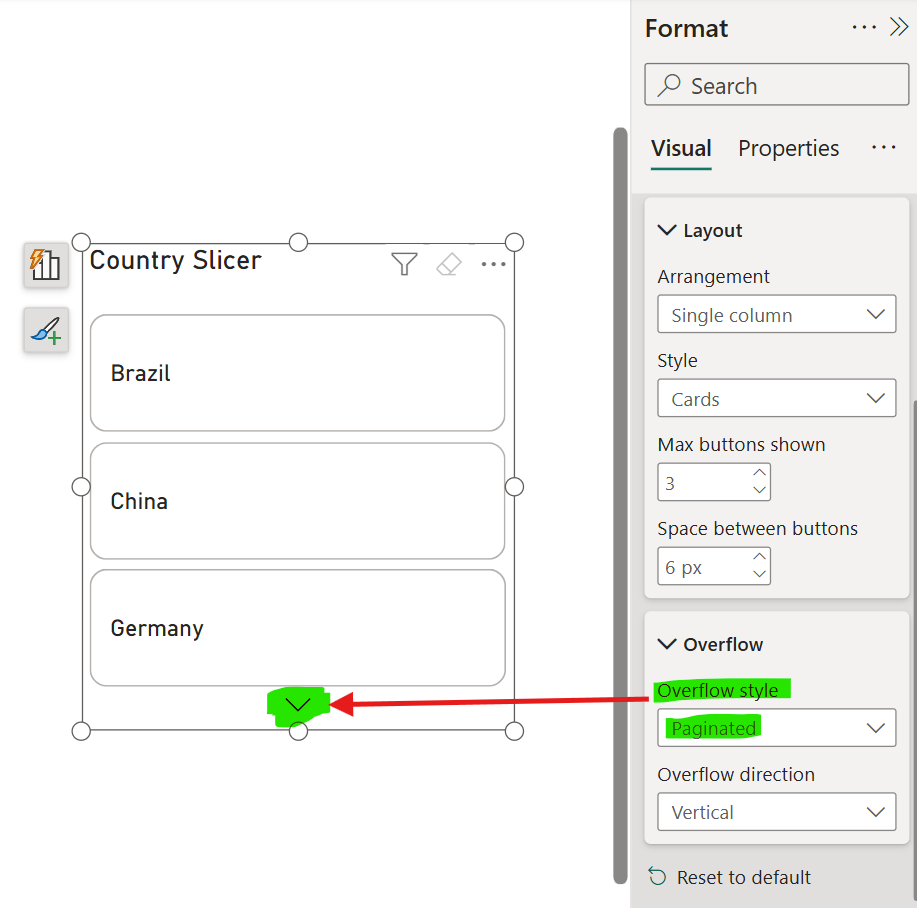
Step 5: If there are many buttons in the slicer then to manage the appearance we can using the two different overflow styles: Continuous scroll or Pagination, both styles offer vertical or horizontal direction, providing more flexibility in our design.
Let’s I put 3 in the Max buttons shown, which specifies the maximum button going to be shown in the slicer. The overflow style we have Continuous scroll so we can see a scroll bar in the side of the slicer to see the other button.
Let’s choose the Pagination as the overflow style, and see the difference as shown in the image below:
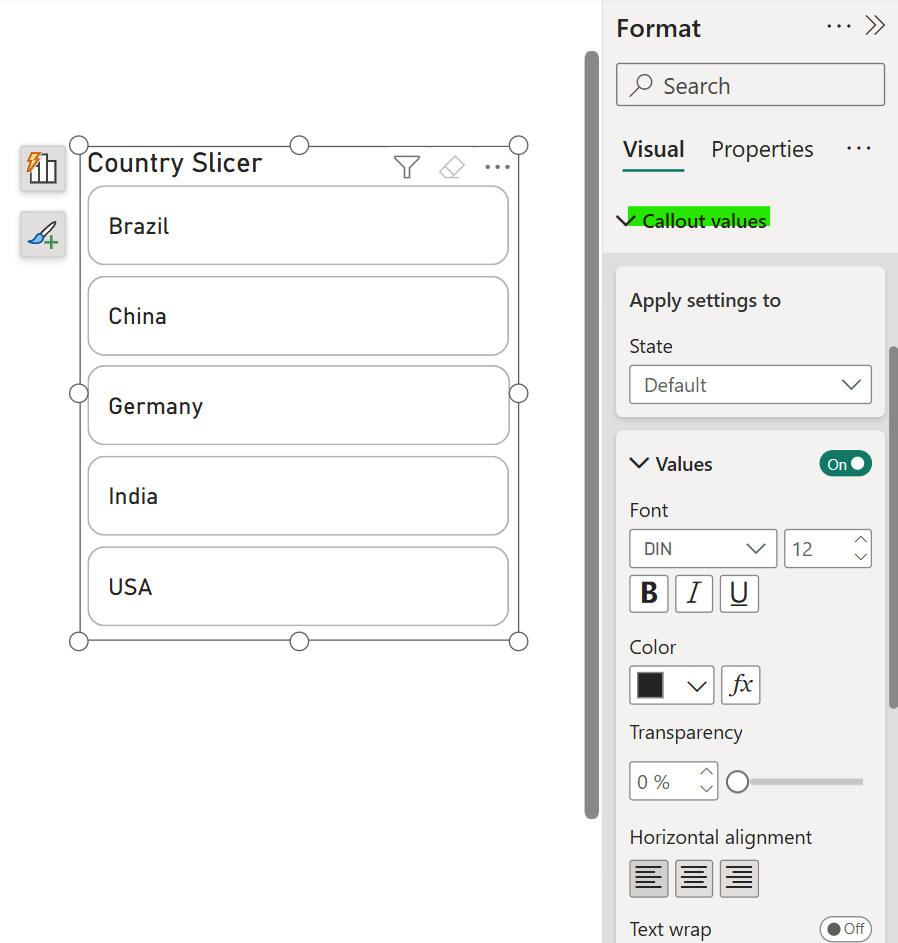
Step 6: In the Callout values section we can format and set the alignment for the values in the button of the slicer. We can customize the formatting based on the interaction state of the slicer.
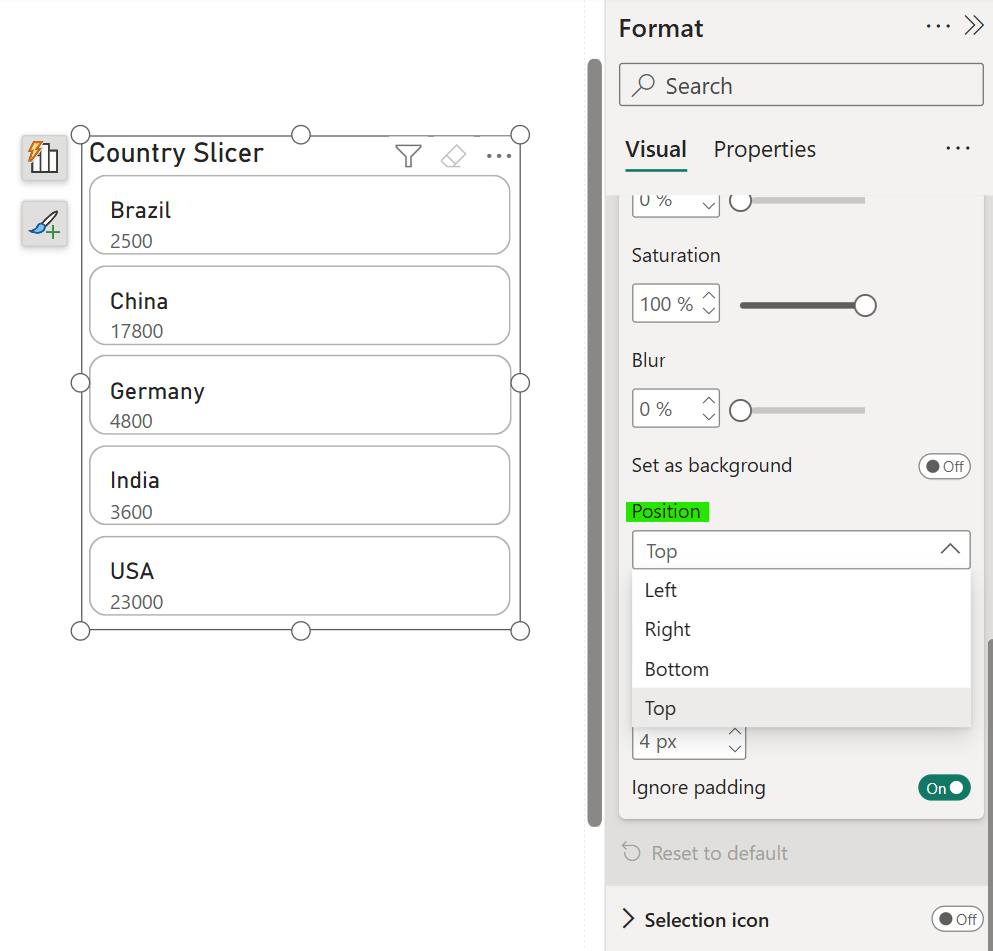
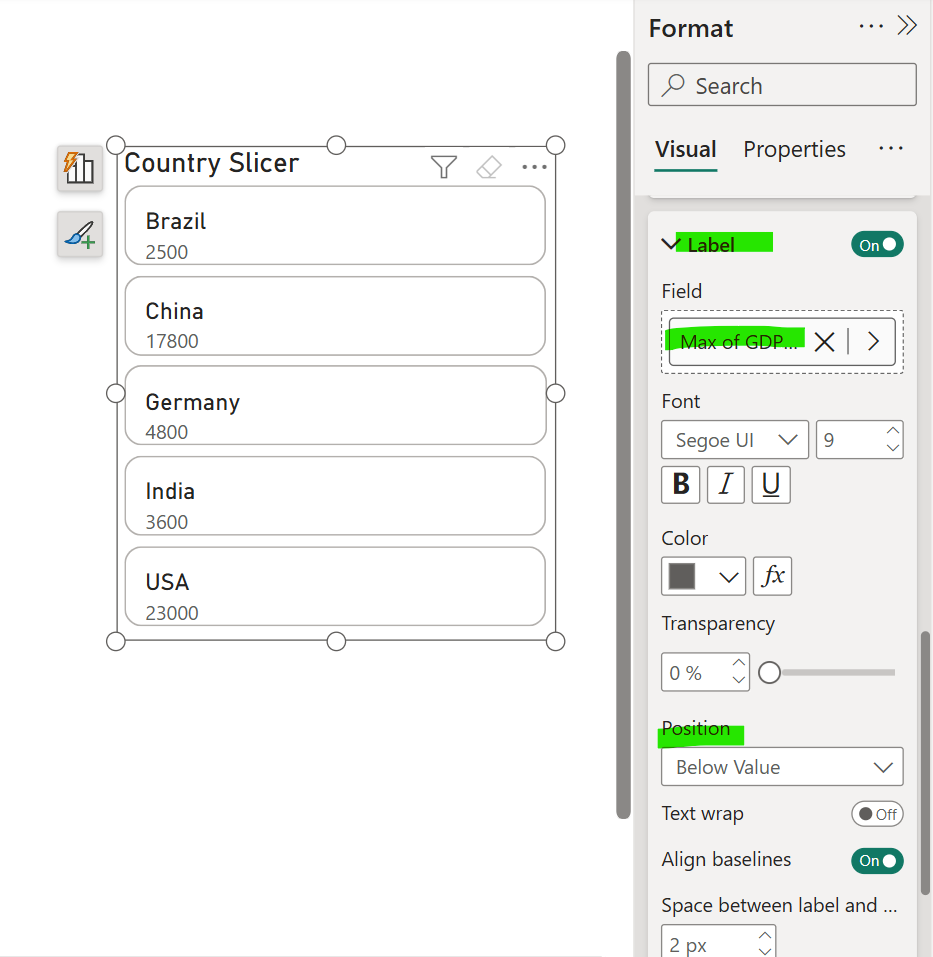
Step 7: We can add the Label also in the slicer to show the other detail from our data fields or measures right within our buttons. We can format the label and specify is position whether above or below the slicer field.
Step 8: In the Images section, we can add the image field which contains the URLs of the images. We can apply the different formatting to the images based on the interaction state of the slicer.
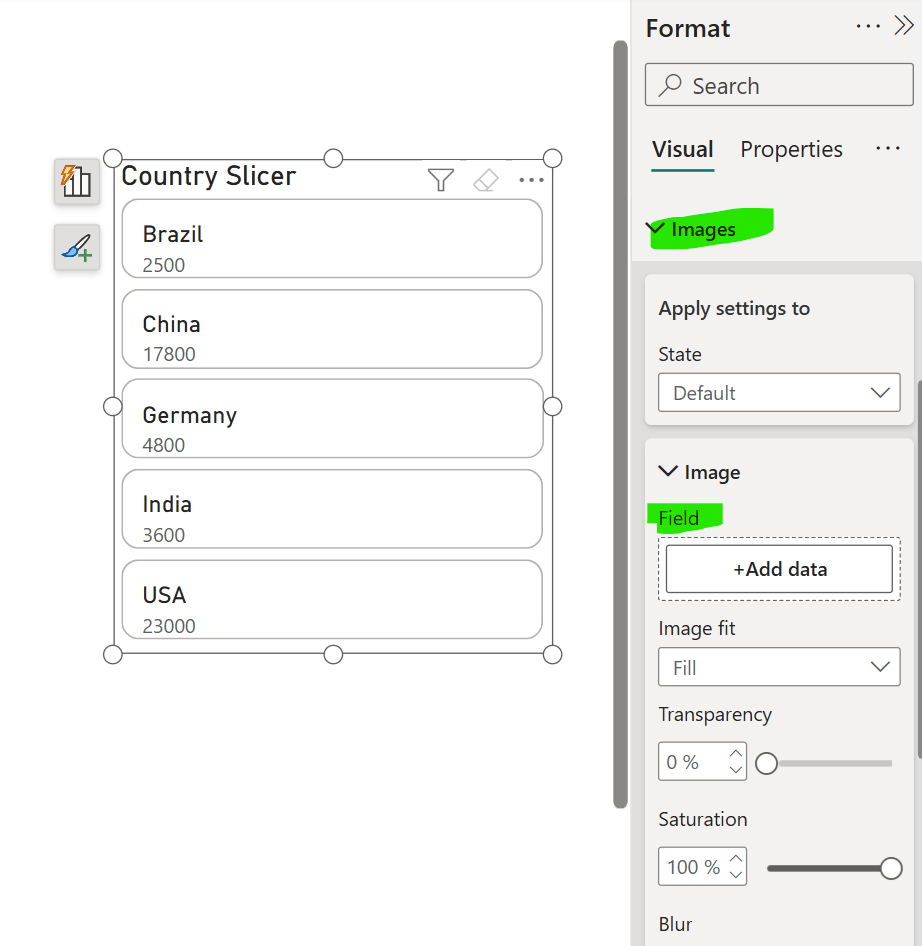
We can specify the Transparency, Saturation and Blur, and other formatting. We can also specify the Position of the image.
