Looker Studio
In this exercise, we will learn about the Looker Studio. Looker Studio formerly known as Google Data Studio. It is a cloud-based data visualization and reporting tool developed by Google.
Step 1: Sign in to Looker Studio using the official link.
Step 2: We can create Looker Studio reports in the following ways:
• Create a new report
• Create a report from a template
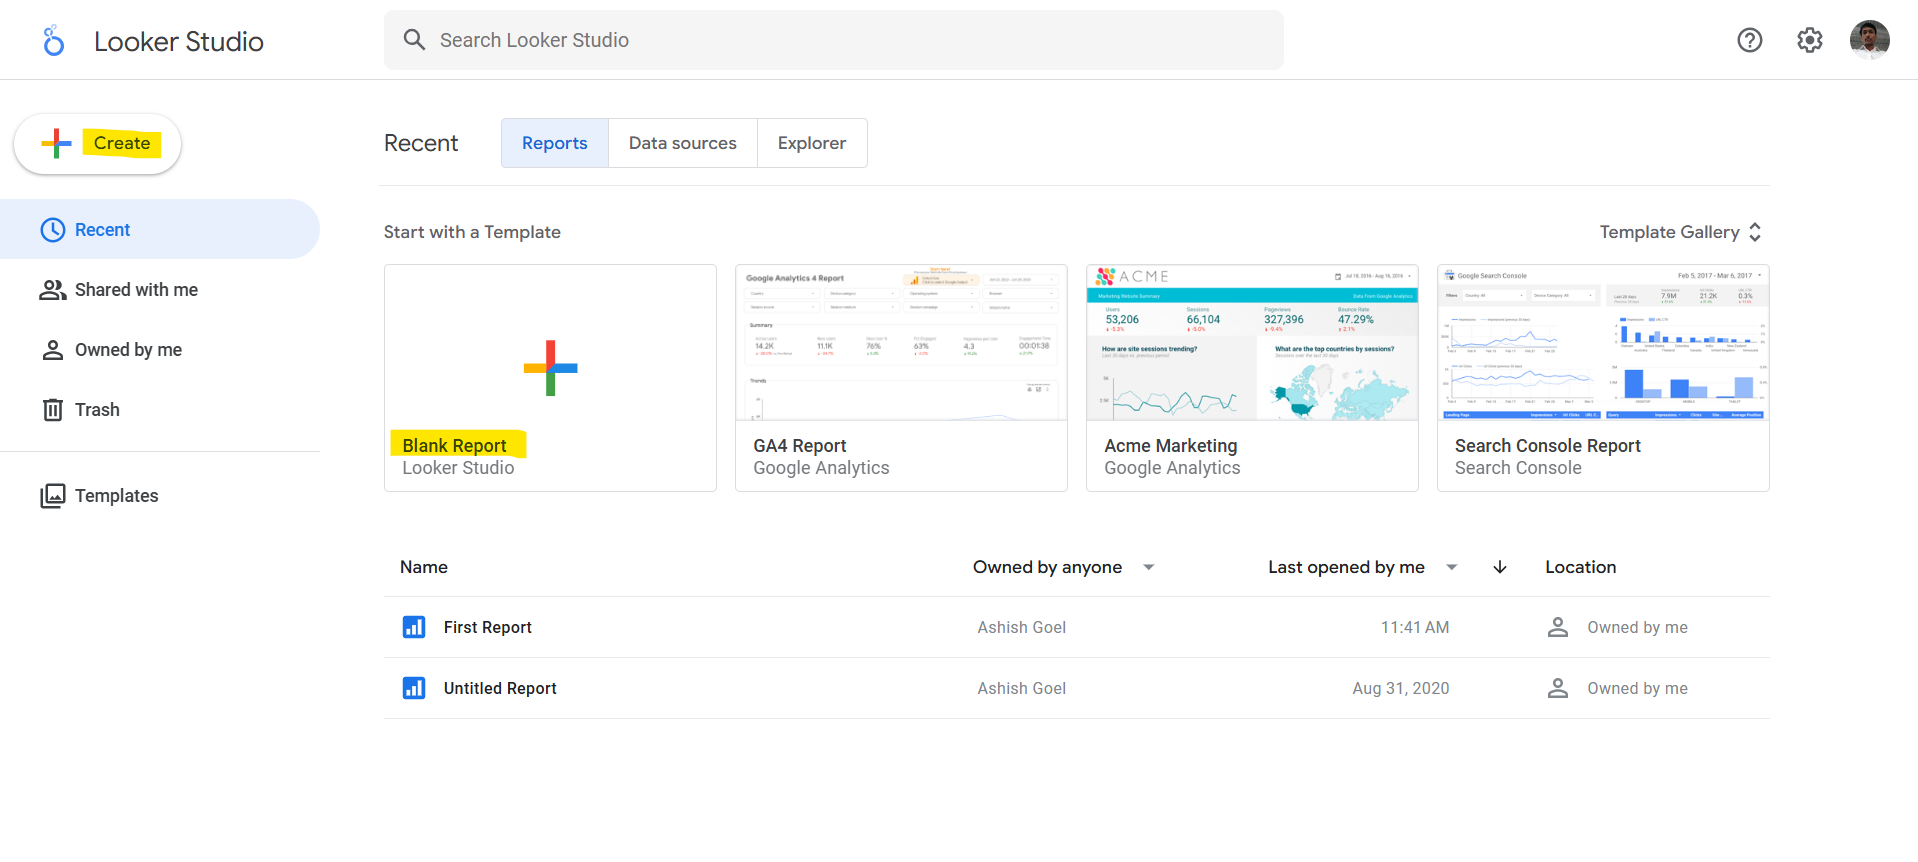
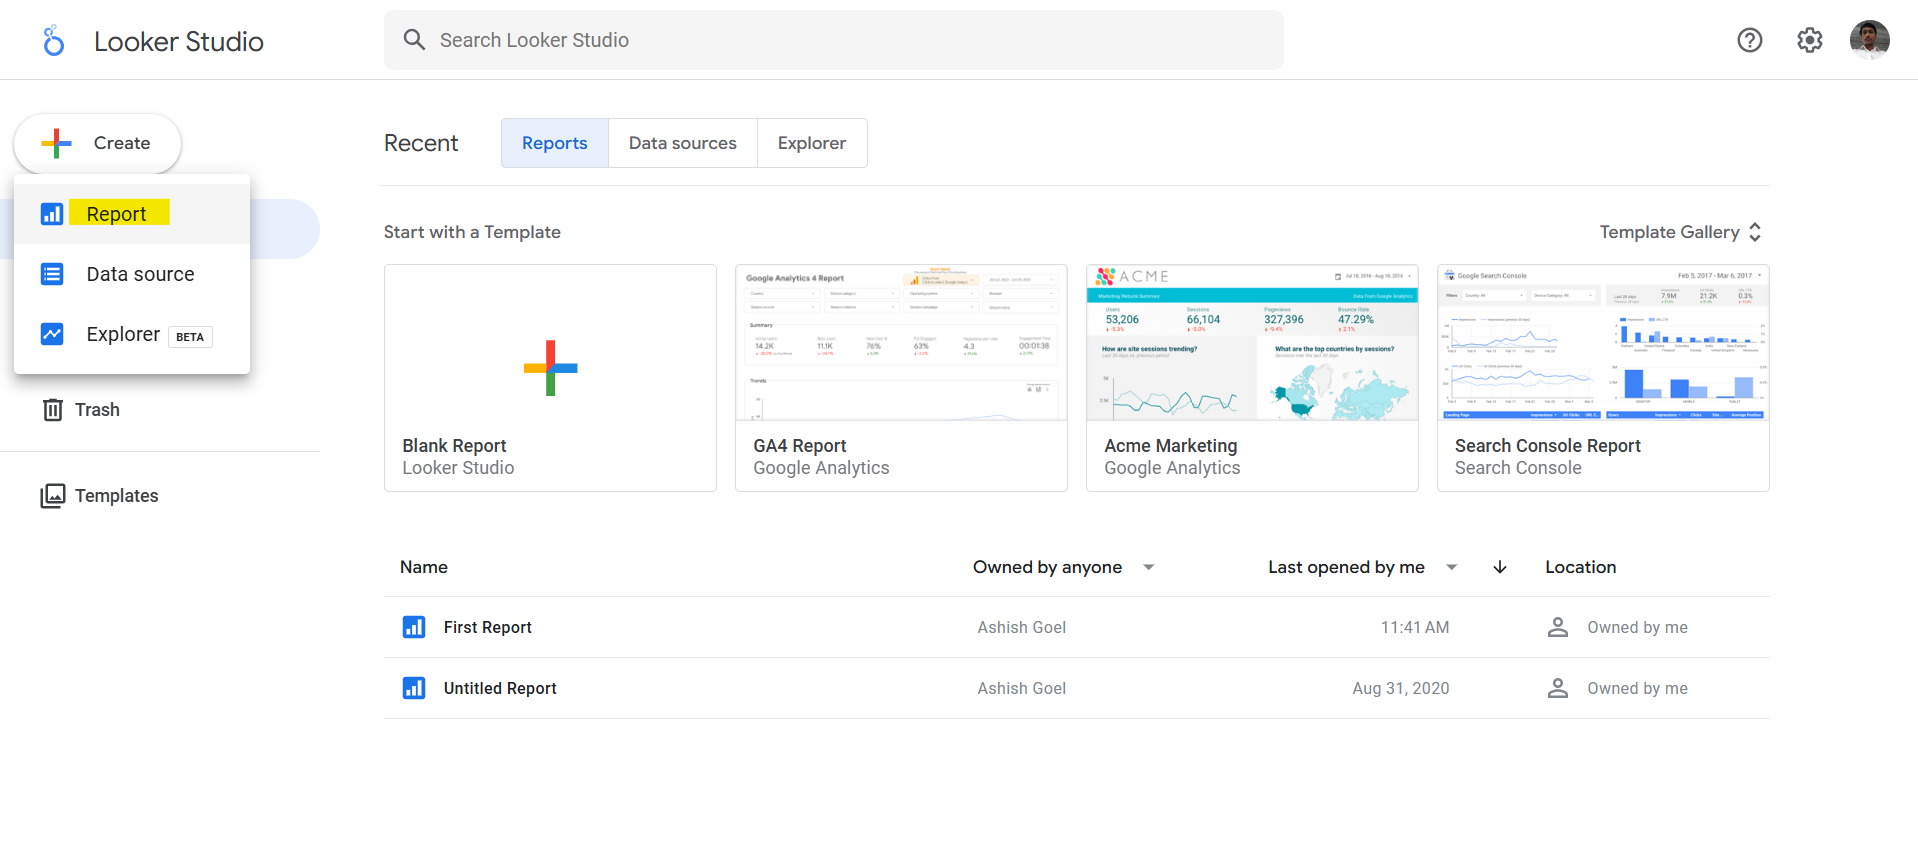
Step 3: Click Create button.
Then click on Report.
Alternatively, click on the Blank Report.
Step 4: We’ll see the report editor tool, with the Add data to report panel open. This panel has two tabs: Connect to data and My data sources.
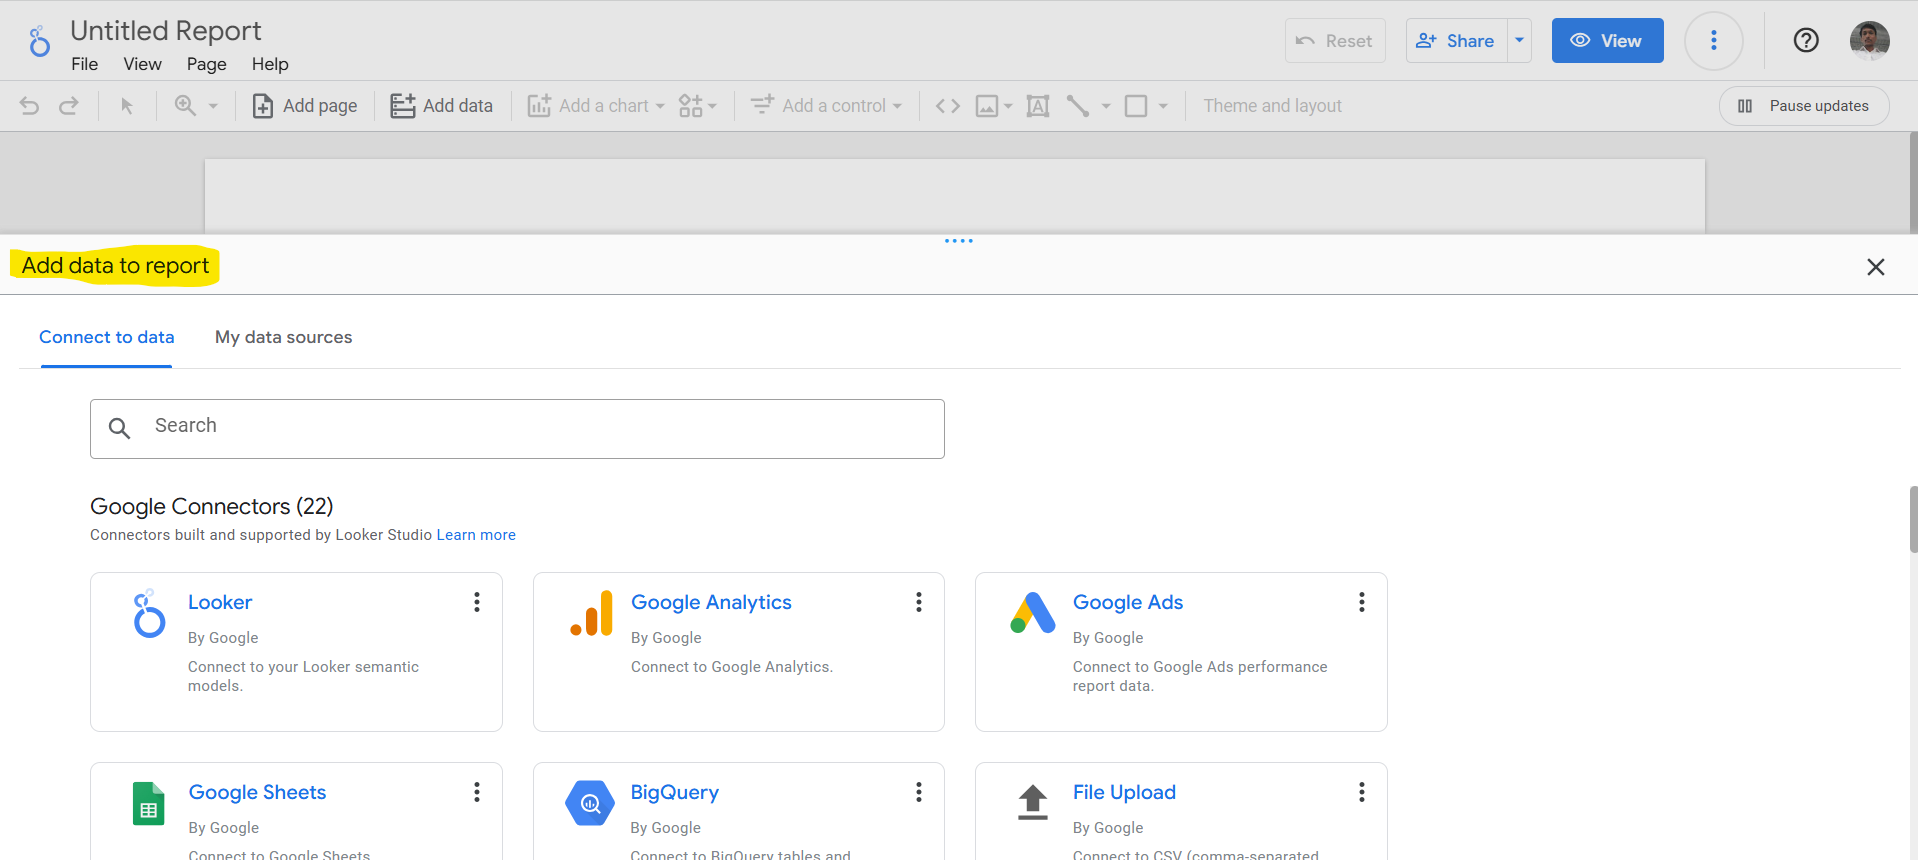
Click on the File Upload to upload the csv file.
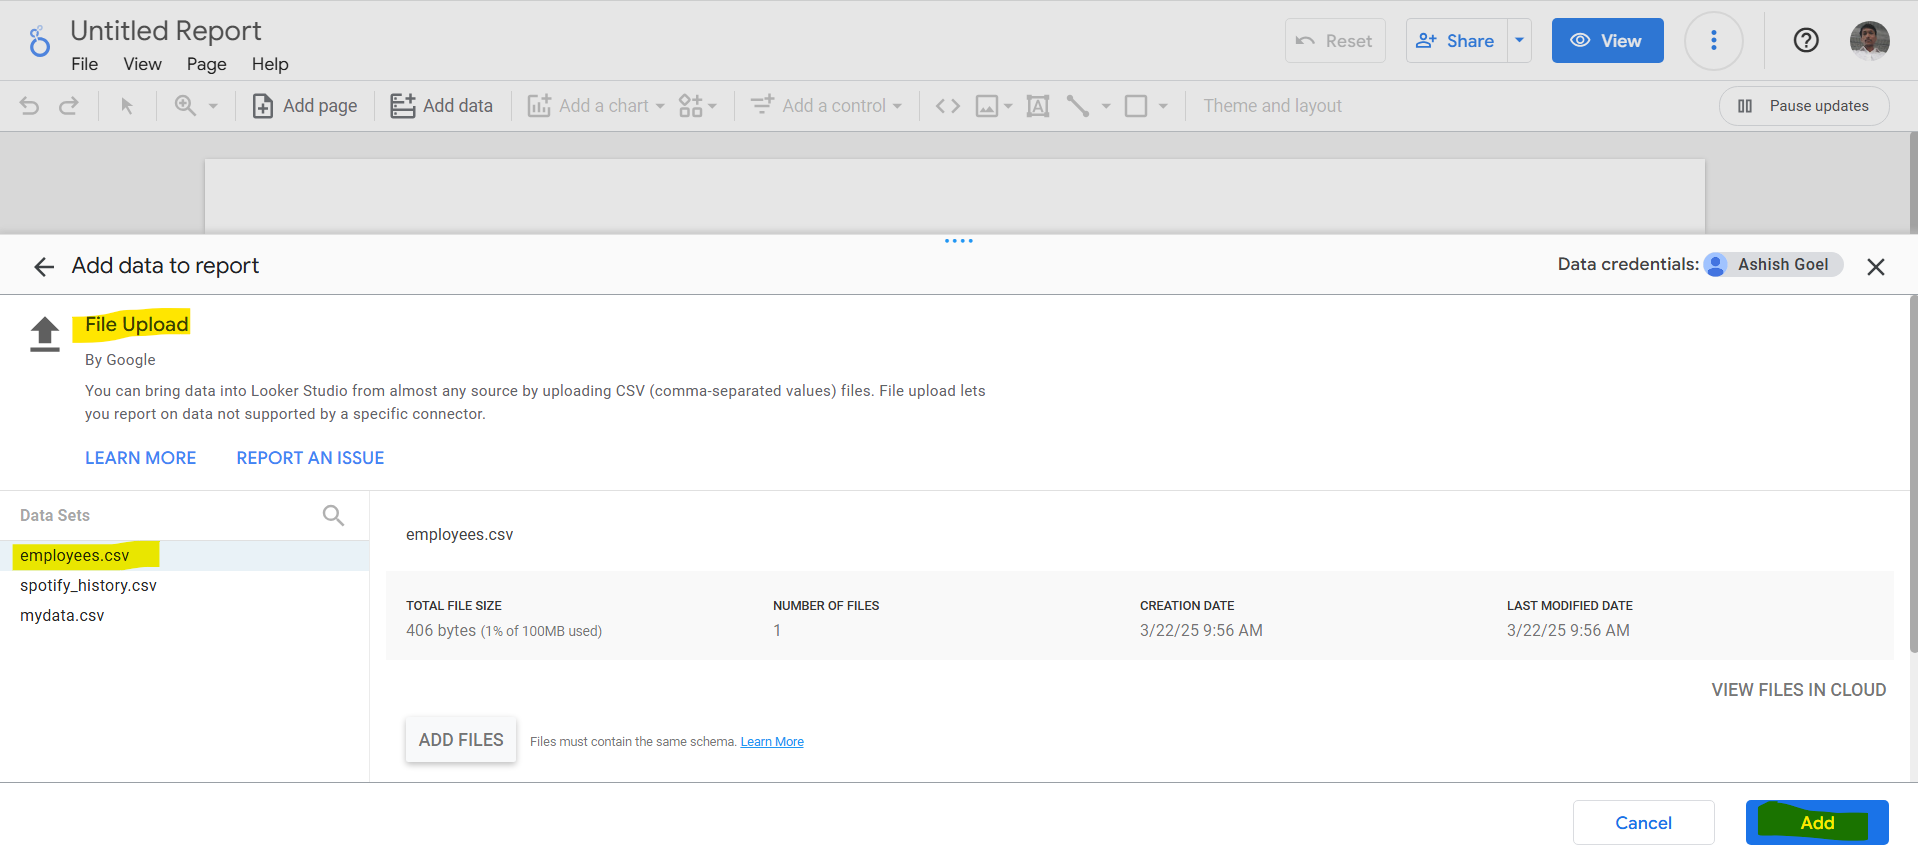
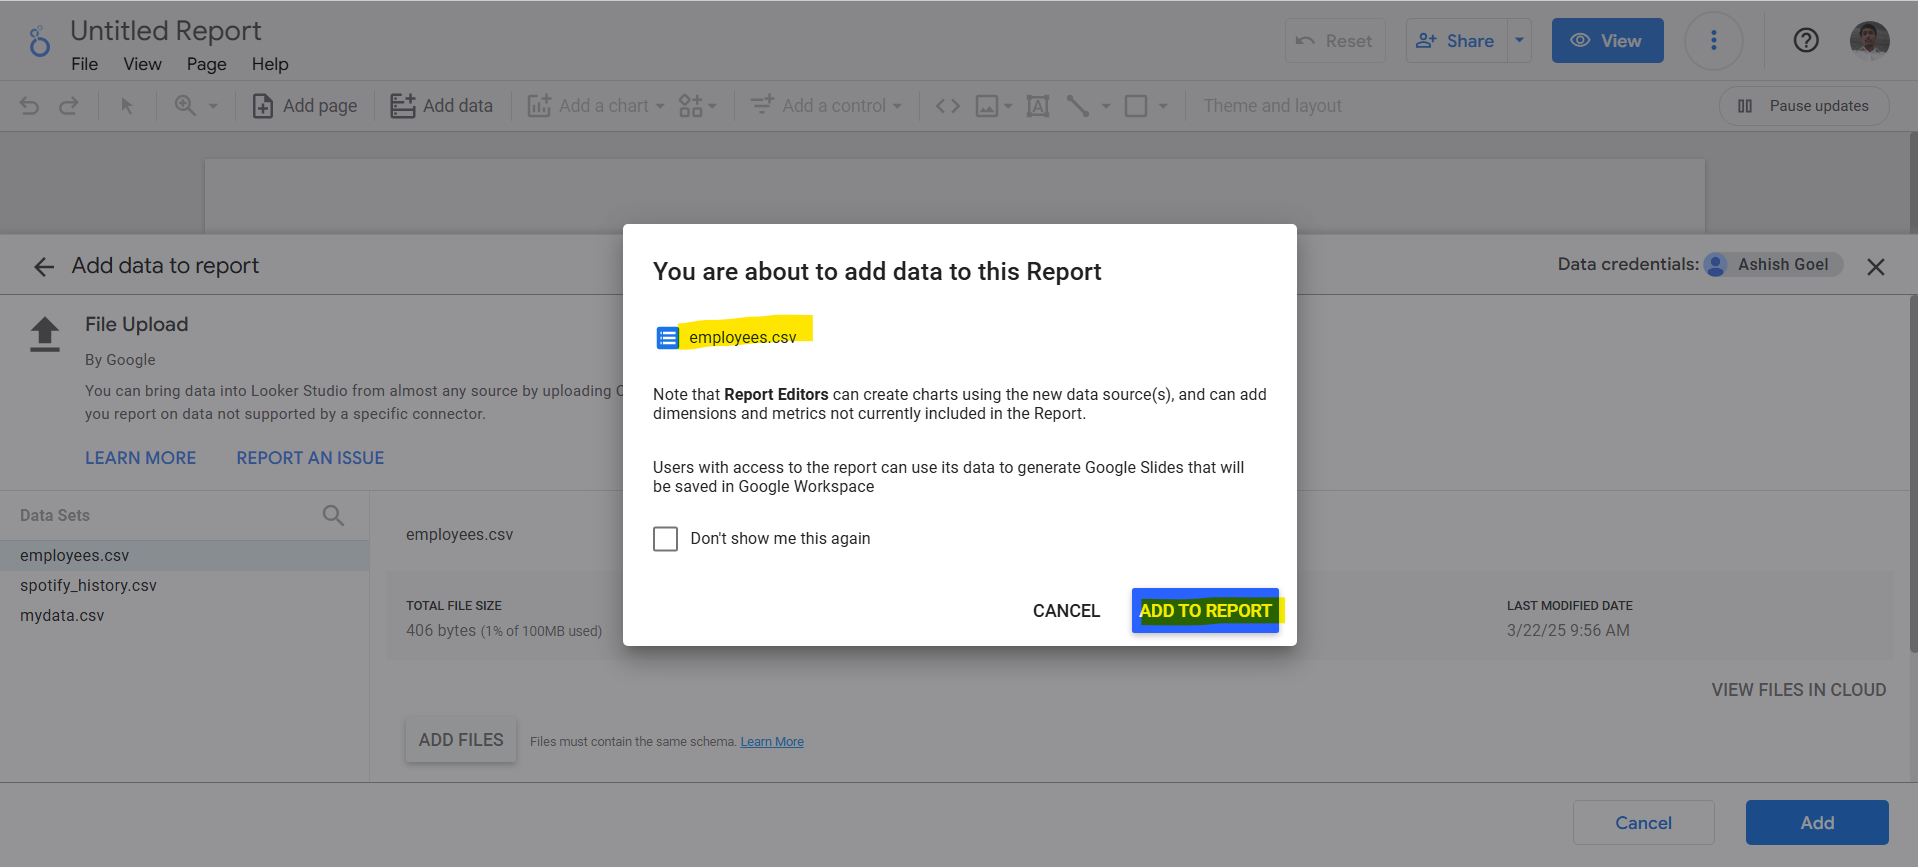
When we click on the Add, then click on the Add to Report.
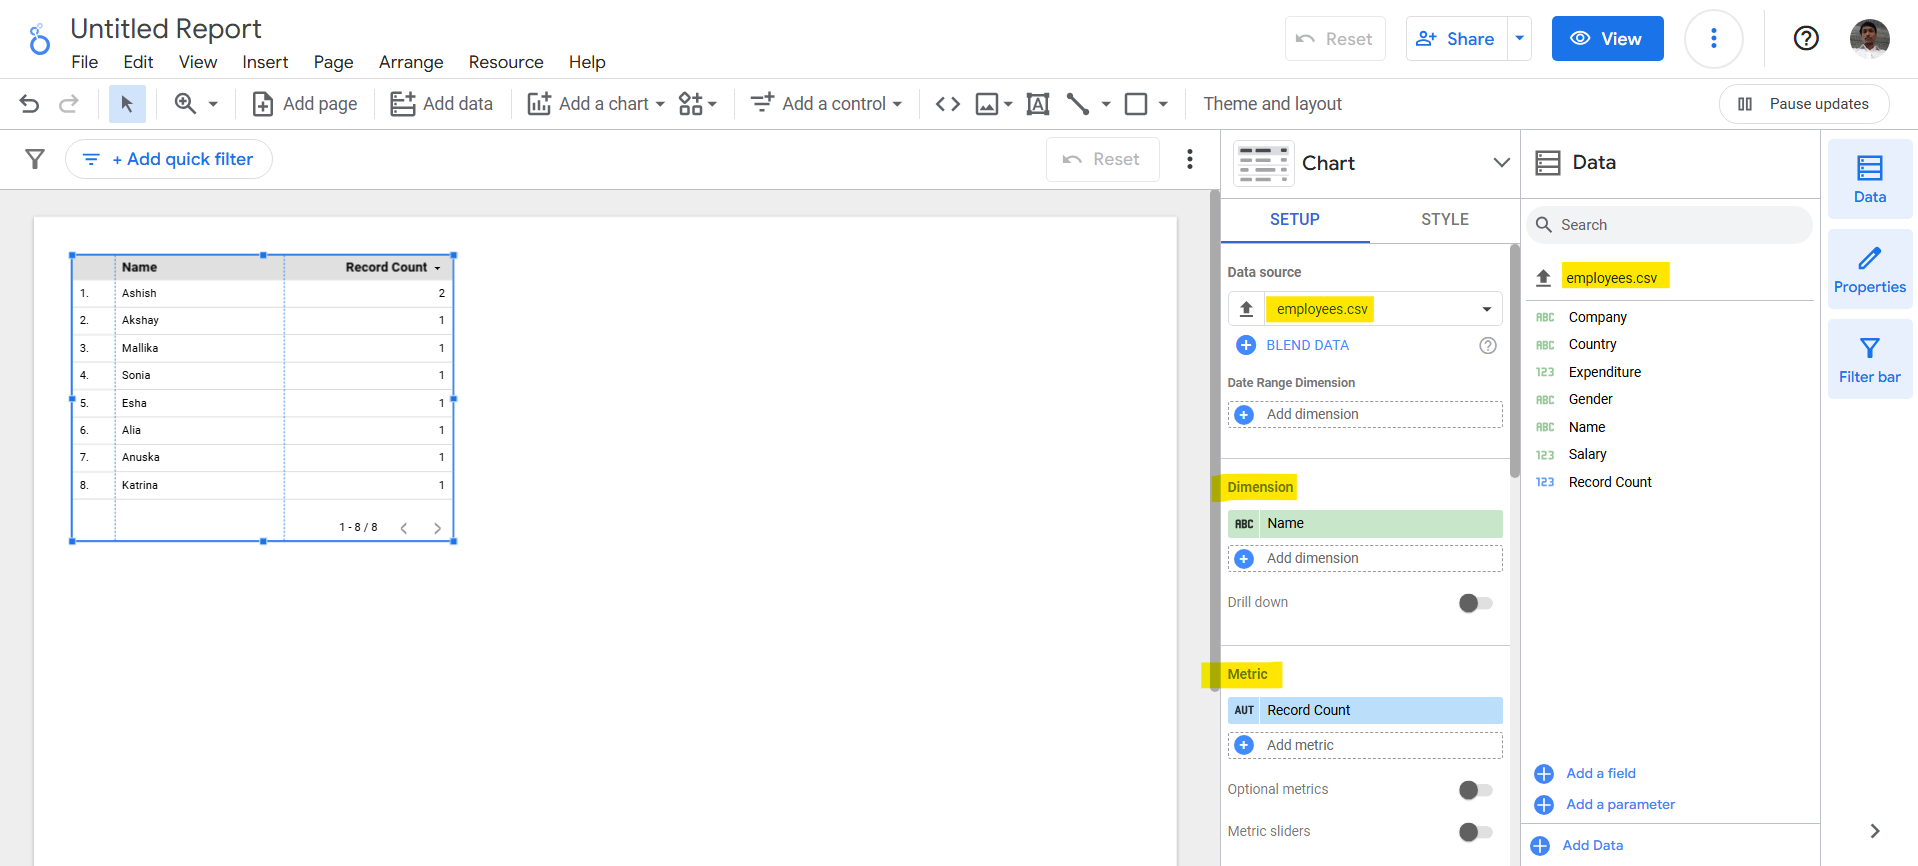
We can see the report canvas and the data is shown in the Data pane and a chart is created automatically.
Step 5: Add charts and controls to our report
Let’s add some chart and add the Dimension and the Metric in that.
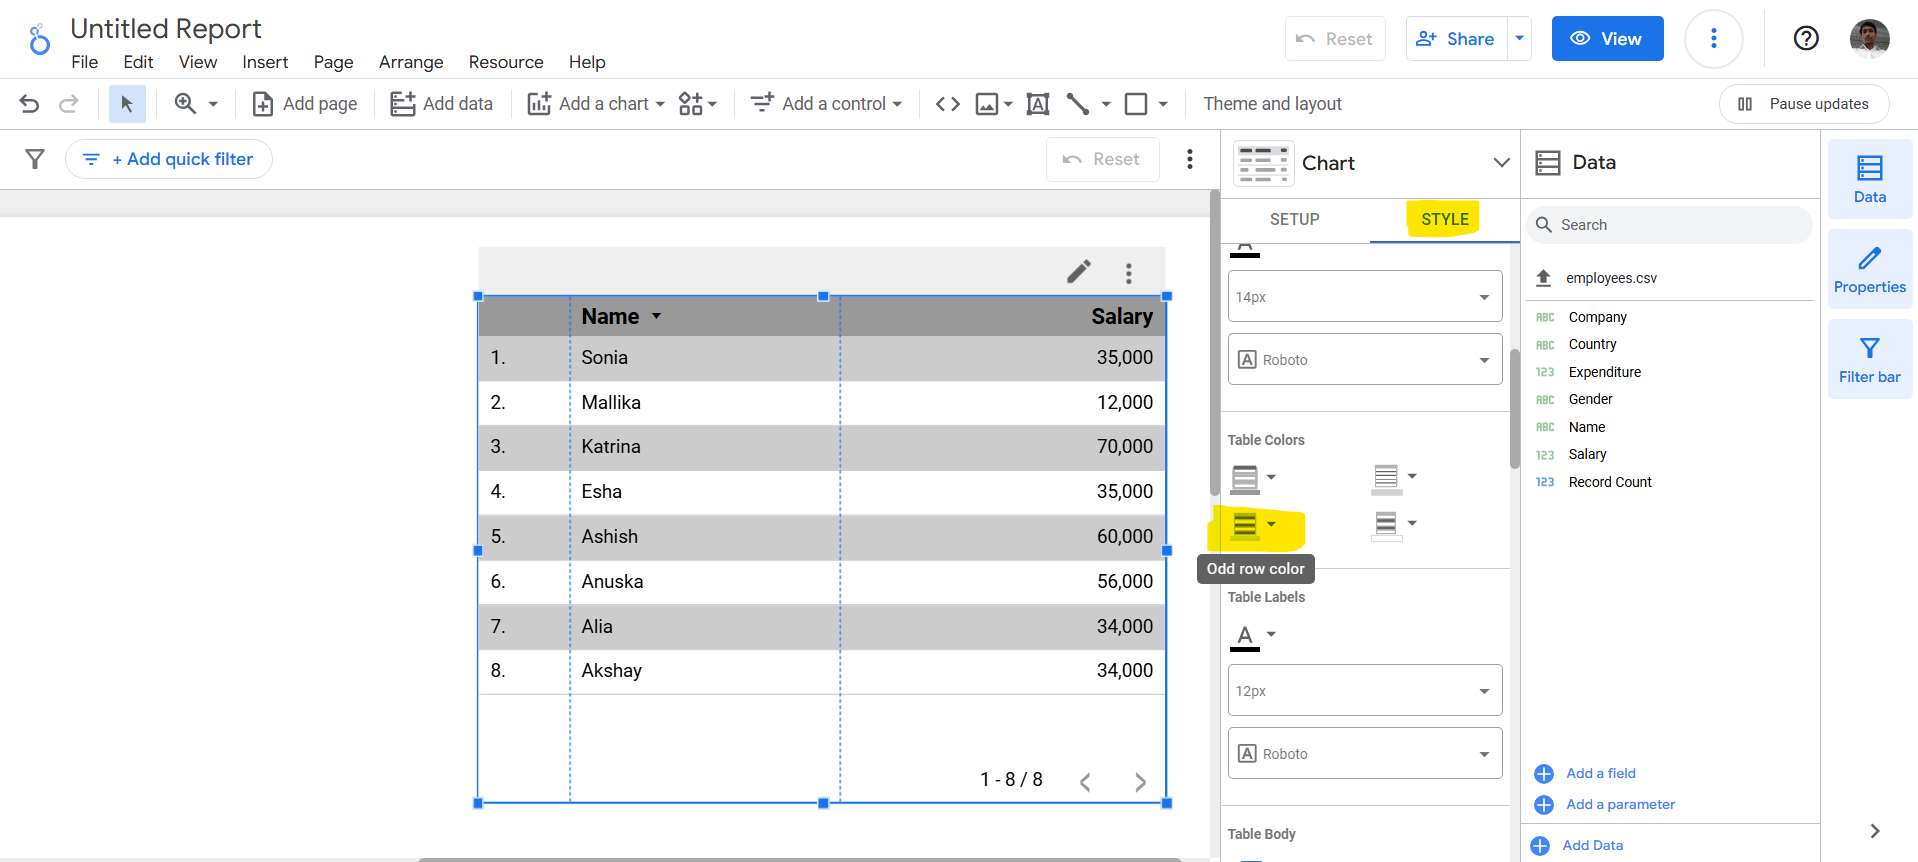
In the Chart visual we have added the Name in the Dimension and Salary in the Metric.
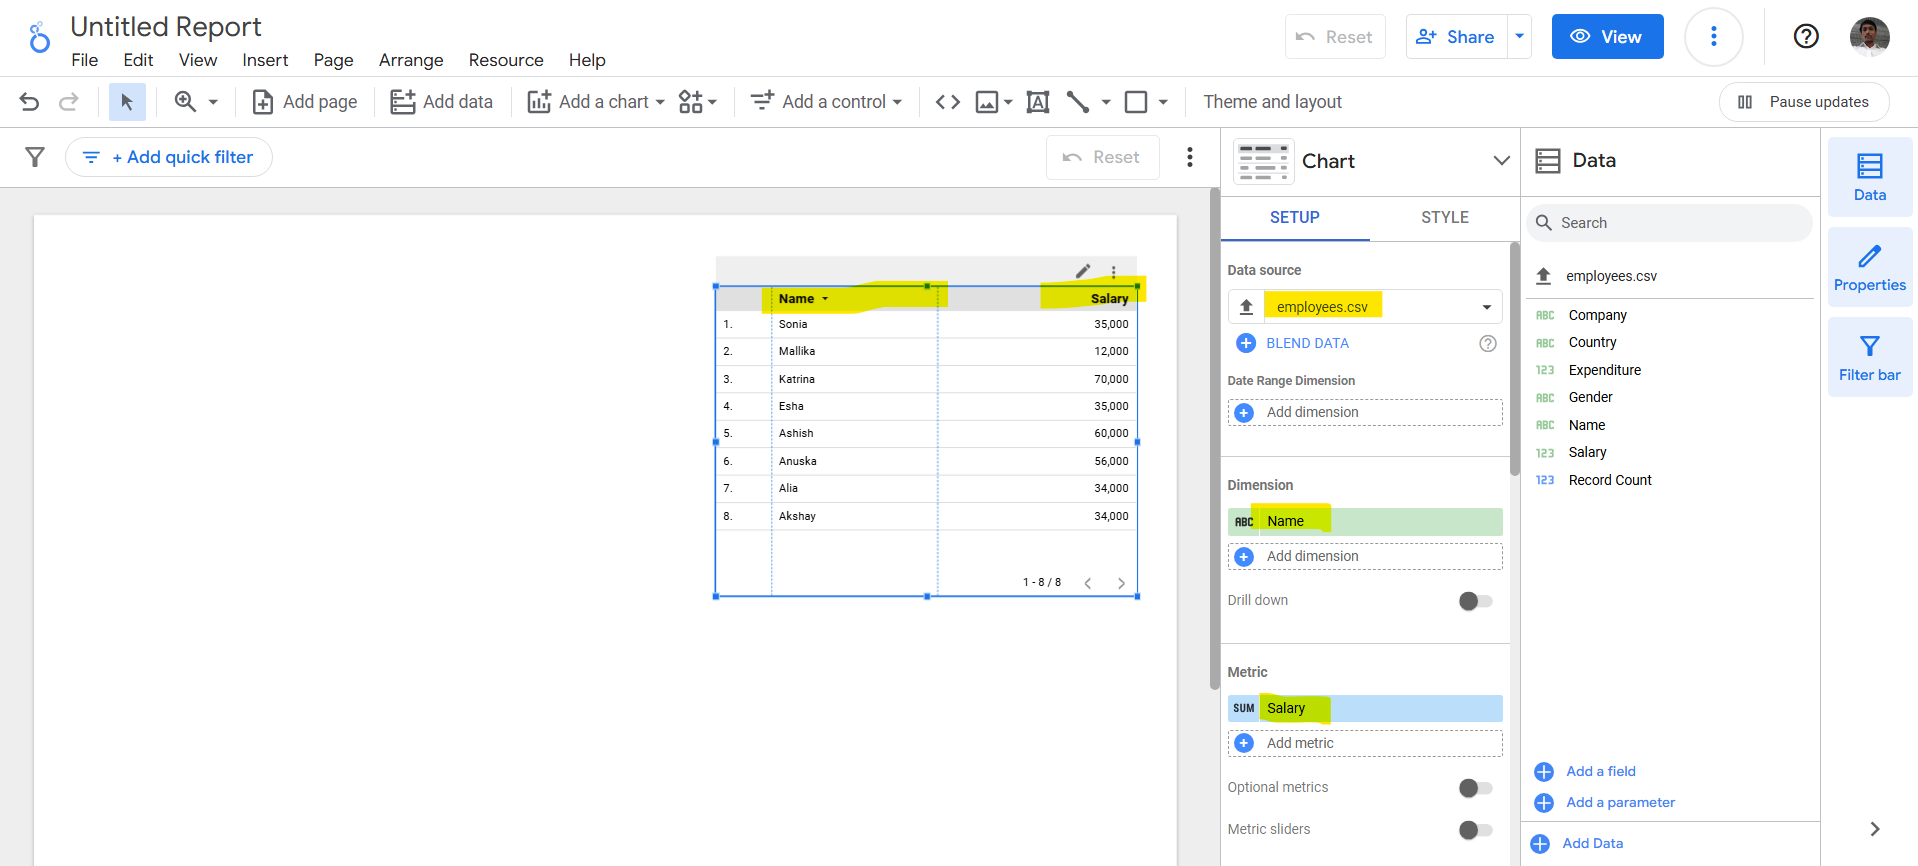
We can also format the visual by clicking on the Style.
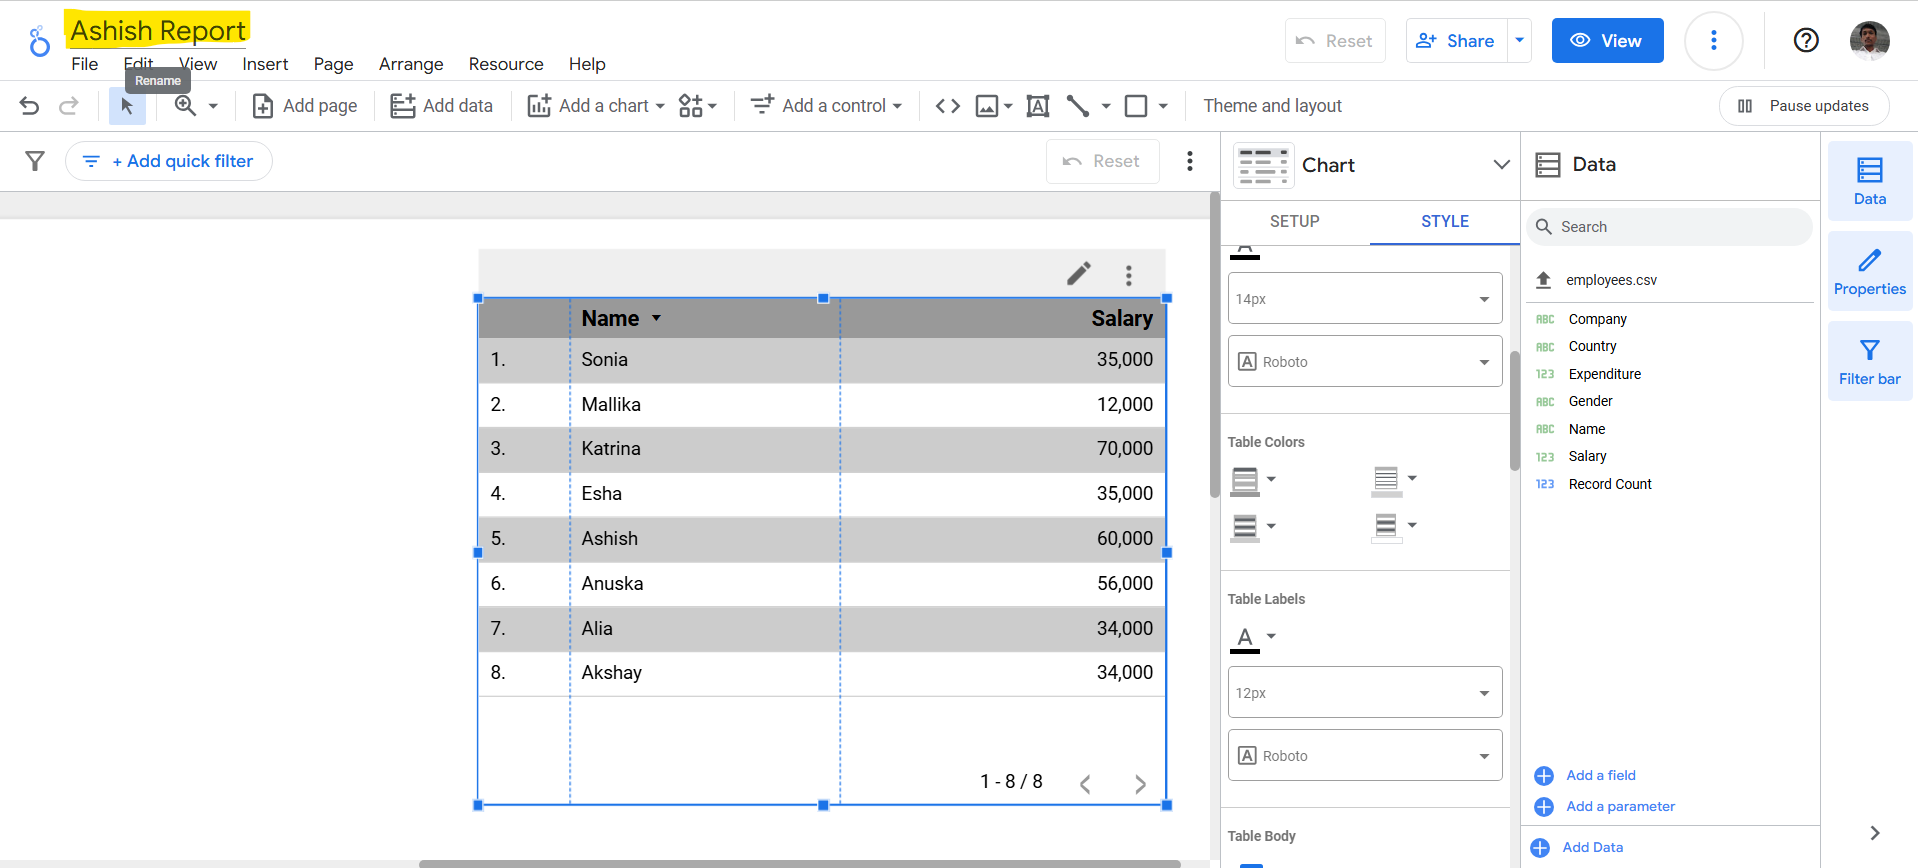
Step 6: We can rename the report by clicking on the report name in the editing mode.
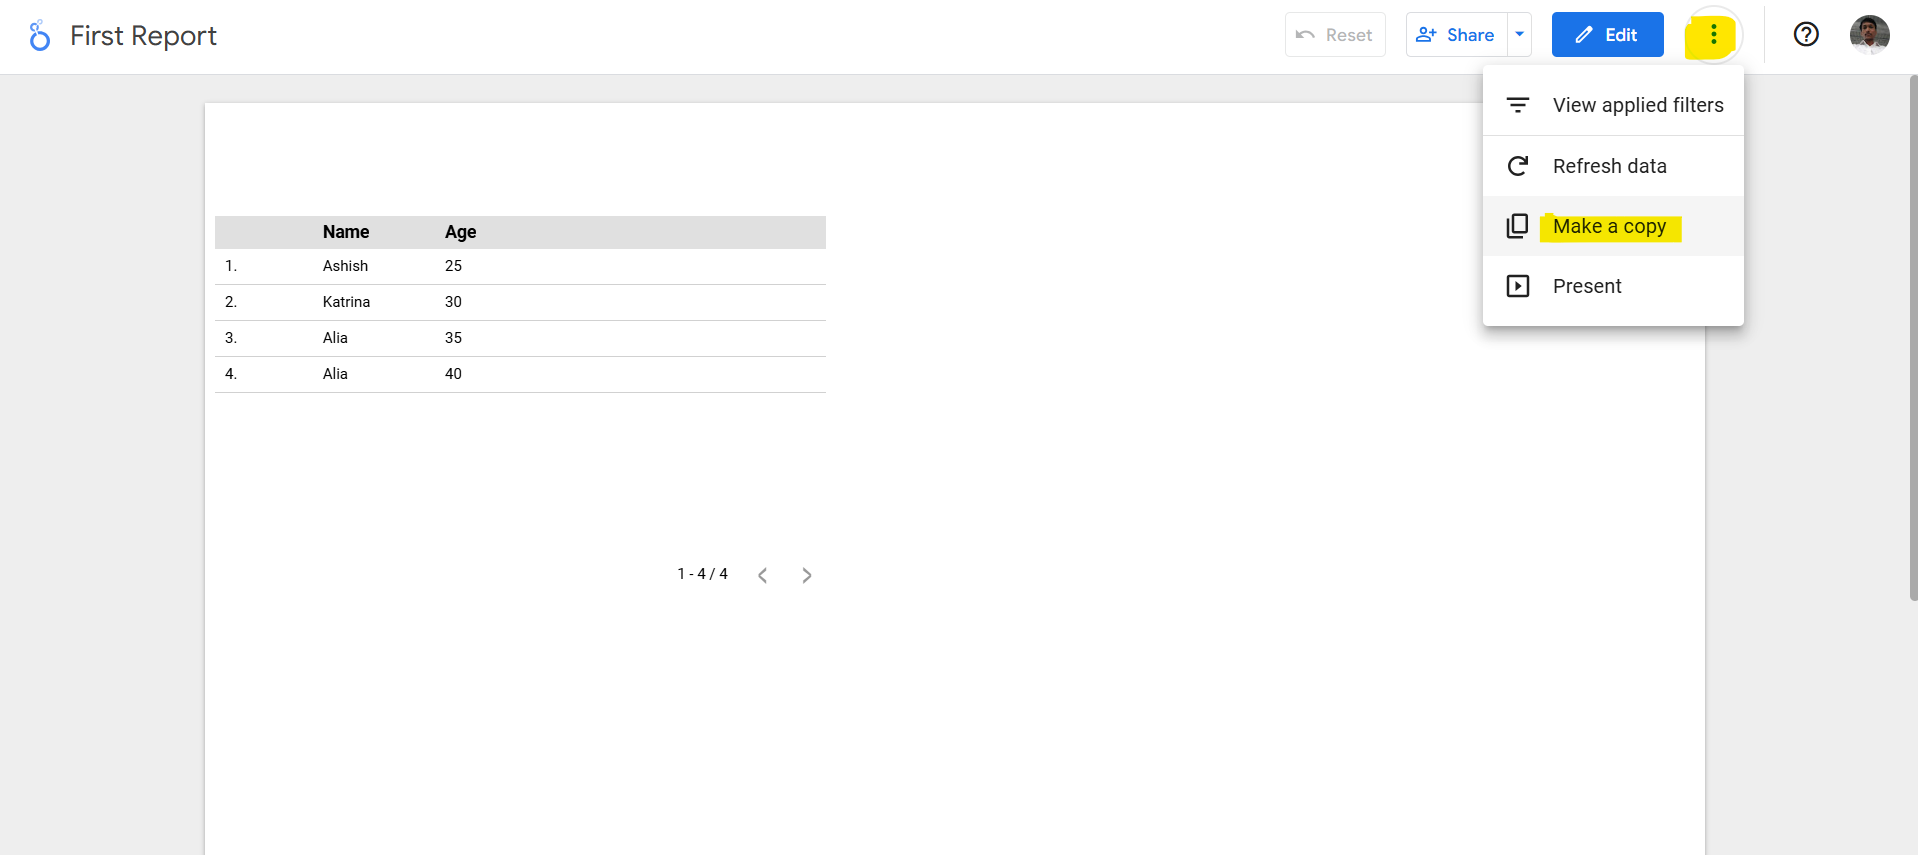
Step 7: We can Copy a report
In the top right, click on the three dots and then click on Make a copy. It creates a copy of the report.
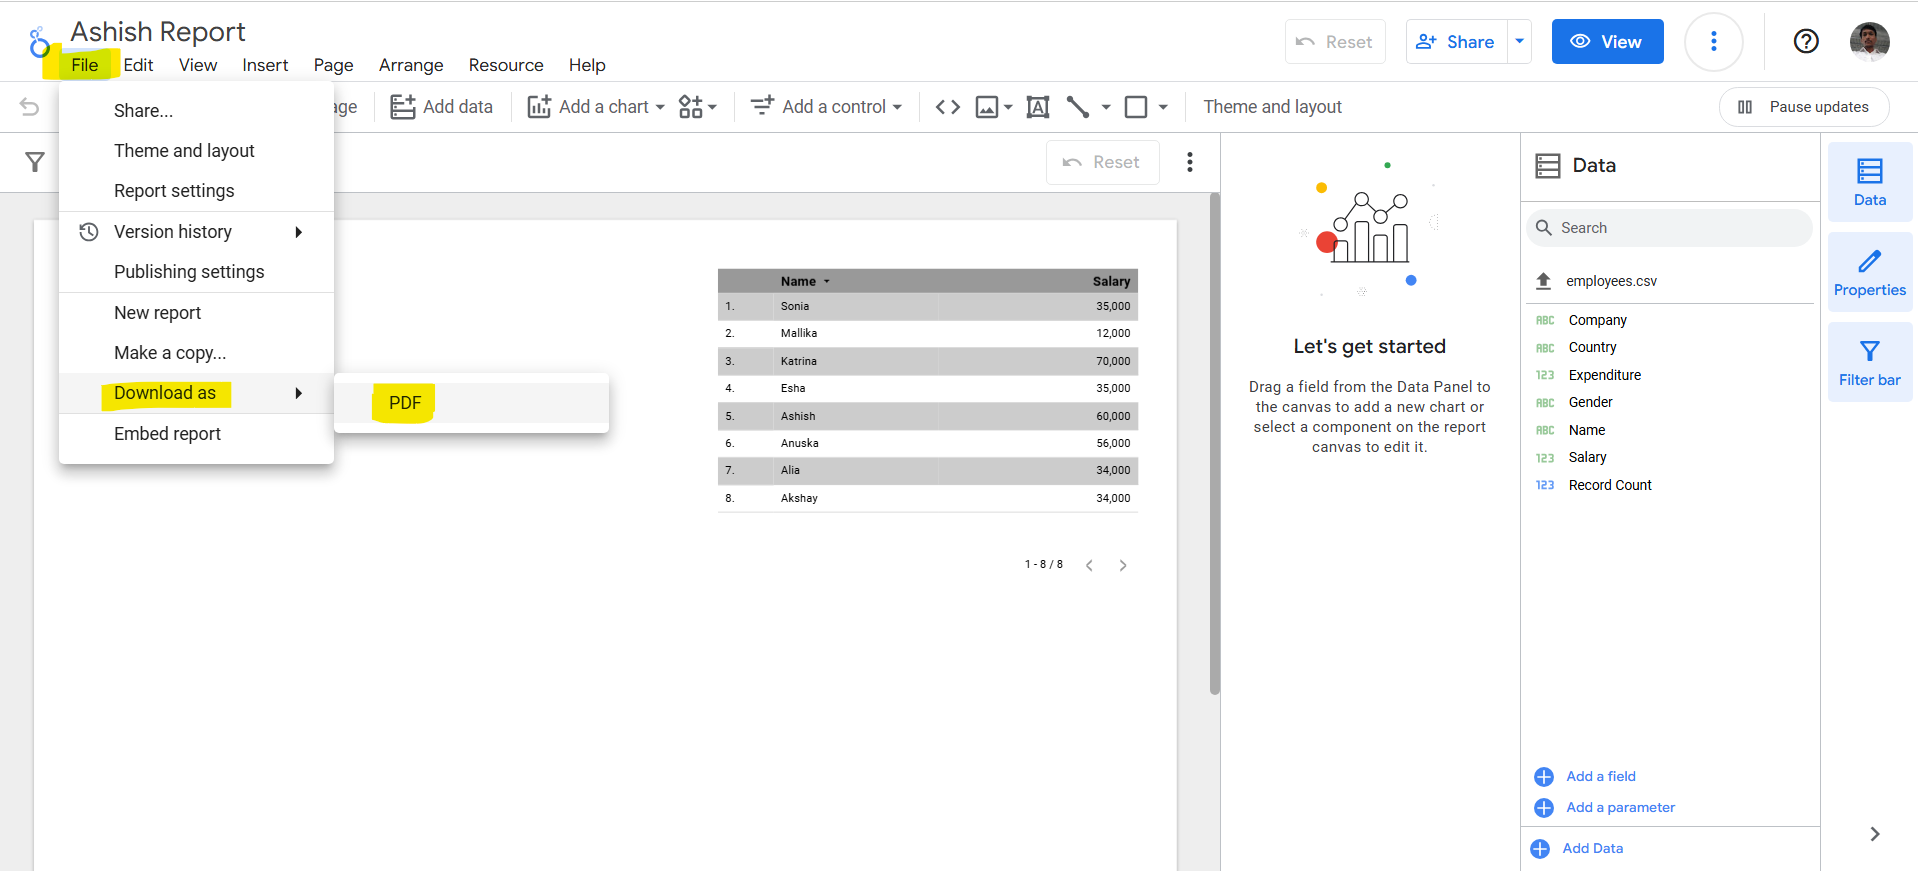
Step 8: To download the report as PDF, click on the File menu and then click on Download as and then click on the PDF.
Step 9: Delete a report
To delete a single report from the home page list, follow these steps:
Step 1: Sign in to Looker Studio using the official link.
Step 2: Locate the report that we want to remove.
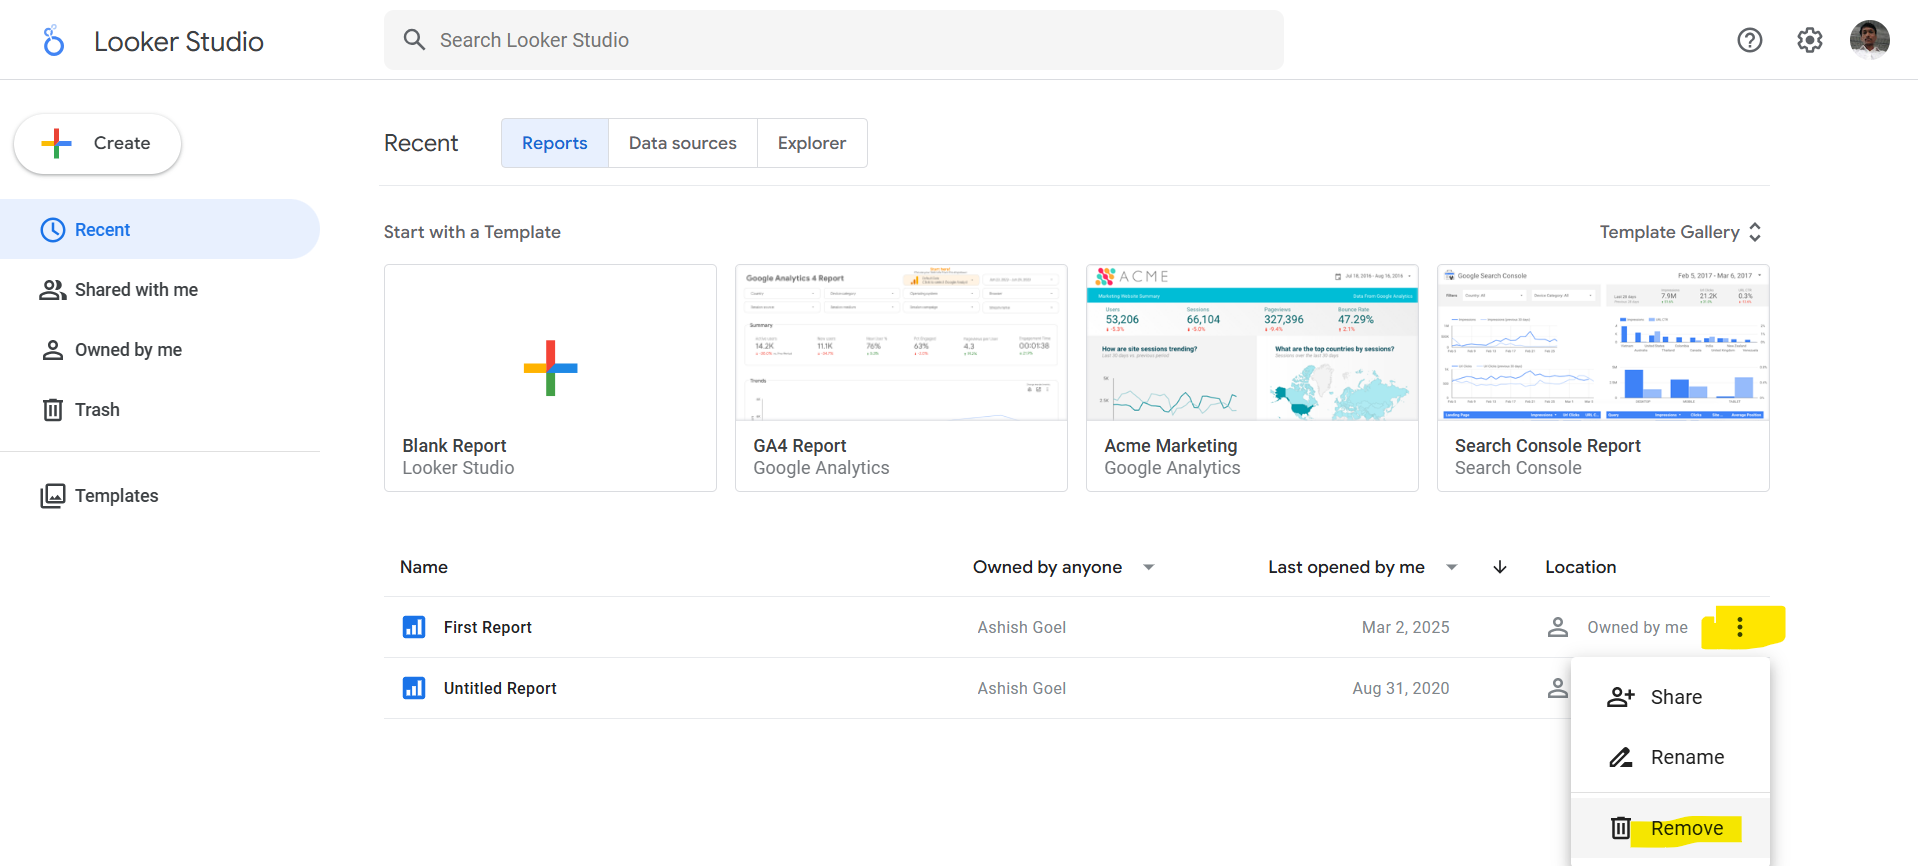
Step 3: In the report list, hold the pointer over the report name, then click More options (three vertical dots).
Step 4: Click on Remove.
