Timer control in Power Apps
A control that can determine how our app responds after a certain amount of time passes.
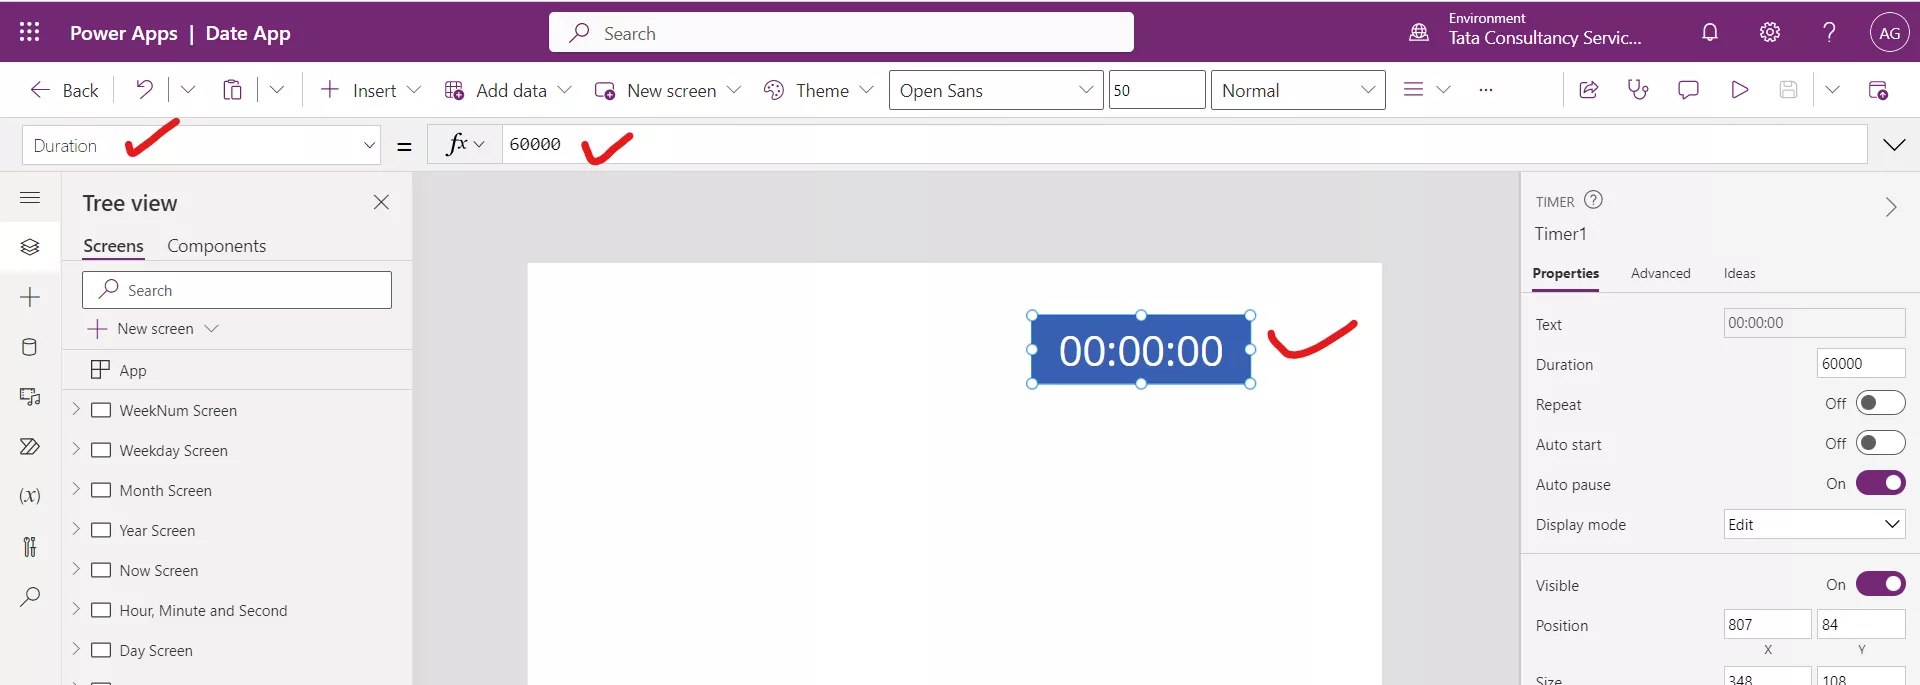
There are the following properties of a Timer control: 1. Duration The Duration property specifies how long a timer runs in milliseconds. The maximum is 24 hours expressed in milliseconds . The default duration is 60 seconds or 60000 milliseconds.
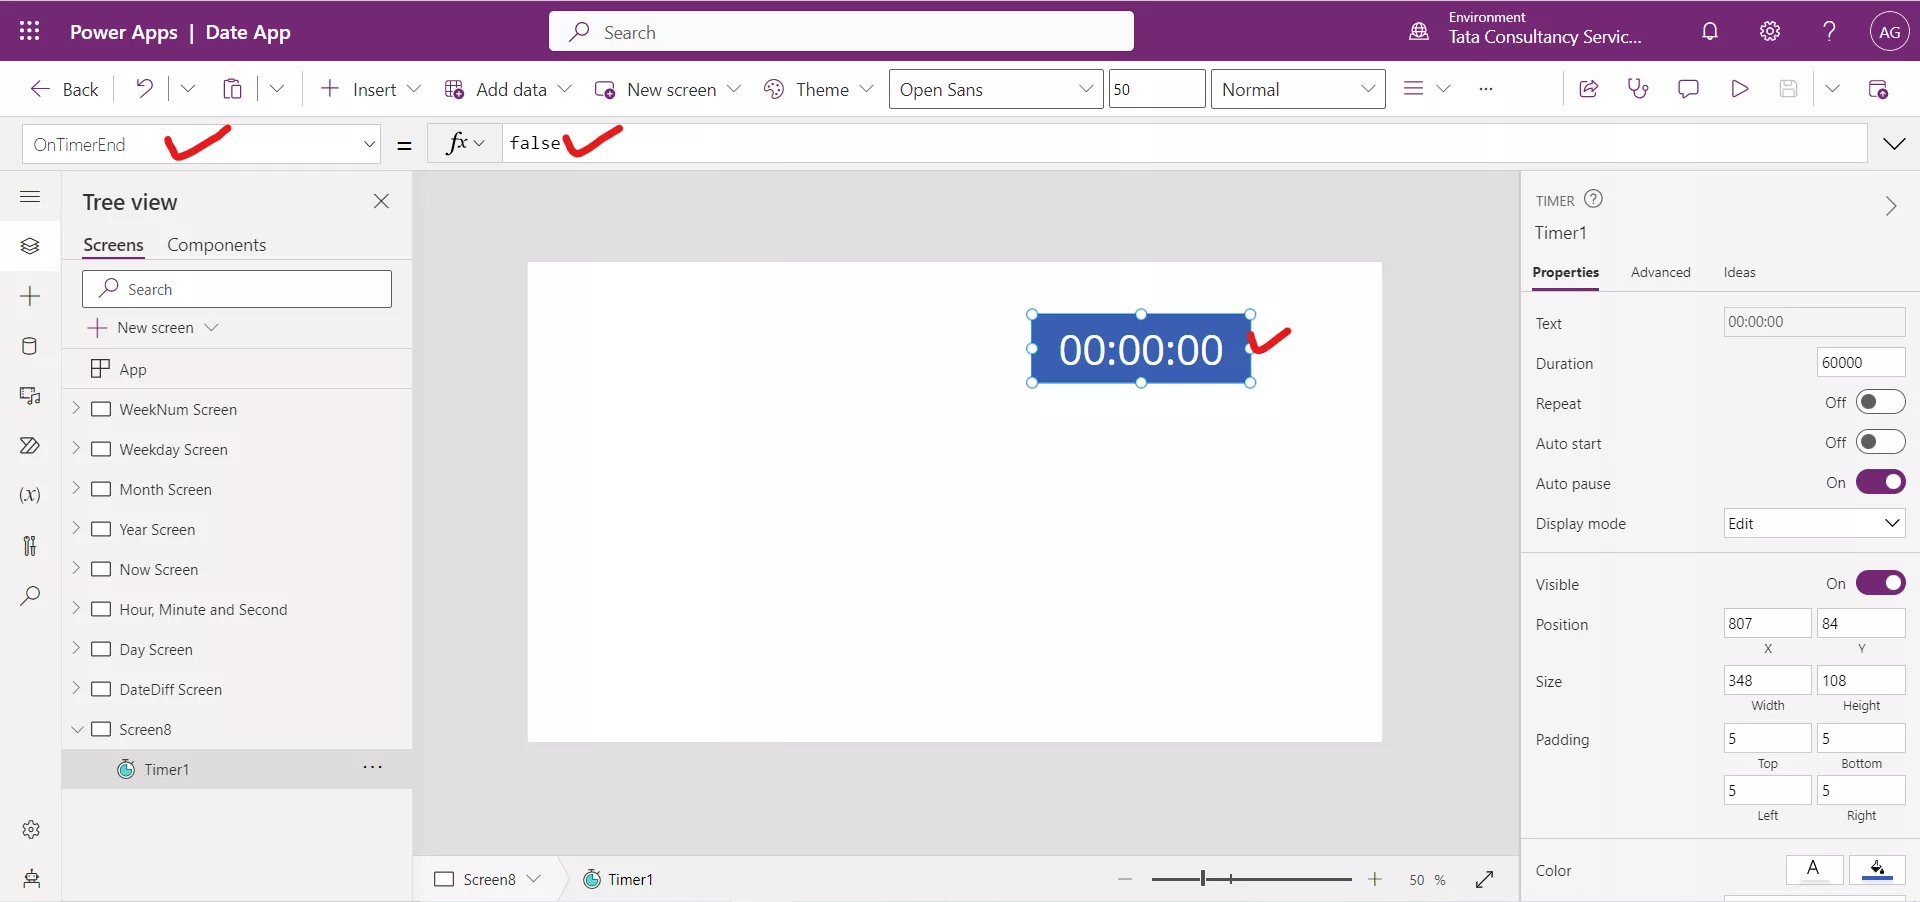
2. OnTimerEnd The OnTimerEnd property specifies the actions to perform when a timer finish running.
3. Repeat The Repeat property specifies whether a timer automatically restarts when it finishes running. This property takes a boolean value, i.e., true, or false.
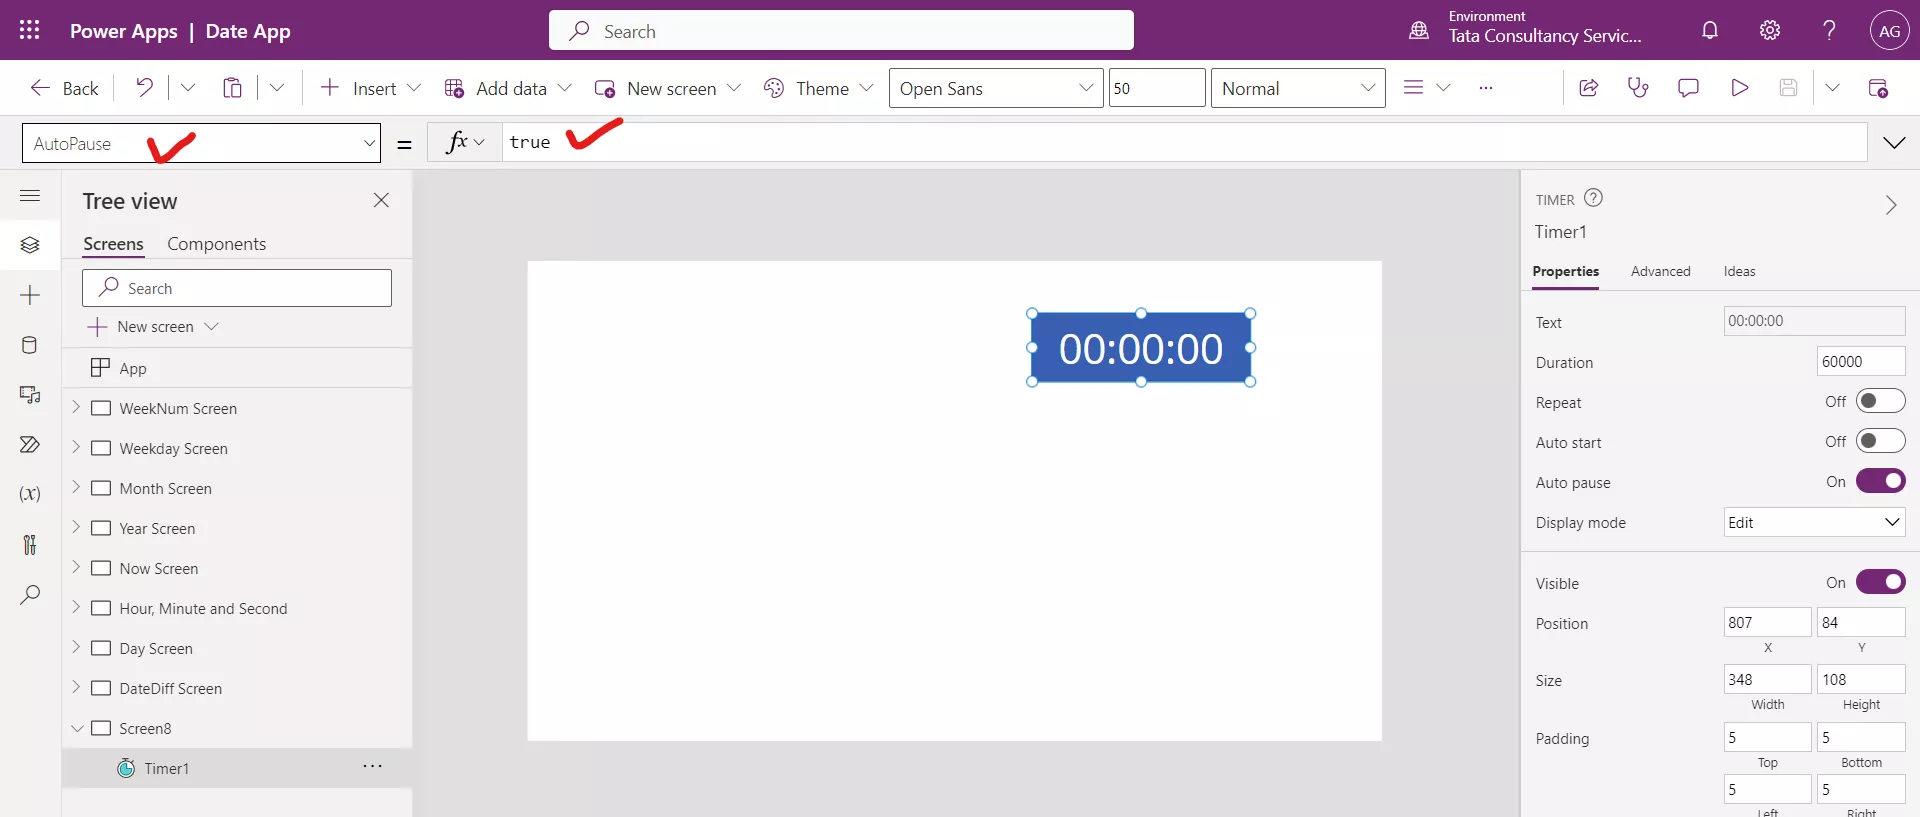
4. AutoPause The AutoPause property specifies whether the timer control automatically pauses if the user navigates to a different screen. This property takes a boolean value, i.e., true, or false.
5. AutoStart The AutoStart property specifies whether the timer control automatically starts to play when the user navigates to the screen that contains that control. This property takes a boolean value, i.e., true, or false.
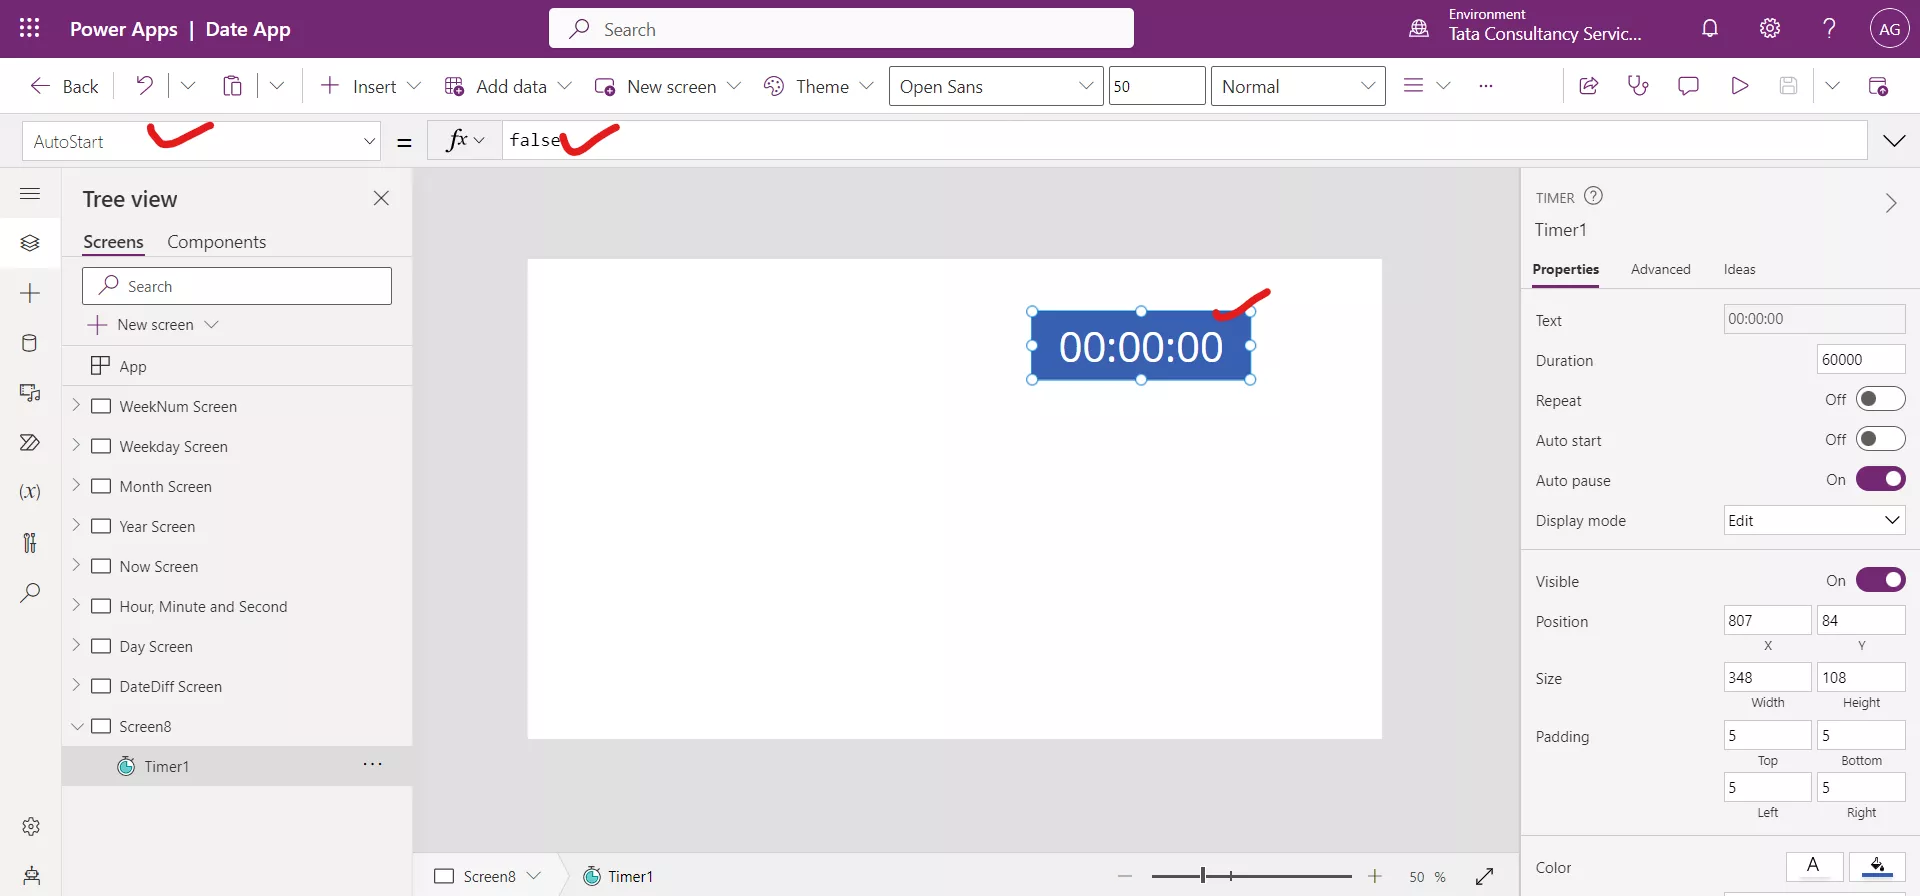
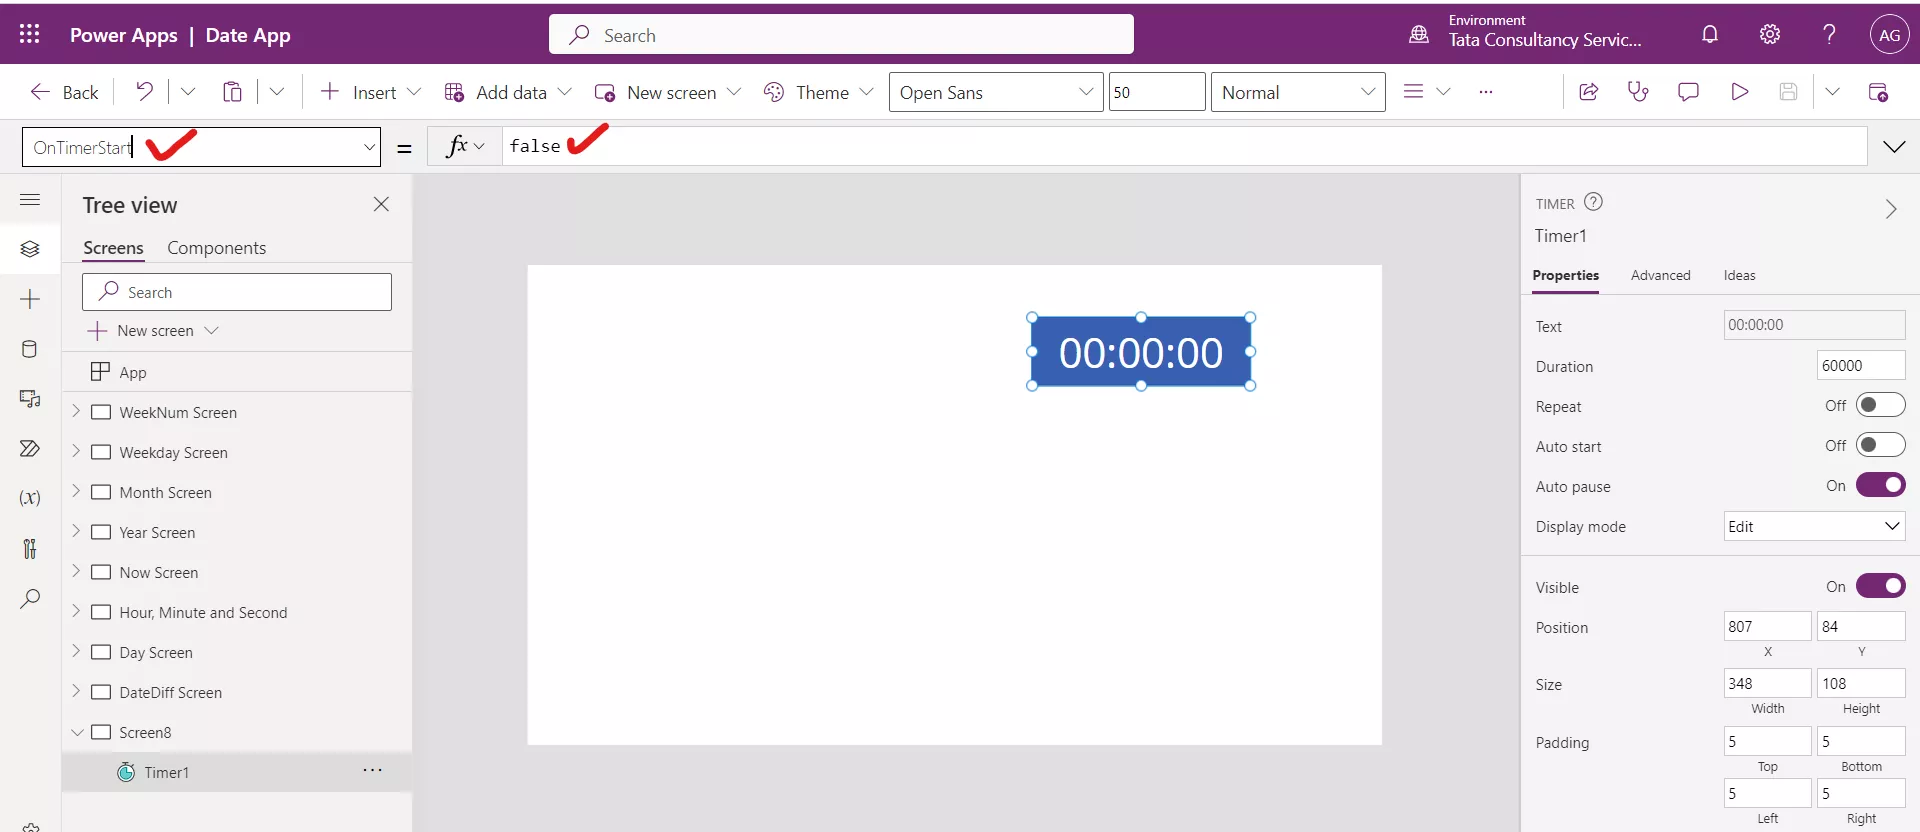
6. OnTimerStart
The OnTimerStart property specifies the actions to perform when a timer starts to run.
7. X The X property of a control specifies the distance between the left edge of a control and the left edge of its parent container. It the timer control has no parent container, then the screen acts as a parent container.
8. Y The Y property of a control specifies the distance between the top edge of a control and the top edge of the parent container. It the timer control has no parent container, then the screen acts as a parent container.
9. Tooltip The Tooltip property specifies the explanatory text that appears when the user hovers over a control.
10. Start The Start property specifies whether the timer starts or not. If it is true the timer starts, if it is false timer stops. By default, its value is false.
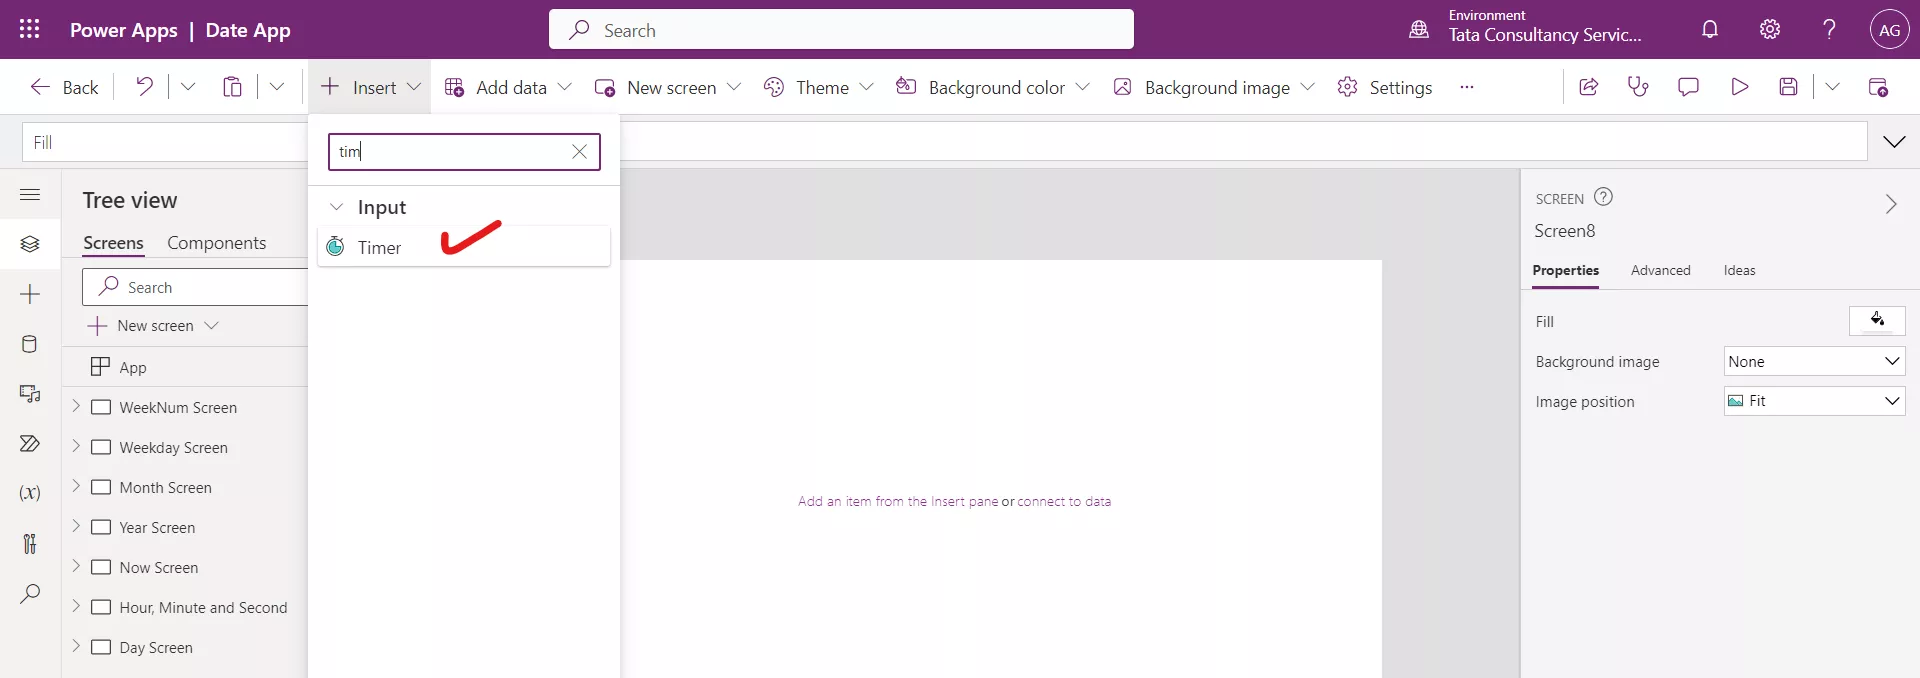
Example:Step 1: Add a Timer control to the canvas app, to add click on + Insert.
Step 2: From search we can type for timer, or from the Input group, select the Timer control.
Step 3: Add the two Button controls and change their Text properties to “Timer start” and “Timer End”.
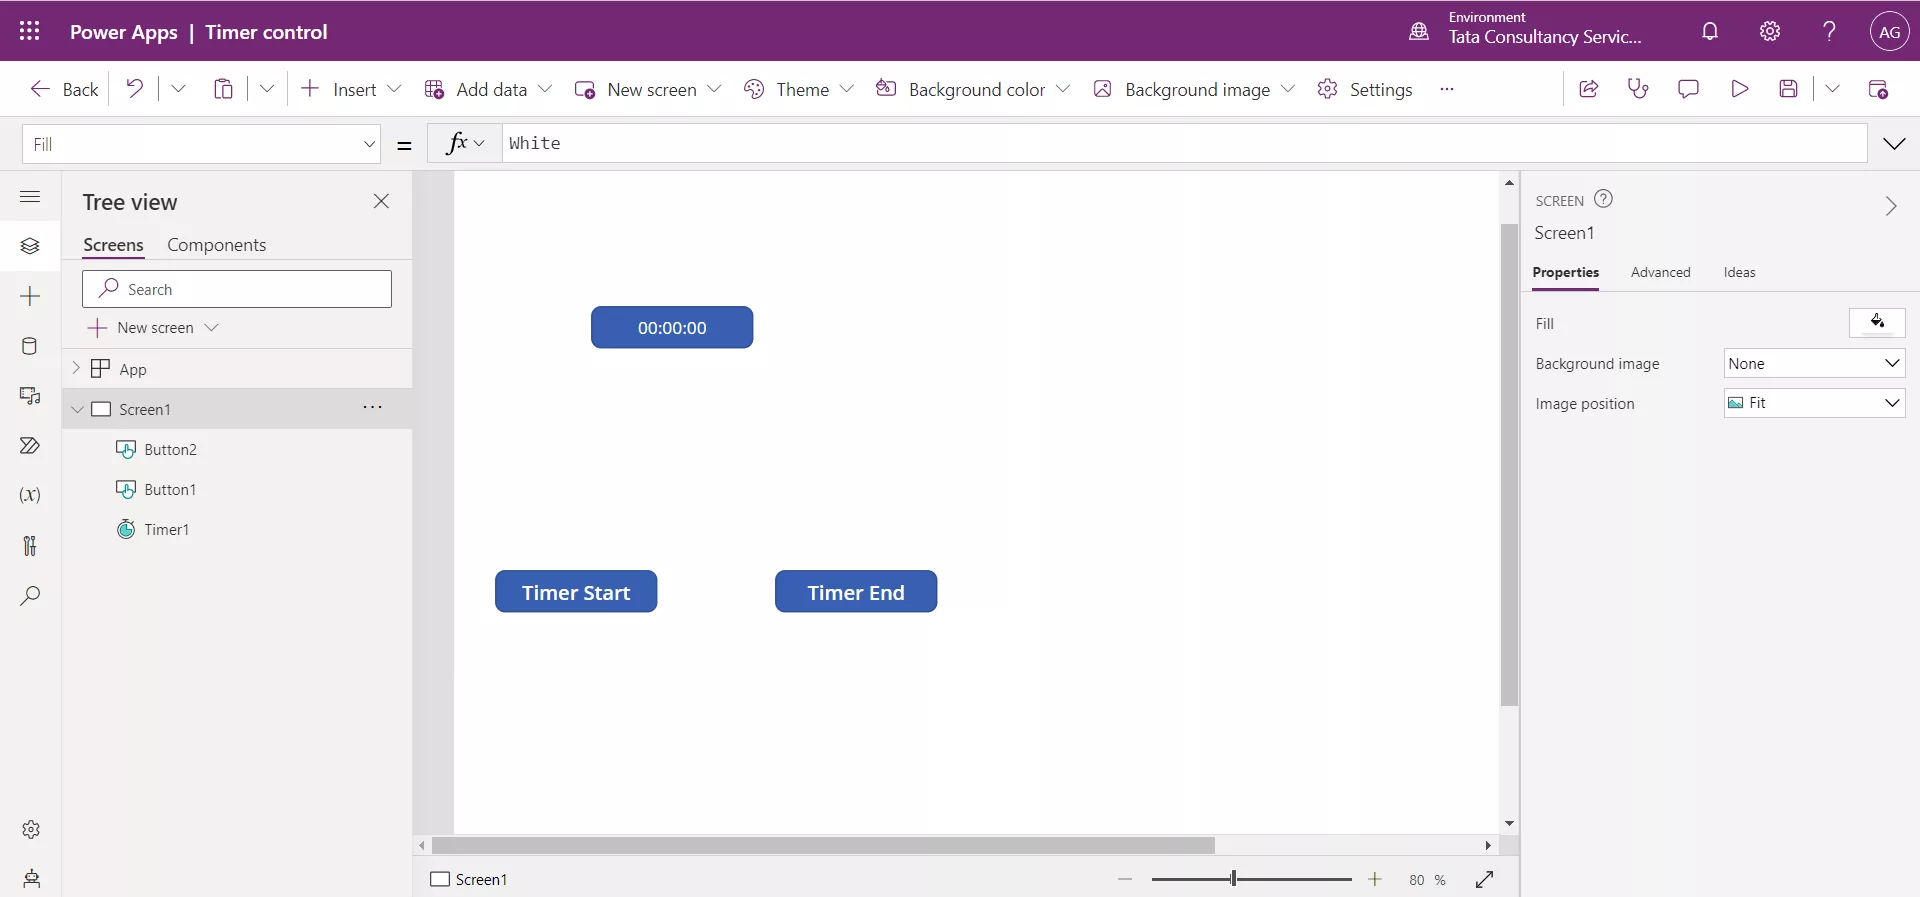
Step 4: Set the OnSelect property of the “Timer Start” button to the following powerapps formula.
Power Apps Formula
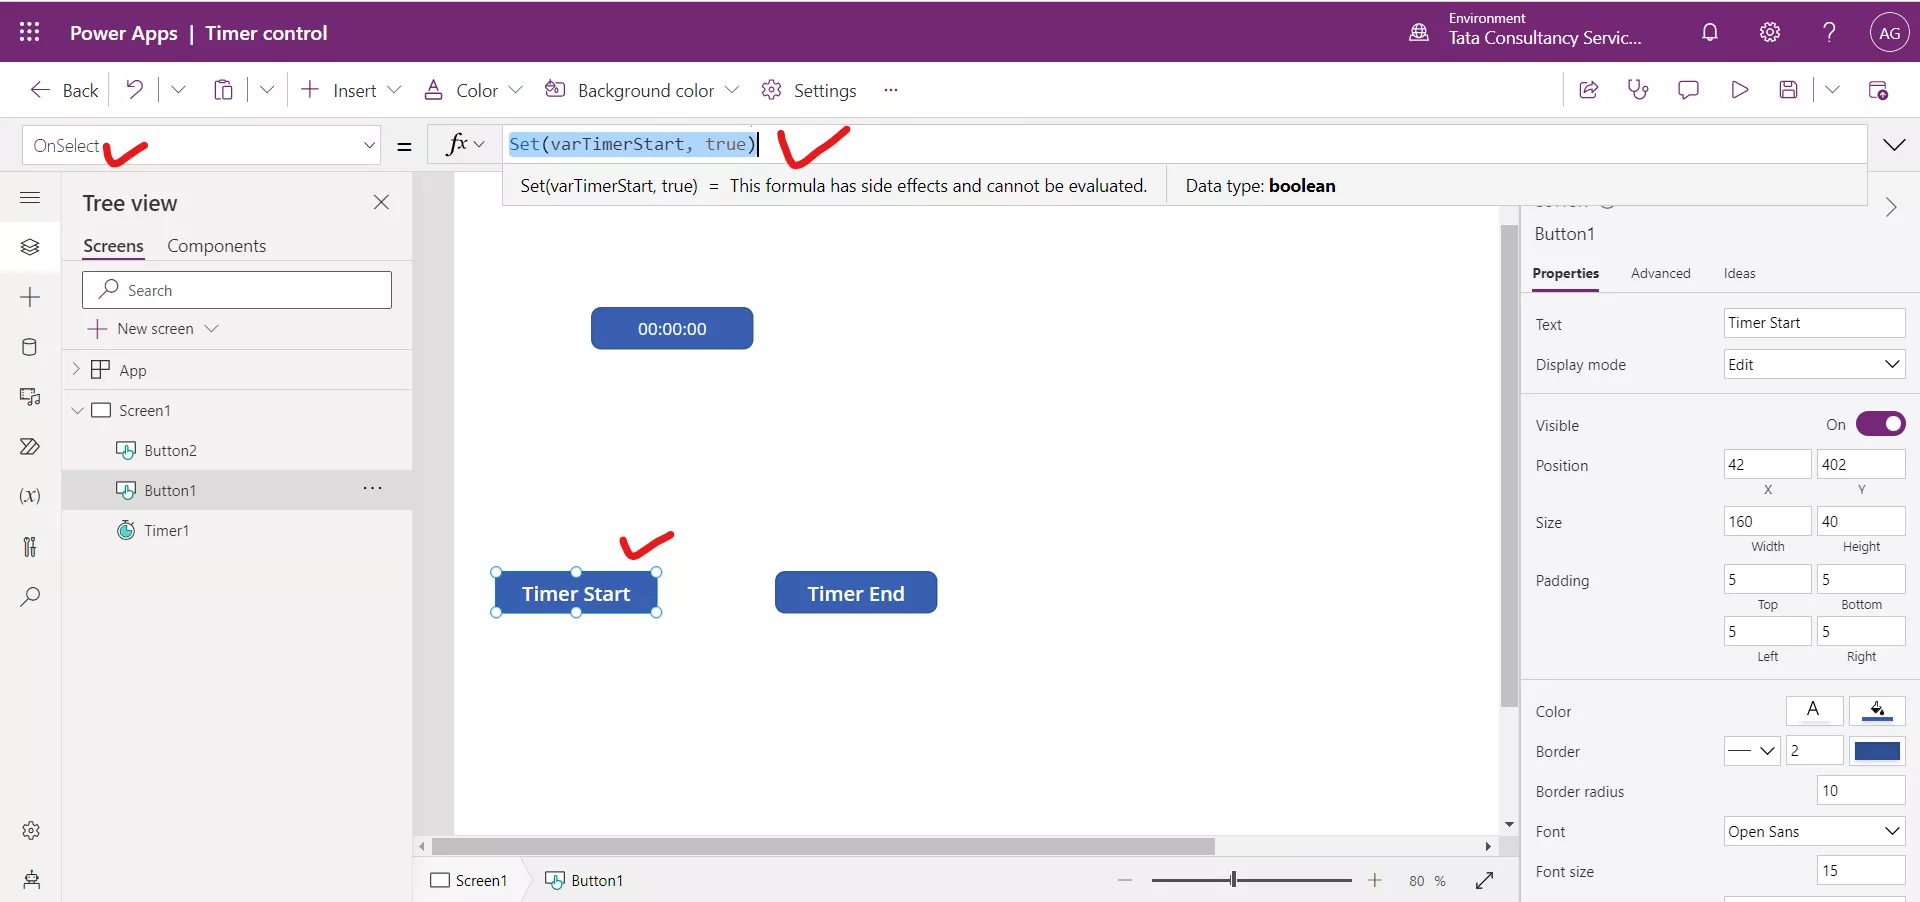
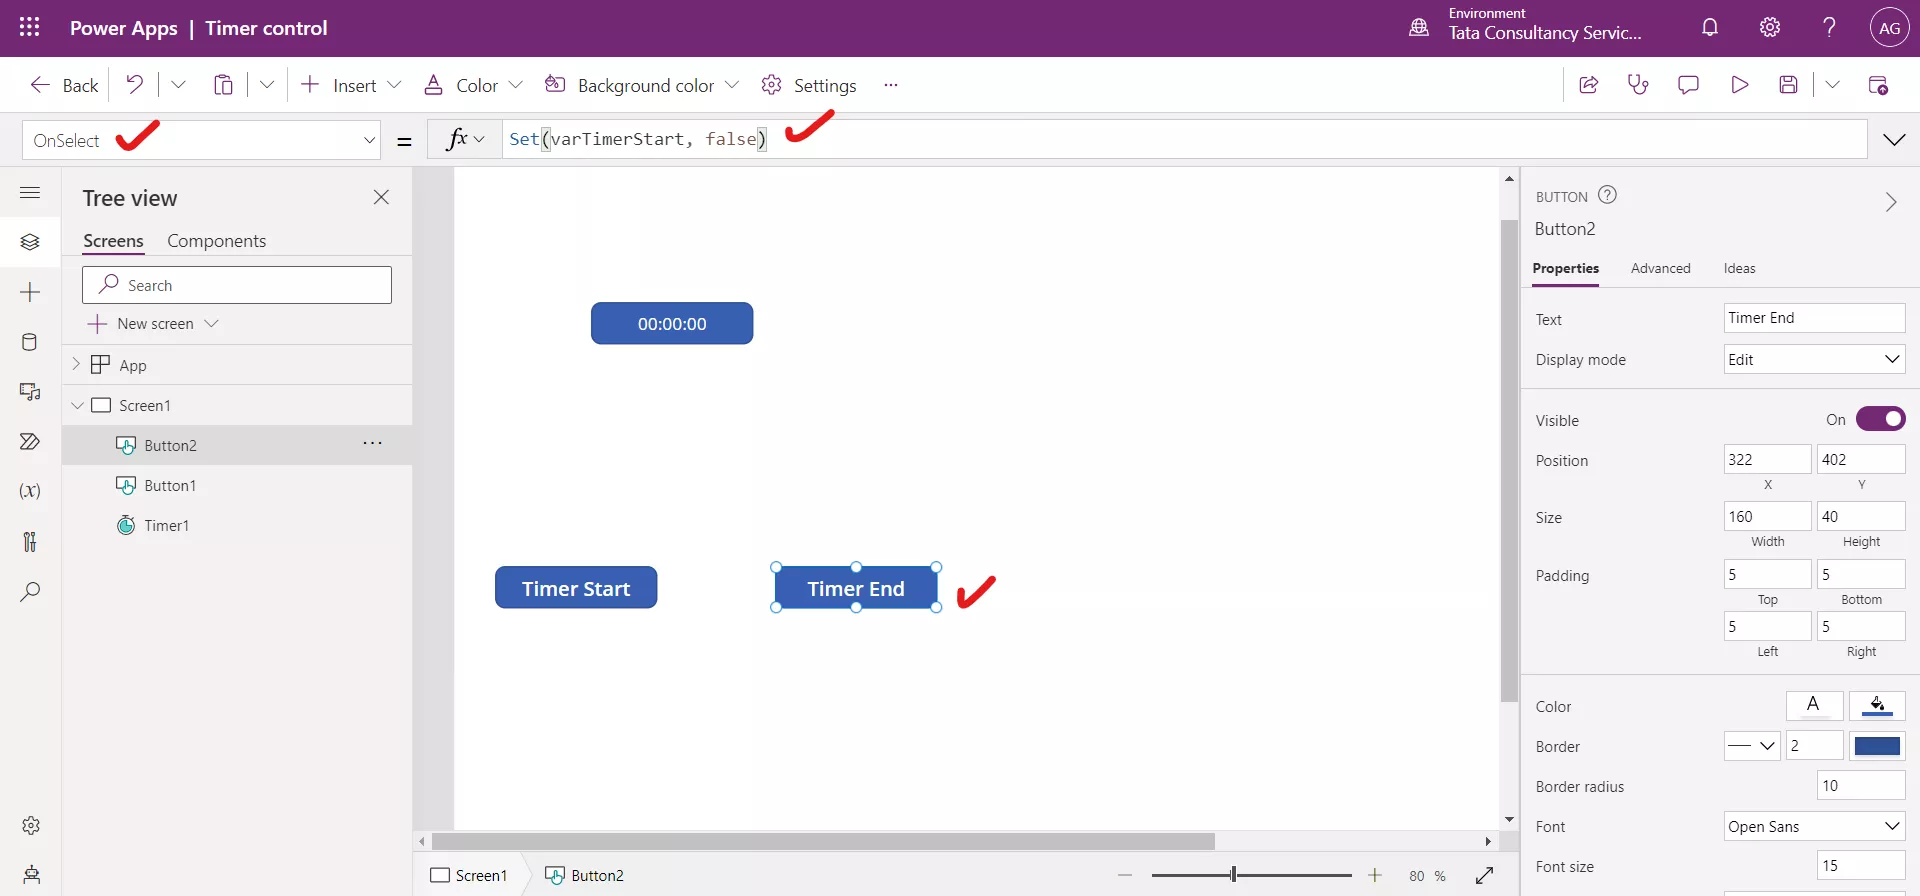
Step 5: Set the OnSelect property of the “Timer End” button to the following powerapps formula.
Power Apps Formula
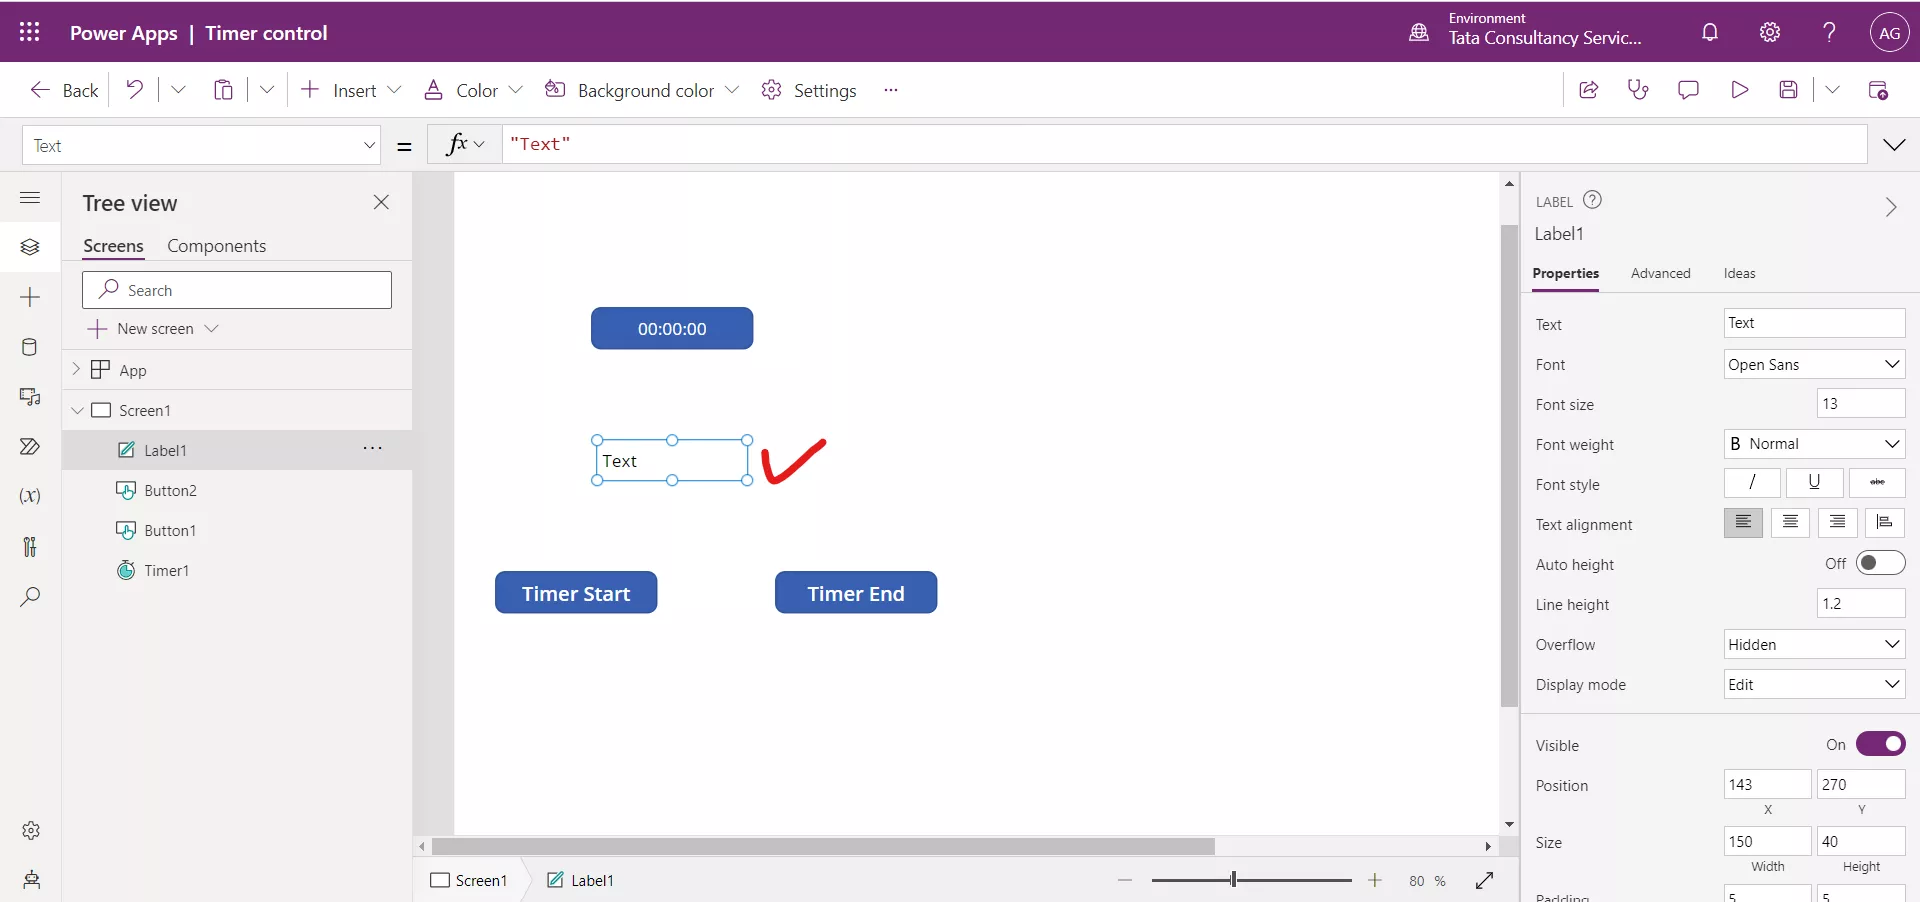
Step 6: Add a Text label control to the screen from the + Insert.
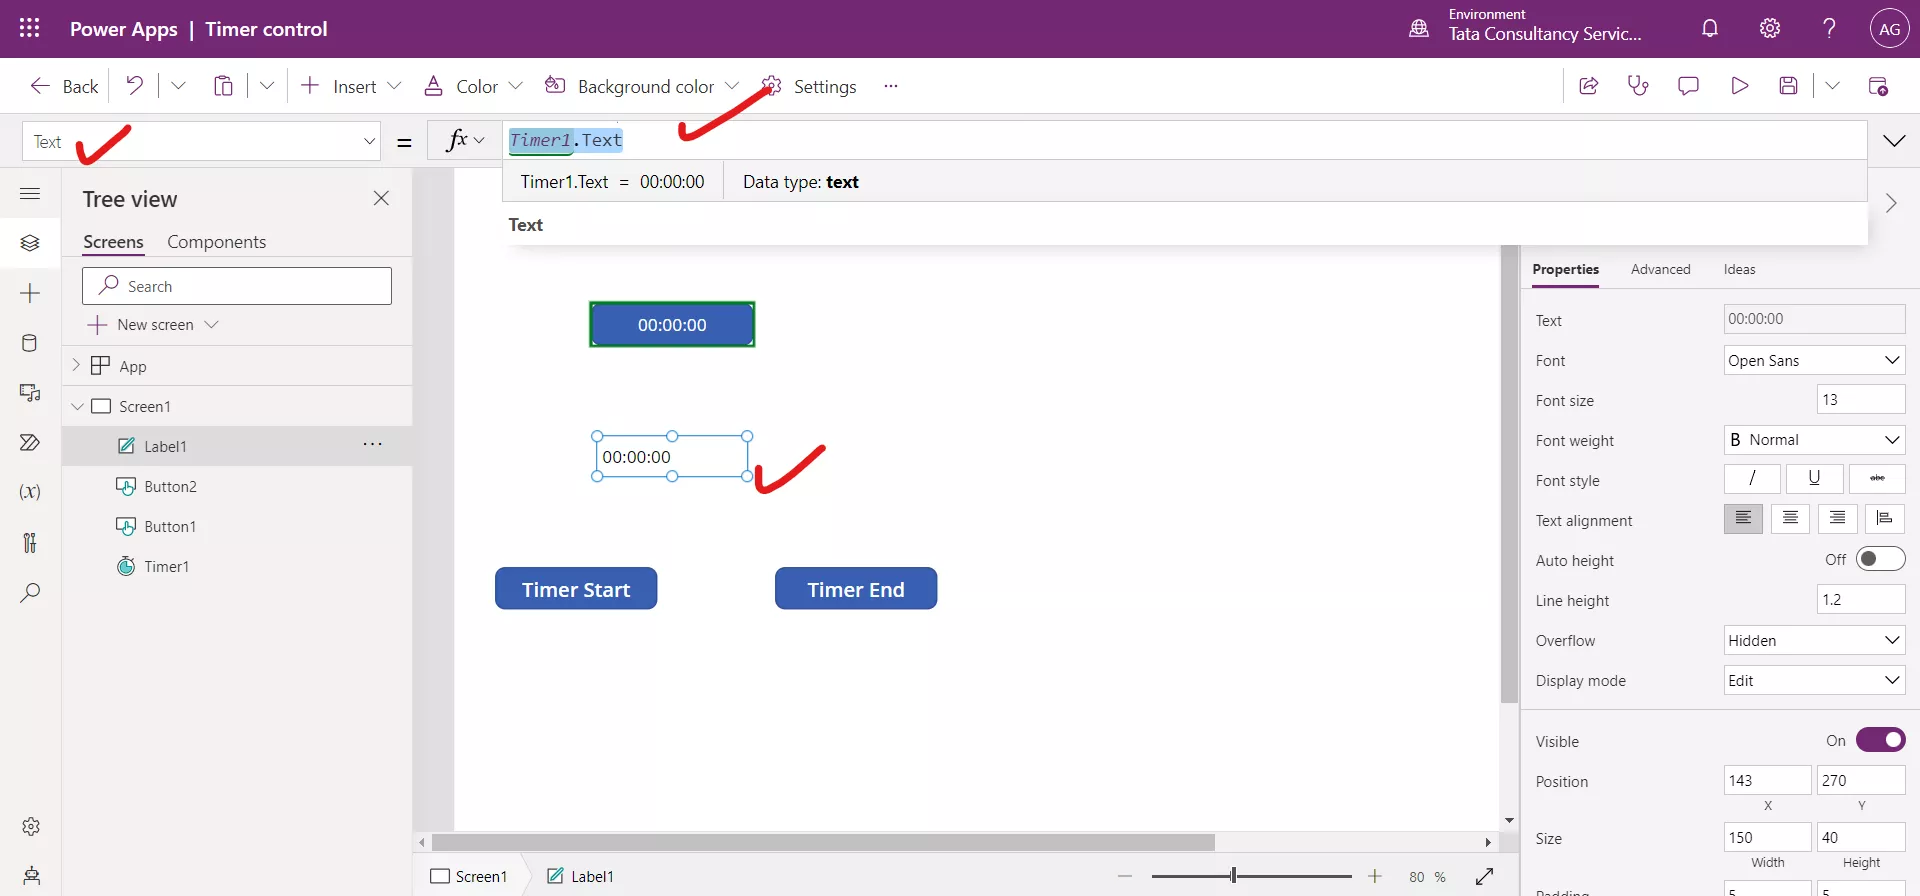
Step 7: Set the Text property of the Text label control to the following powerapps formula.
Power Apps Formula
Step 8: Click on the Timer control and set its Start property to the following powerapps formula.
Power Apps Formula
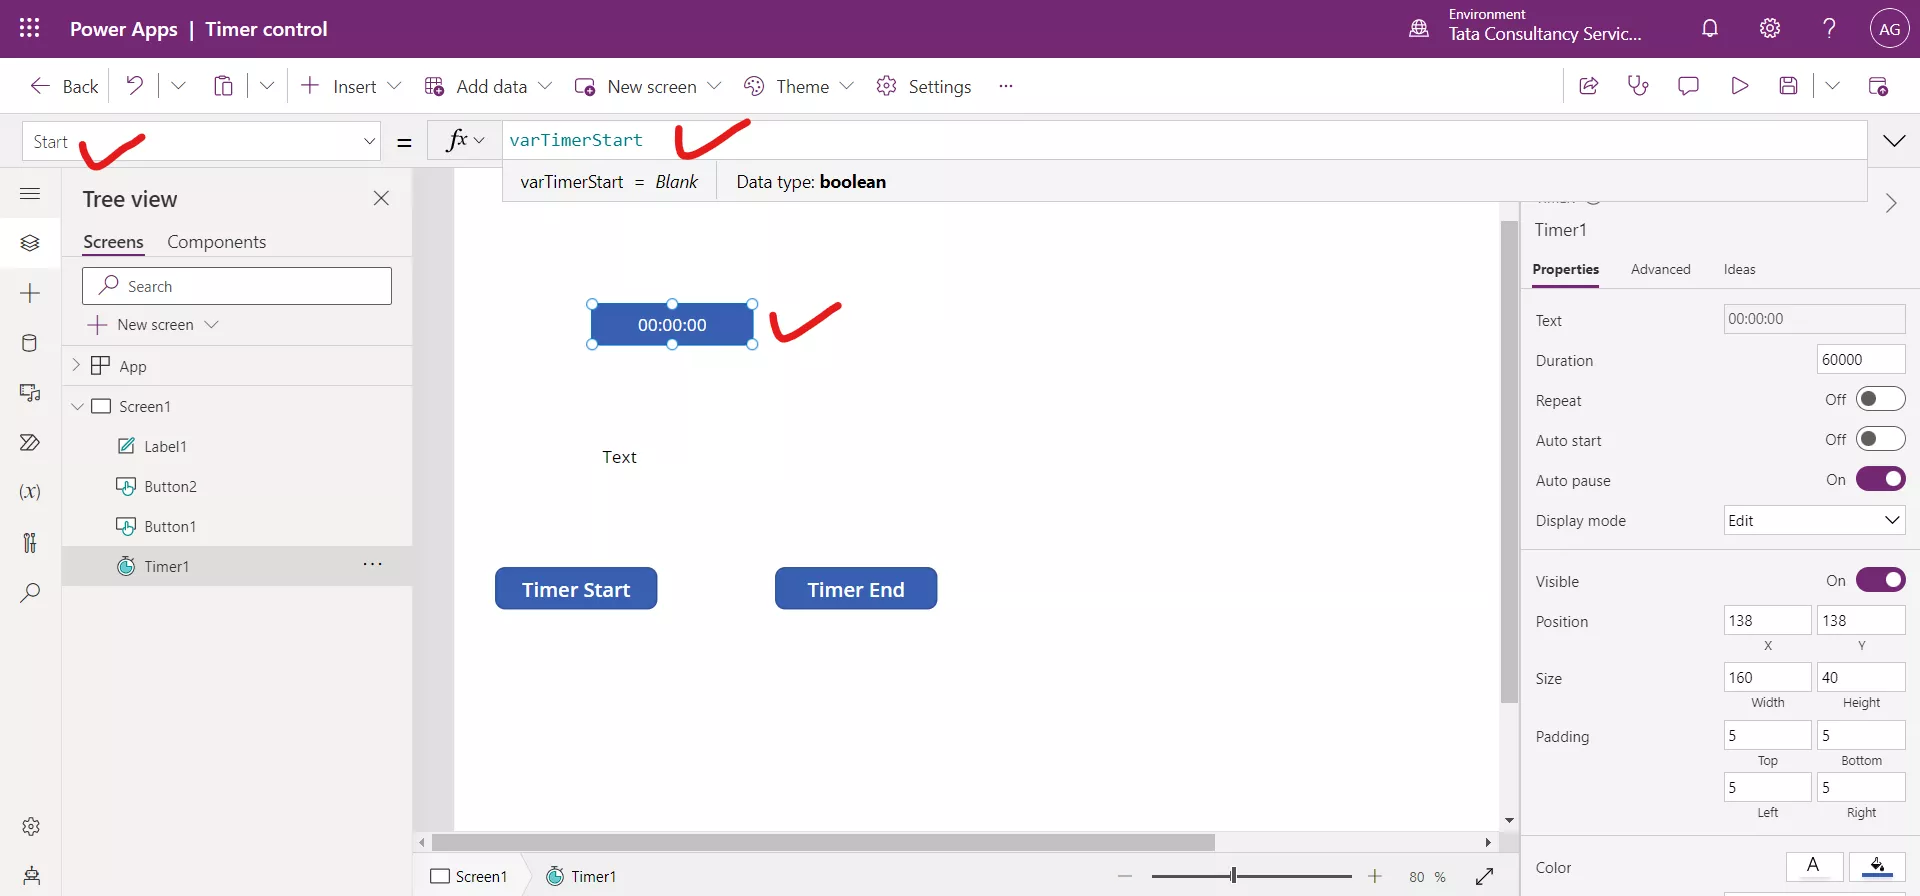
Step 9: Preview the app by clicking on the play icon in the top-right of the command bar. And click on “Timer Start” button to check that the Timer is started because the variable varTimerStart is set to true, and value is shown in the Text label control, on clicking the “Timer End” button the Timer control stops, because the variable varTimerStart is set to false.
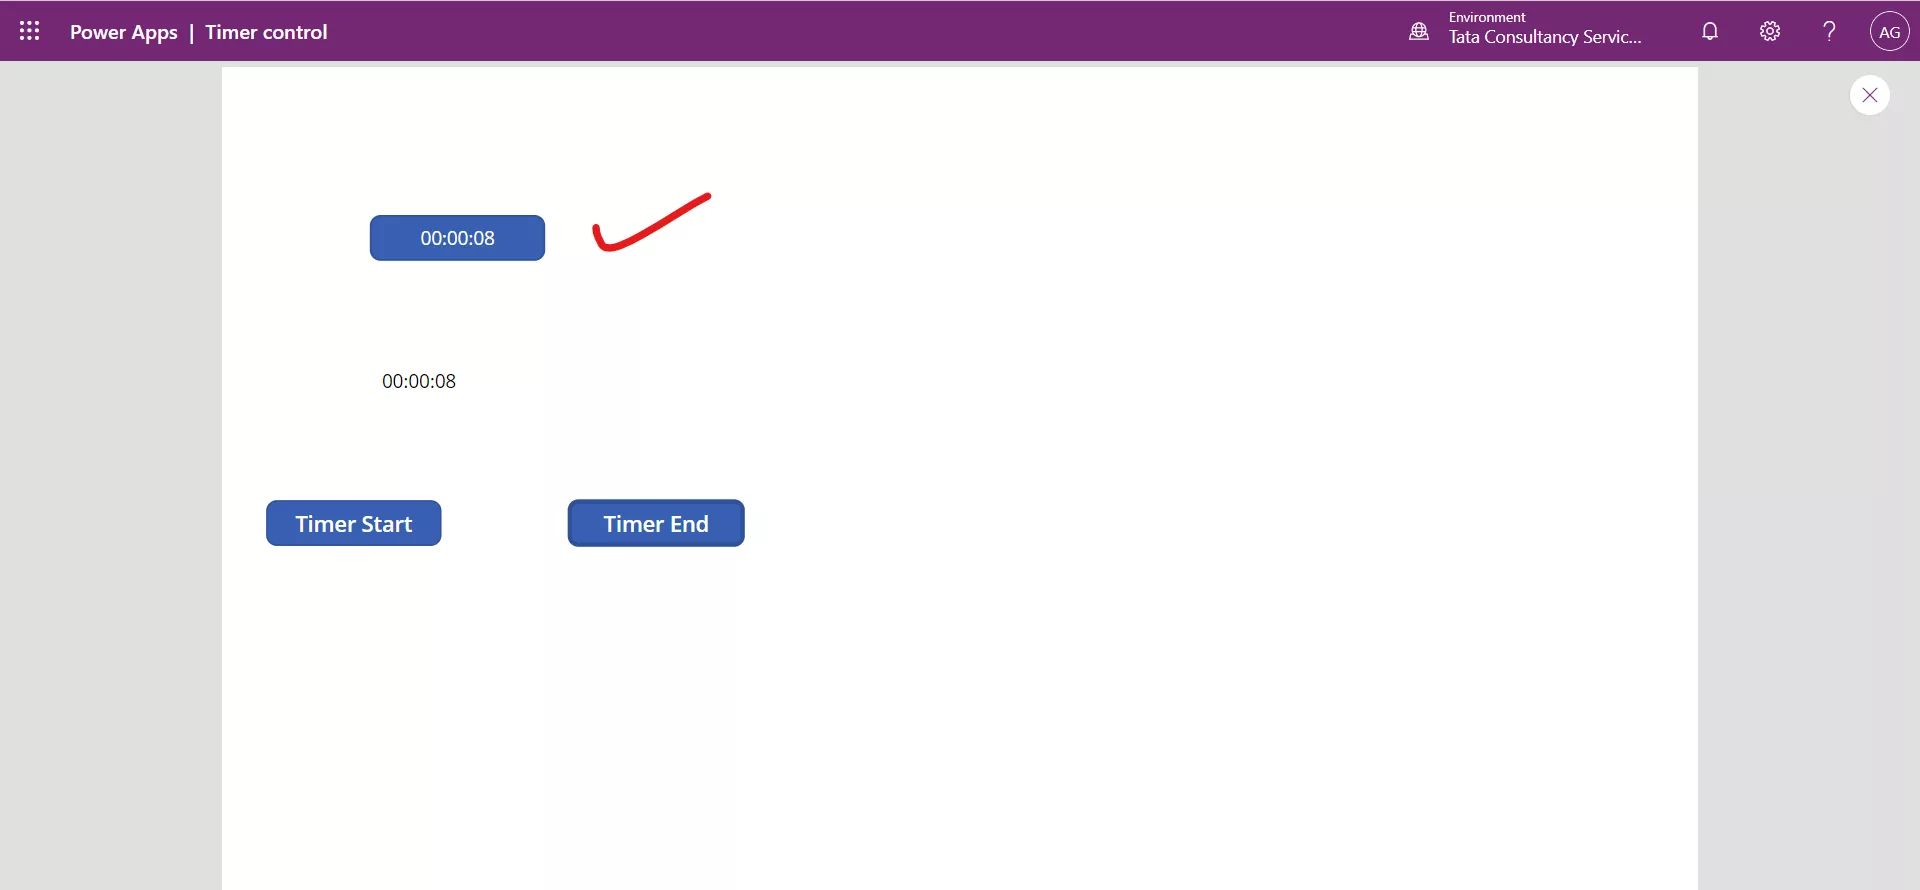
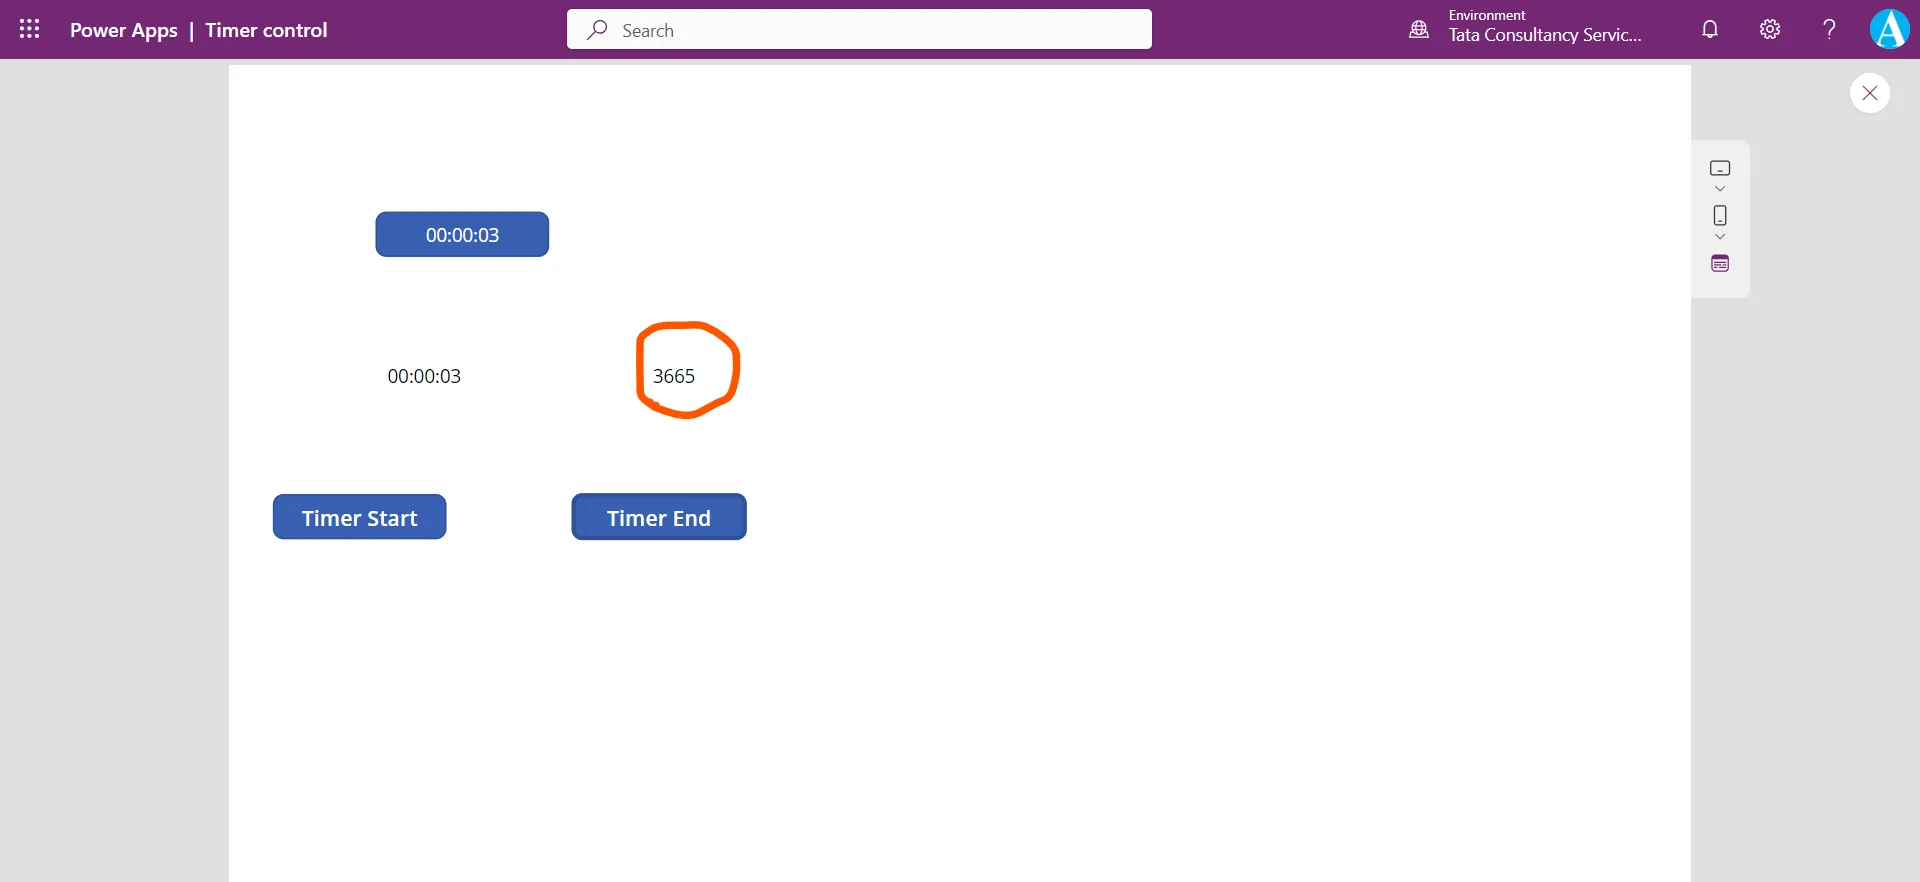
Note: The Timer1.Text returns the data type text. If we use the formula Timer1.Value, it returns a number. So, this can be used in numeric calculations. Also note the number returned is in unit milliseconds.
Step 10: Add another Text label control and set its Text property to Timer1.Value, as shown in the following image.
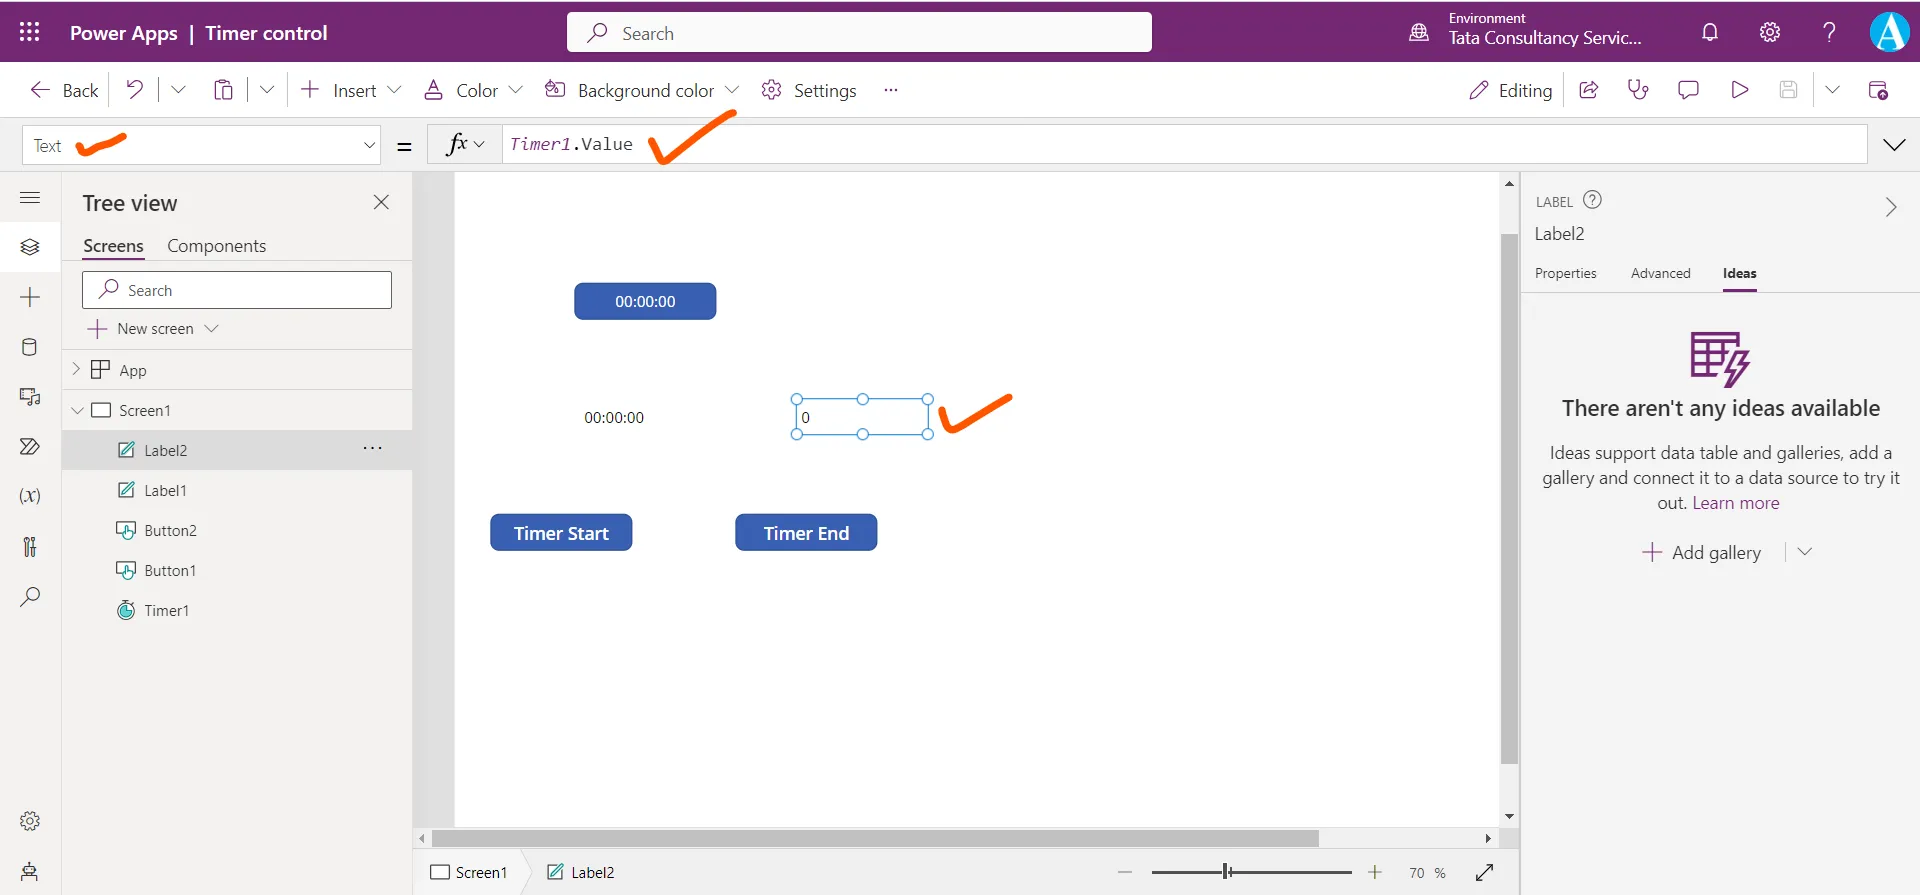
Preview the app again, and click on Timer Start button, we can see that the time returns in milliseconds.
