The in and exactin operators in Power Apps
The in and exactin operators are used in PowerApps to check whether a value (the value is given in the string format) is included in a list or collection of values. Here's a brief explanation of each operator:
1. The in operator
The in operator checks whether a value is included in a list or collection of values. The in operator identifies matches regardless of case.
The syntax of the in operator is as follows: Power Apps Syntax <value> in <list>
Where <value> is the value to check, and <list> is the list or collection of values.
2. The exactin operator
The exactin operator works the same as the in operator, but it also checks the data type and case sensitivity of the values.
The syntax of the exactin operator is as follows: Power Apps Formula <value> exactin <list>
Where <value> is the value to check, and <list> is the list or collection of values.
Note: Both operators “in” and “exactin” can be used with variables, columns, and other data sources in PowerApps. Also, the values in the list can be of different data types.
Example: The demonstration for “in” and “exactin” operators.
Step 1: Select the Insert tab in the Canvas app and add a Button control, and set its OnSelect property to the following formula:
Power Apps Formula
{FirstName: "Ashish", LastName: "Goel", ZipCode: 131001},
{FirstName: "Abhishek", LastName: "Bachhan", ZipCode: 456785},
{FirstName: "Ayesha", LastName: "Sharma", ZipCode: 4533257},
{FirstName: "Priya", LastName: "Verma", ZipCode: 678537}
)
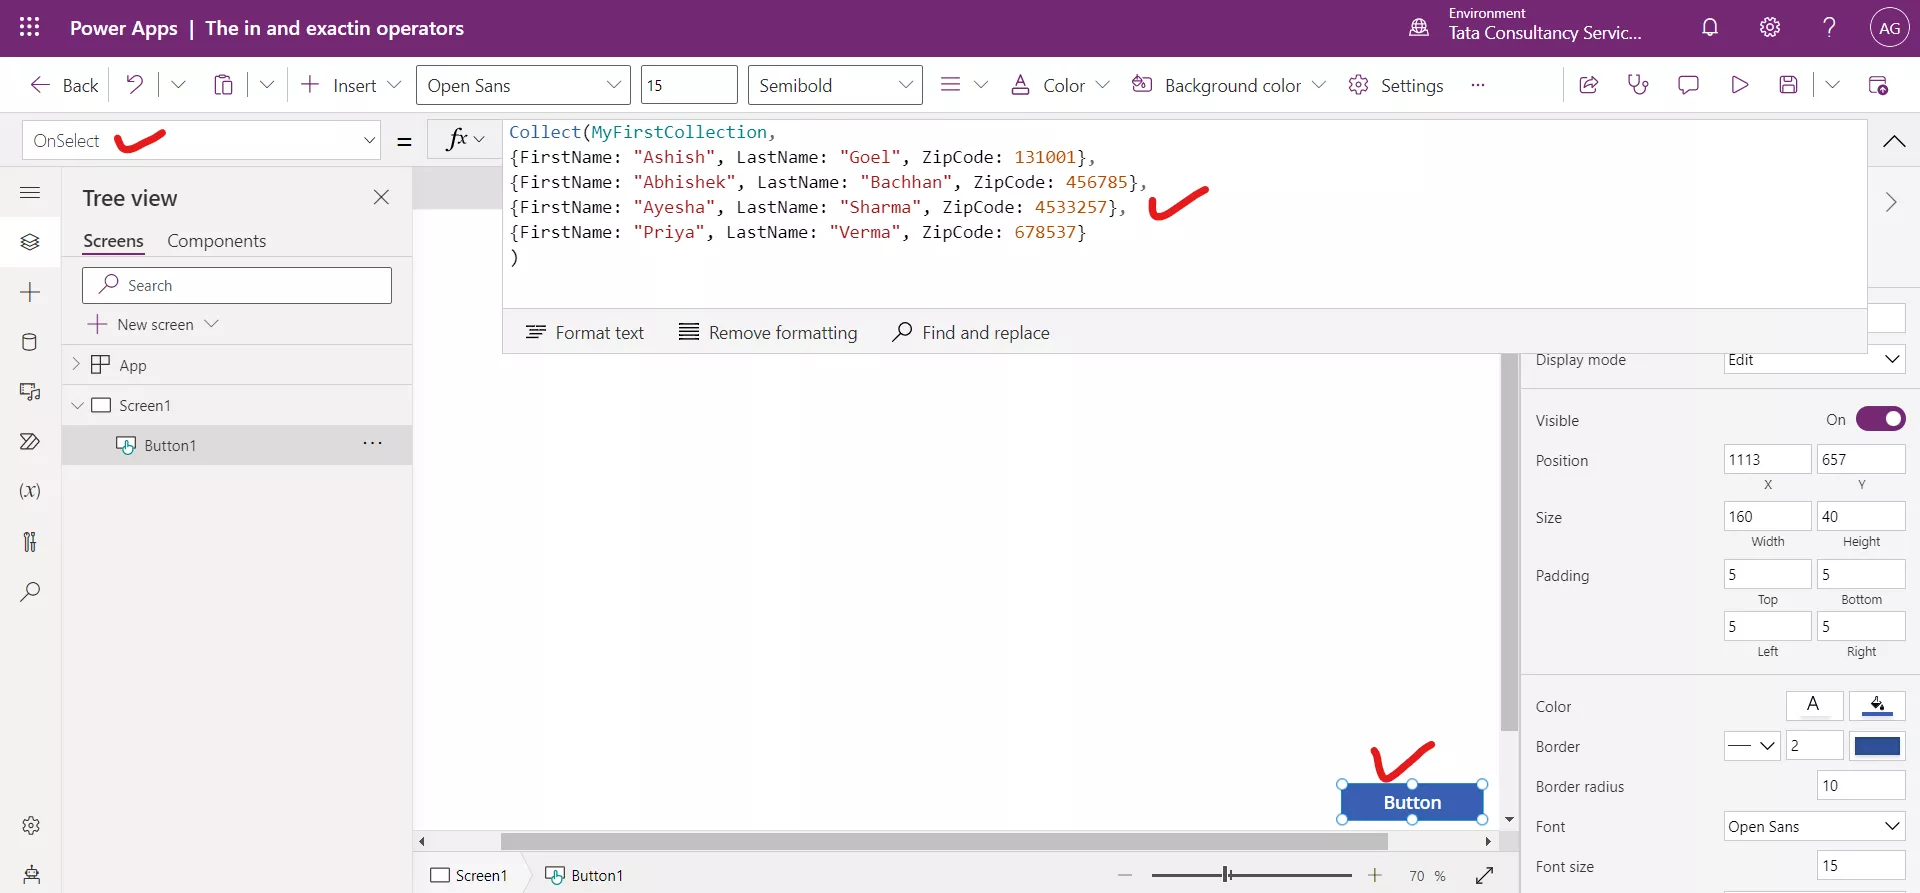
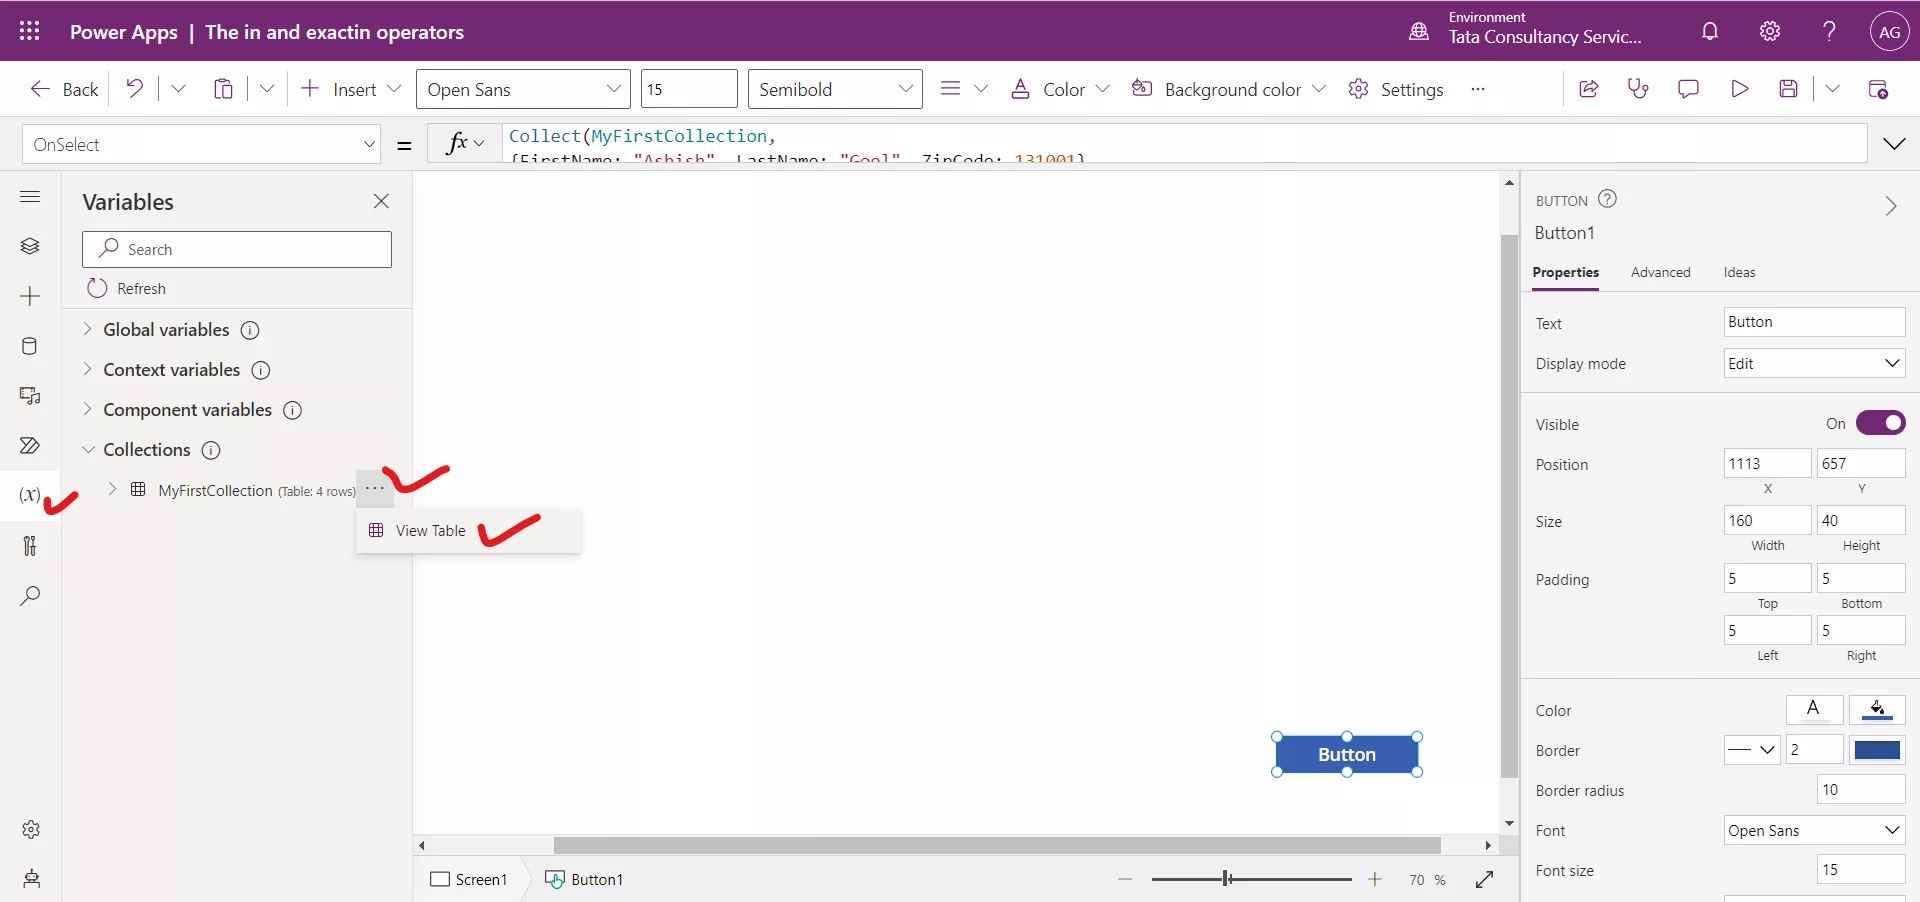
Step 2: Press and hold Alt Key, and select the Button control. (This will create our collection and store all the information.). We can see this by clicking on the variable icon on the left-hand side and then click on Collections. It shows all the collection and there we find our collection also, click on three dots and click on View Table.
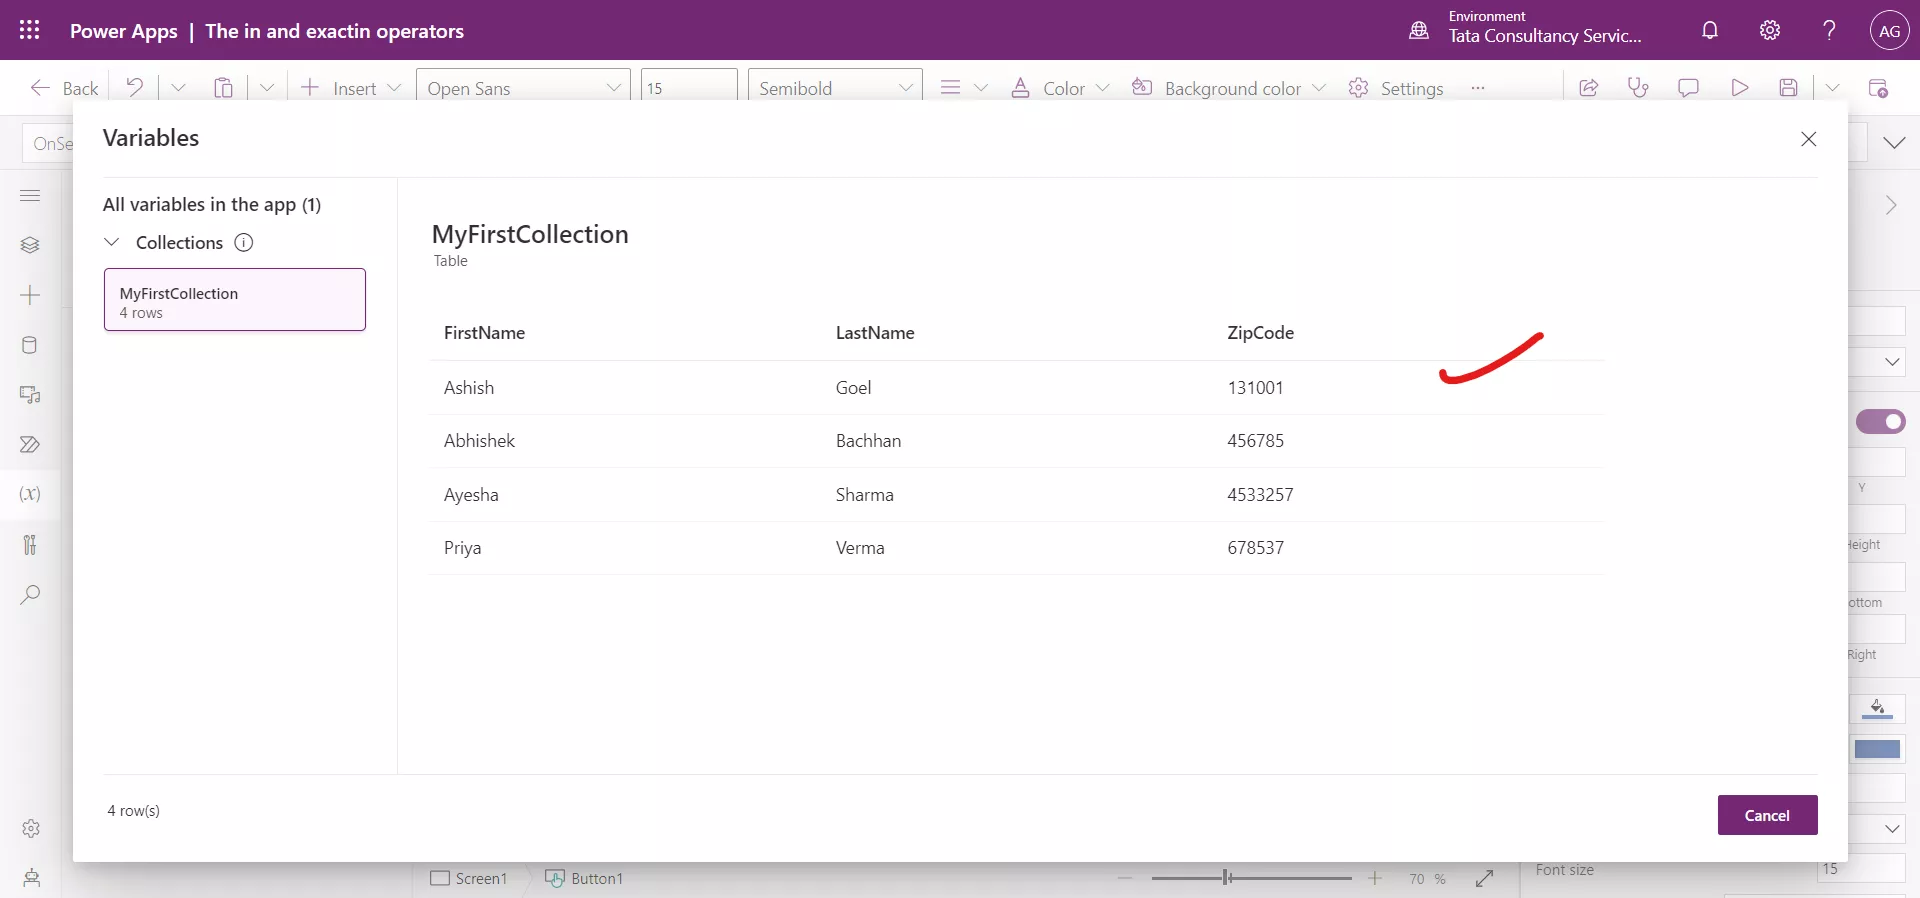
Click on Cancel.
Step 3: Click on + Insert from the command bar at the top. Select the Gallery dropdown at the top and choose Vertical gallery.
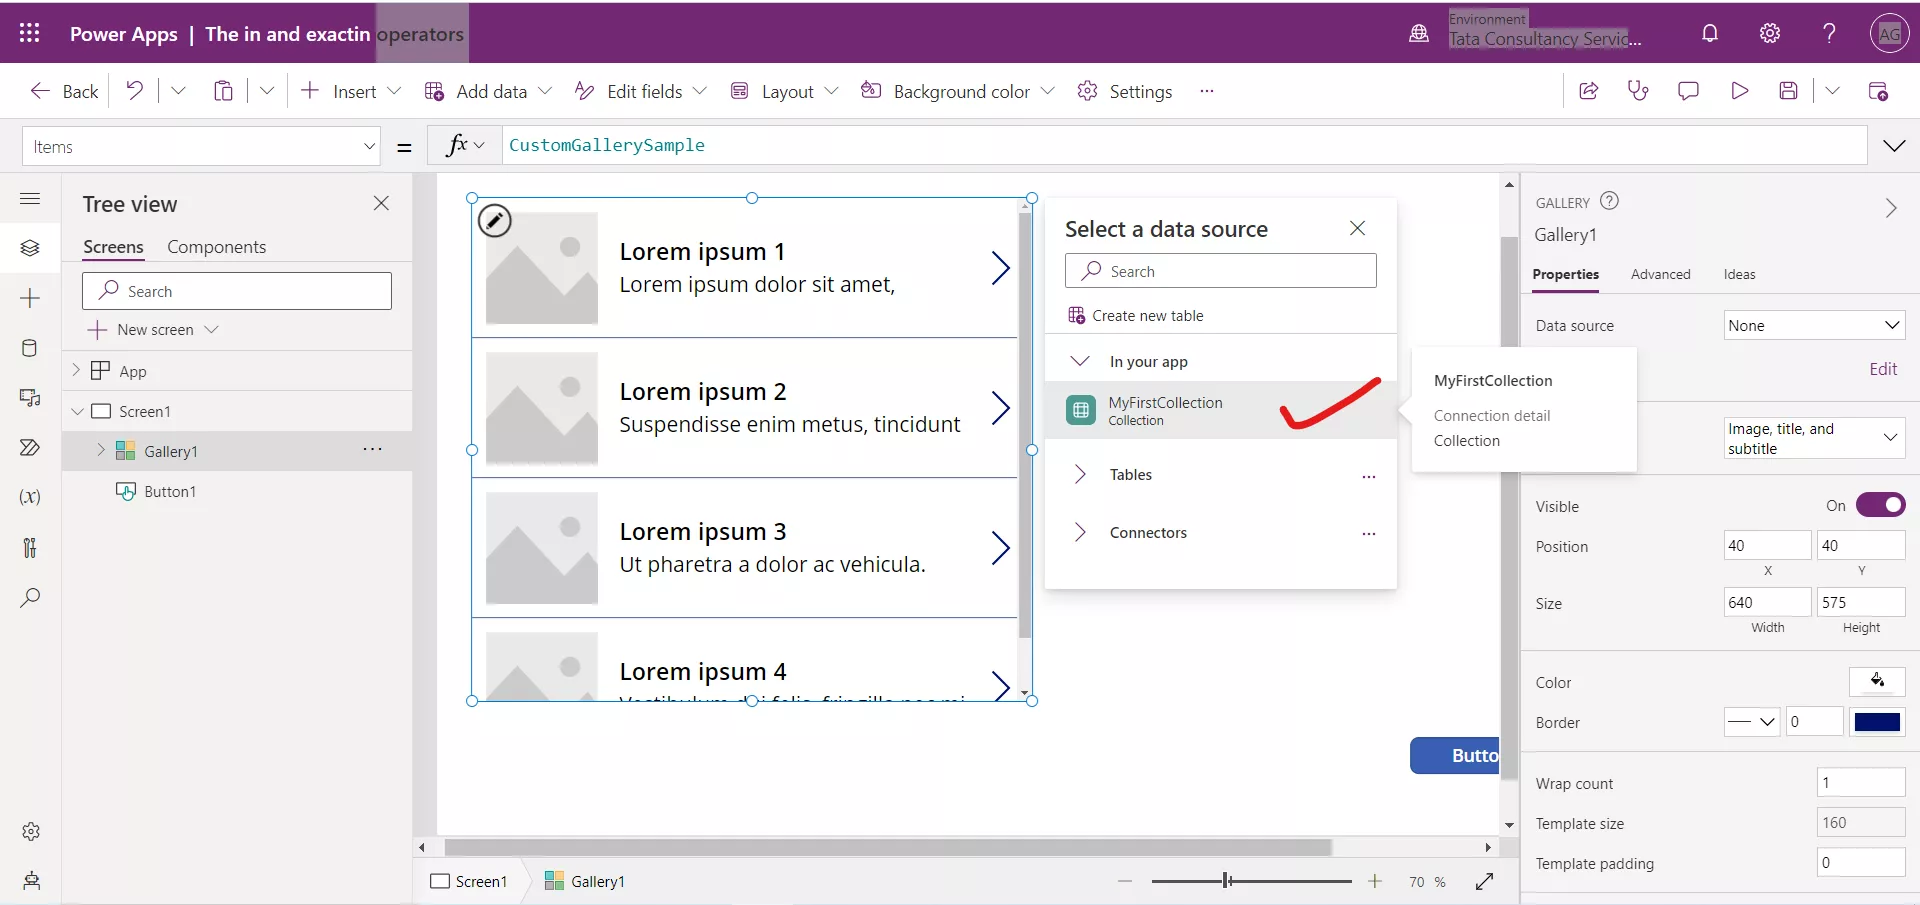
Step 4: When we add a gallery control to the Canvas, it immediately shows a dialog box giving us the option to Select a data source and choose MyFirstCollection from the data source pop-up.
We can see that the Items property of the Vertical gallery control to the MyFirstCollection.
Step 5: With the gallery selected in the tree view, under the Properties pane, select from various Layout options, change the layout from blank to Title, subtitle, and body.
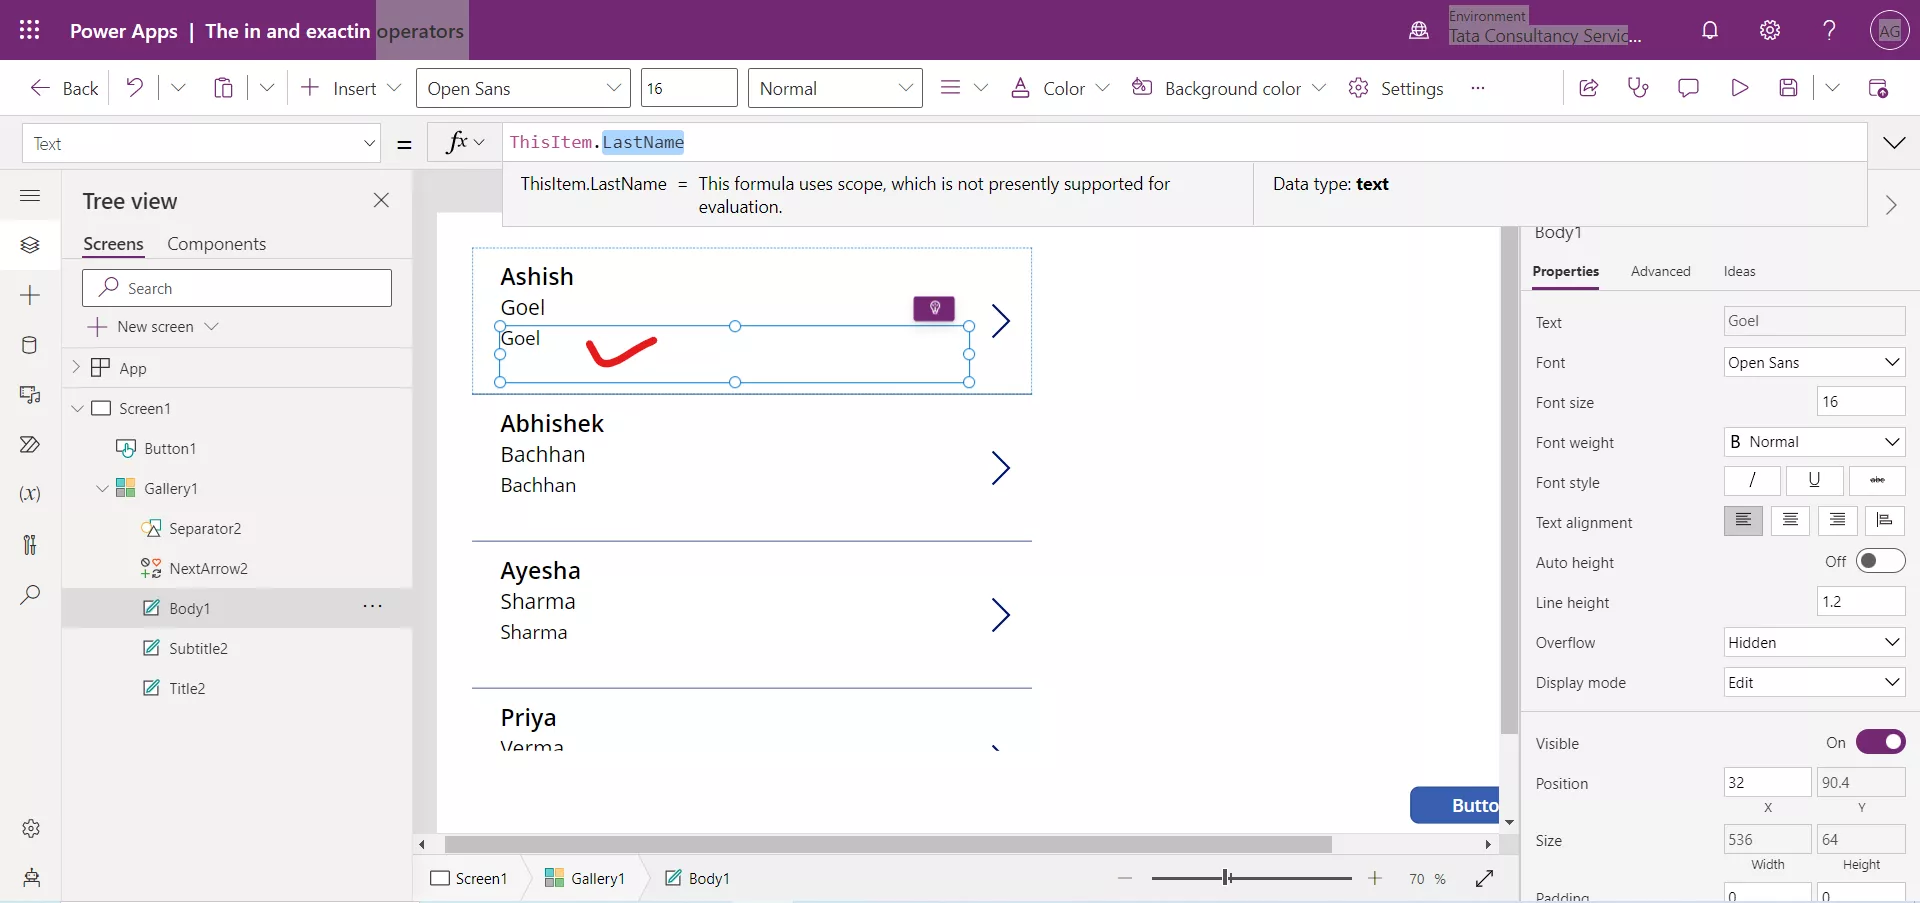
Click on third label and set its Text property to the following formula:
Power Apps Formula
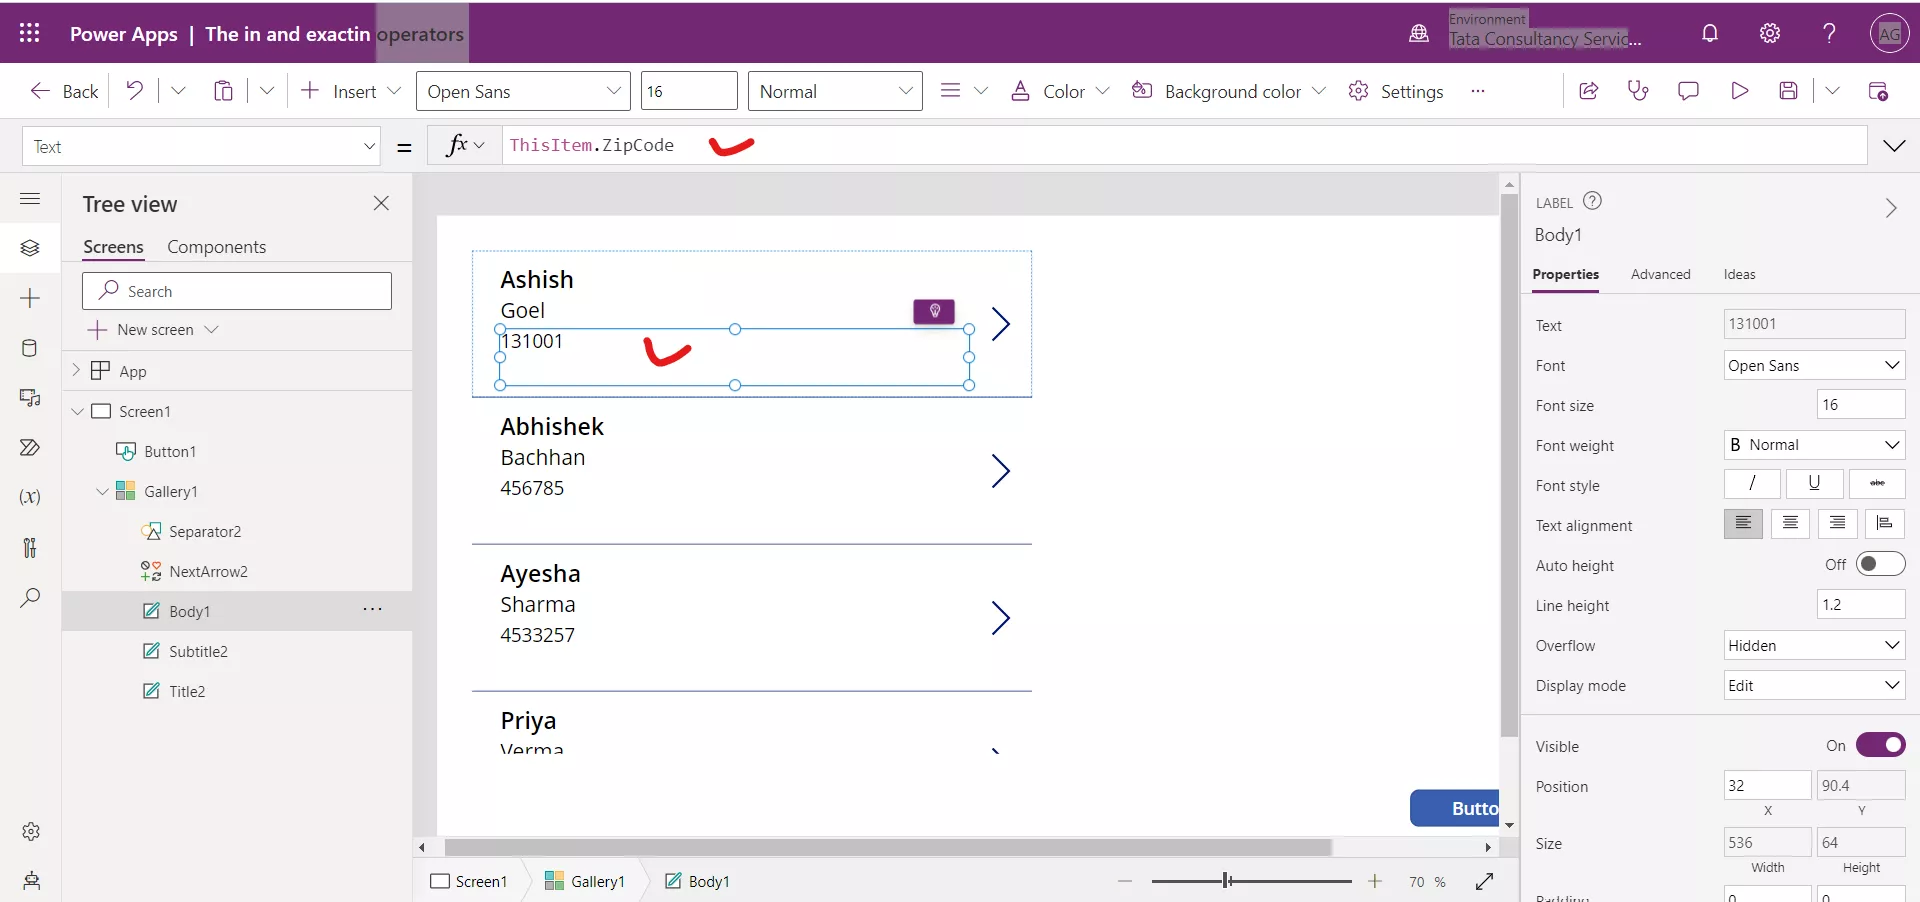
Step 6: Set the Items property of the gallery to the following formula:
Power Apps Formula
The above formula search the character “E” in the FirstName column irrespective of the case.
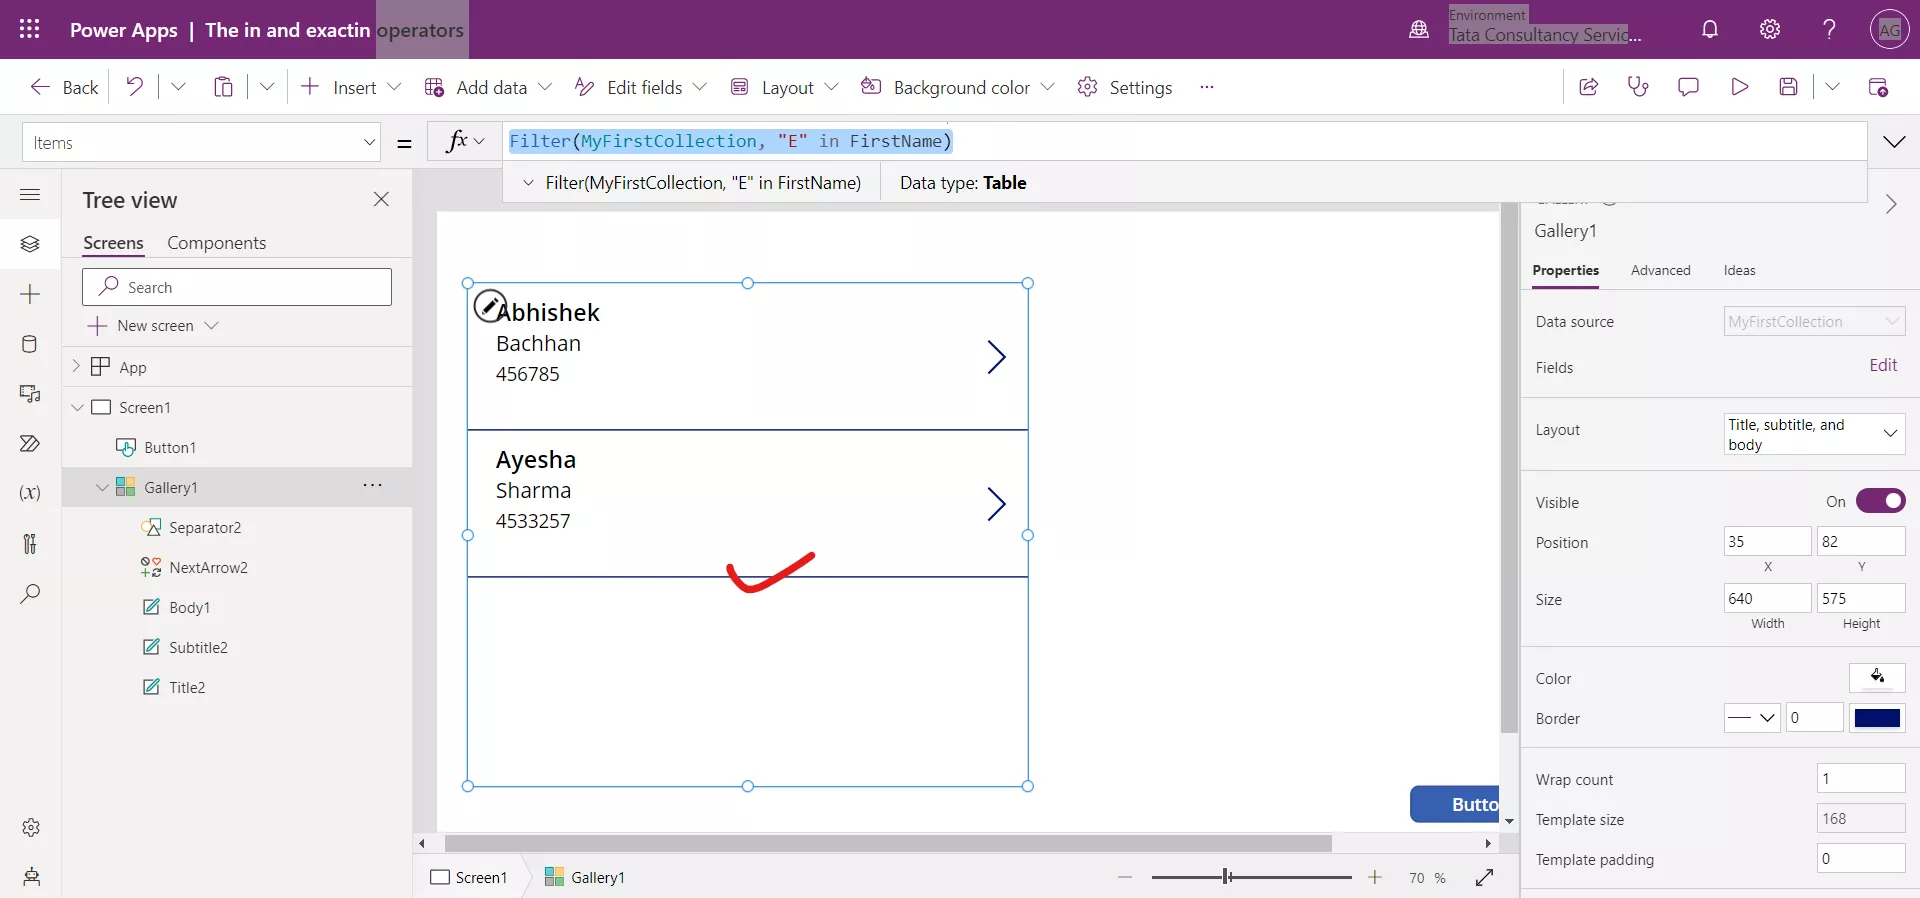
The below uses the exactin operator. It returns only the three records as the in the fourth record the character “A” is there but in the smaller case. And the exactin operator is case sensitive.
Power Apps Formula
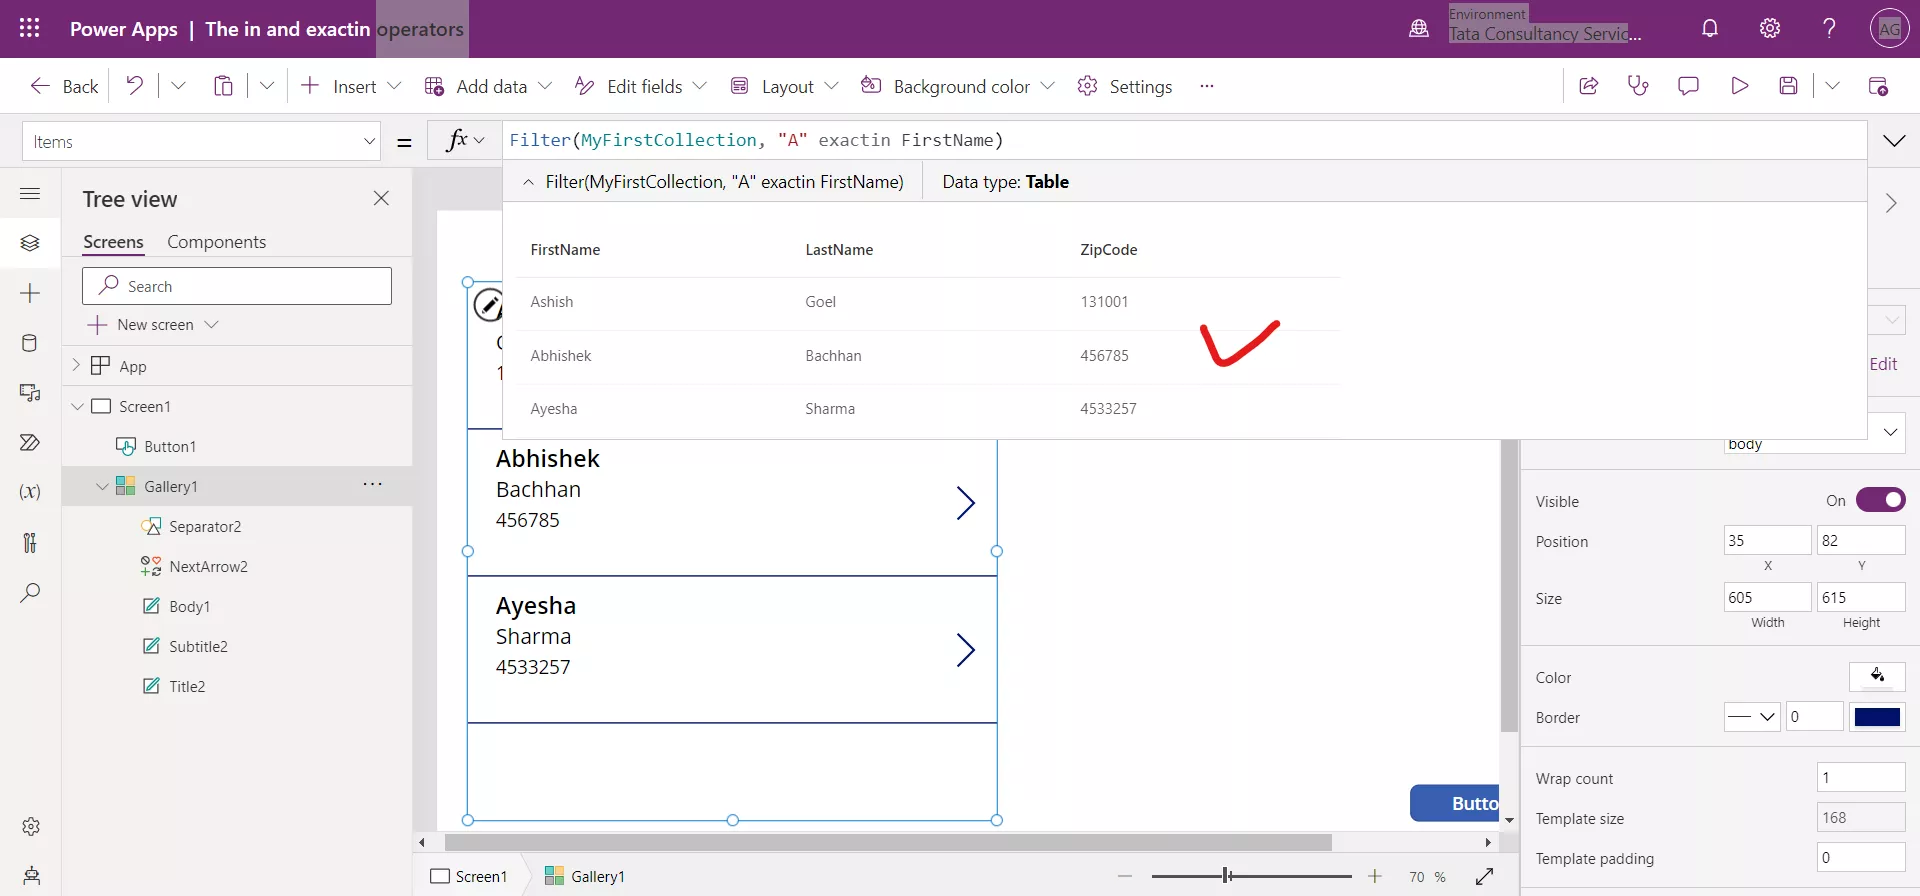
Step 7: Change the Items property of the gallery to the following formula:
Power Apps Formula
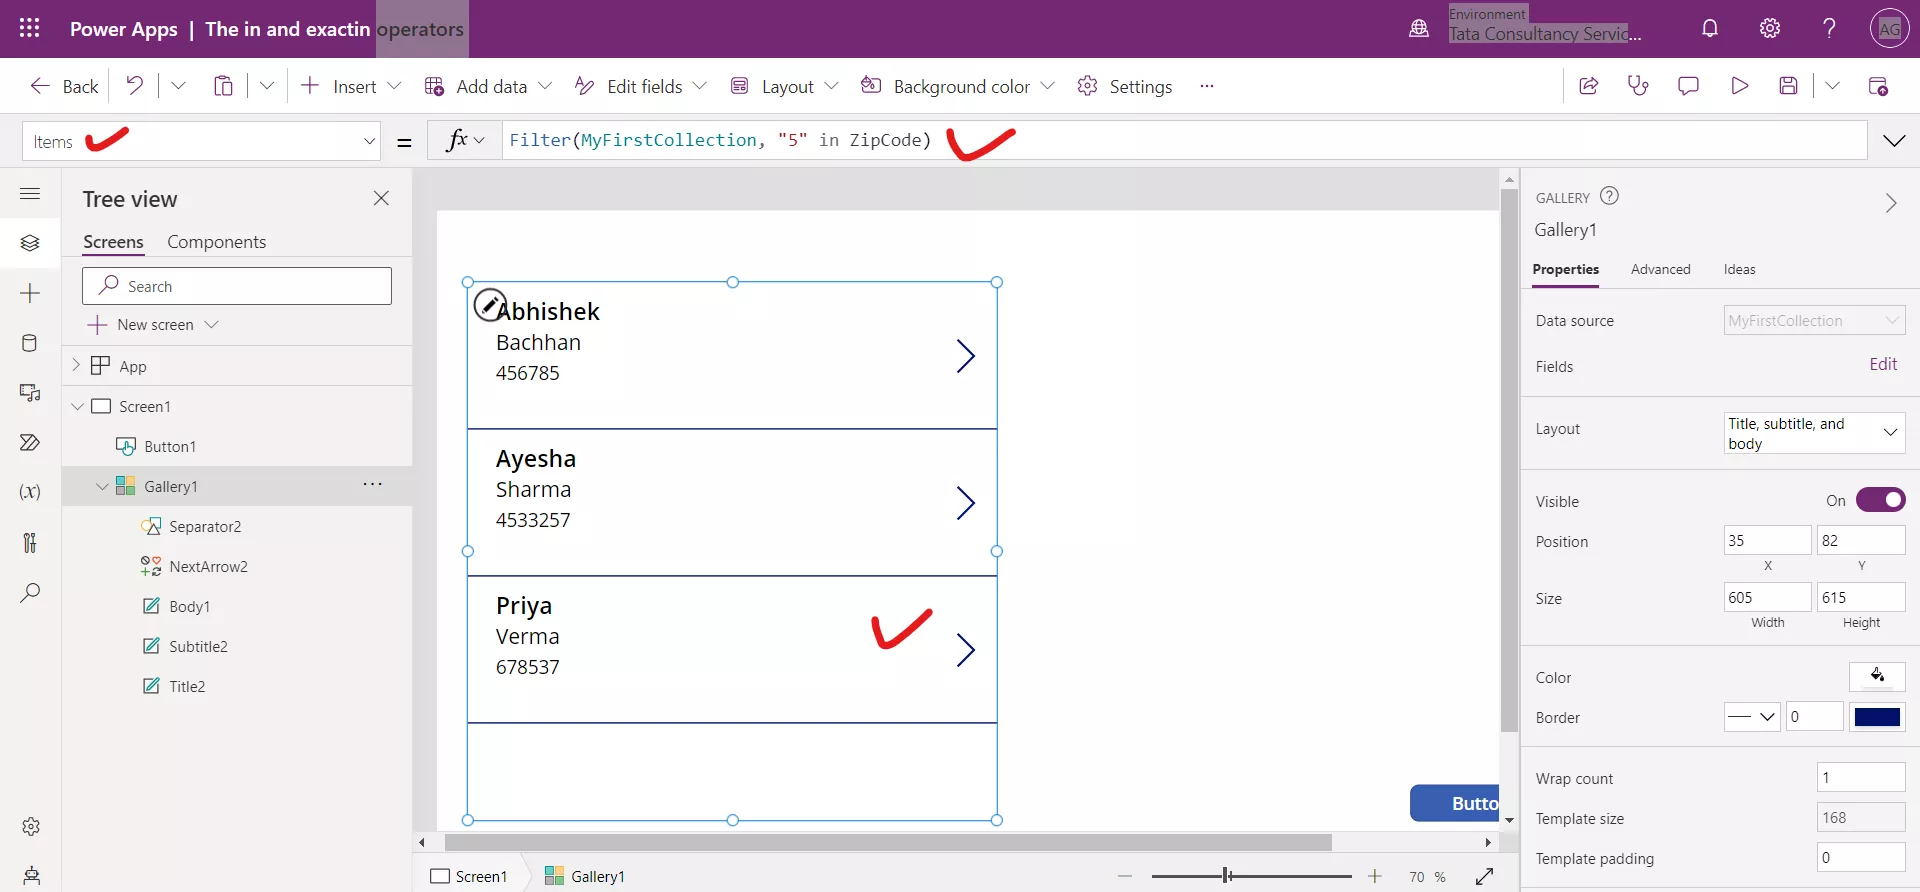
The gallery control only shows the records where 5 is present in the ZipCode column of the records. Here we define 5 as a string value to find. If we write the formula like Filter(MyFirstCollection, 5 in ZipCode), it will not work.
