Card control in Power Apps
1. Unlock the card control
We can do only few customizations when the card is not unlocked, but after unlocking we can do much more. To unlock a card, select the card component in the form control and then from the Card pane select Advanced tab. Select the lock icon to unlock the card. The card is now a custom card, which allows us to modify all the settings of the card control.
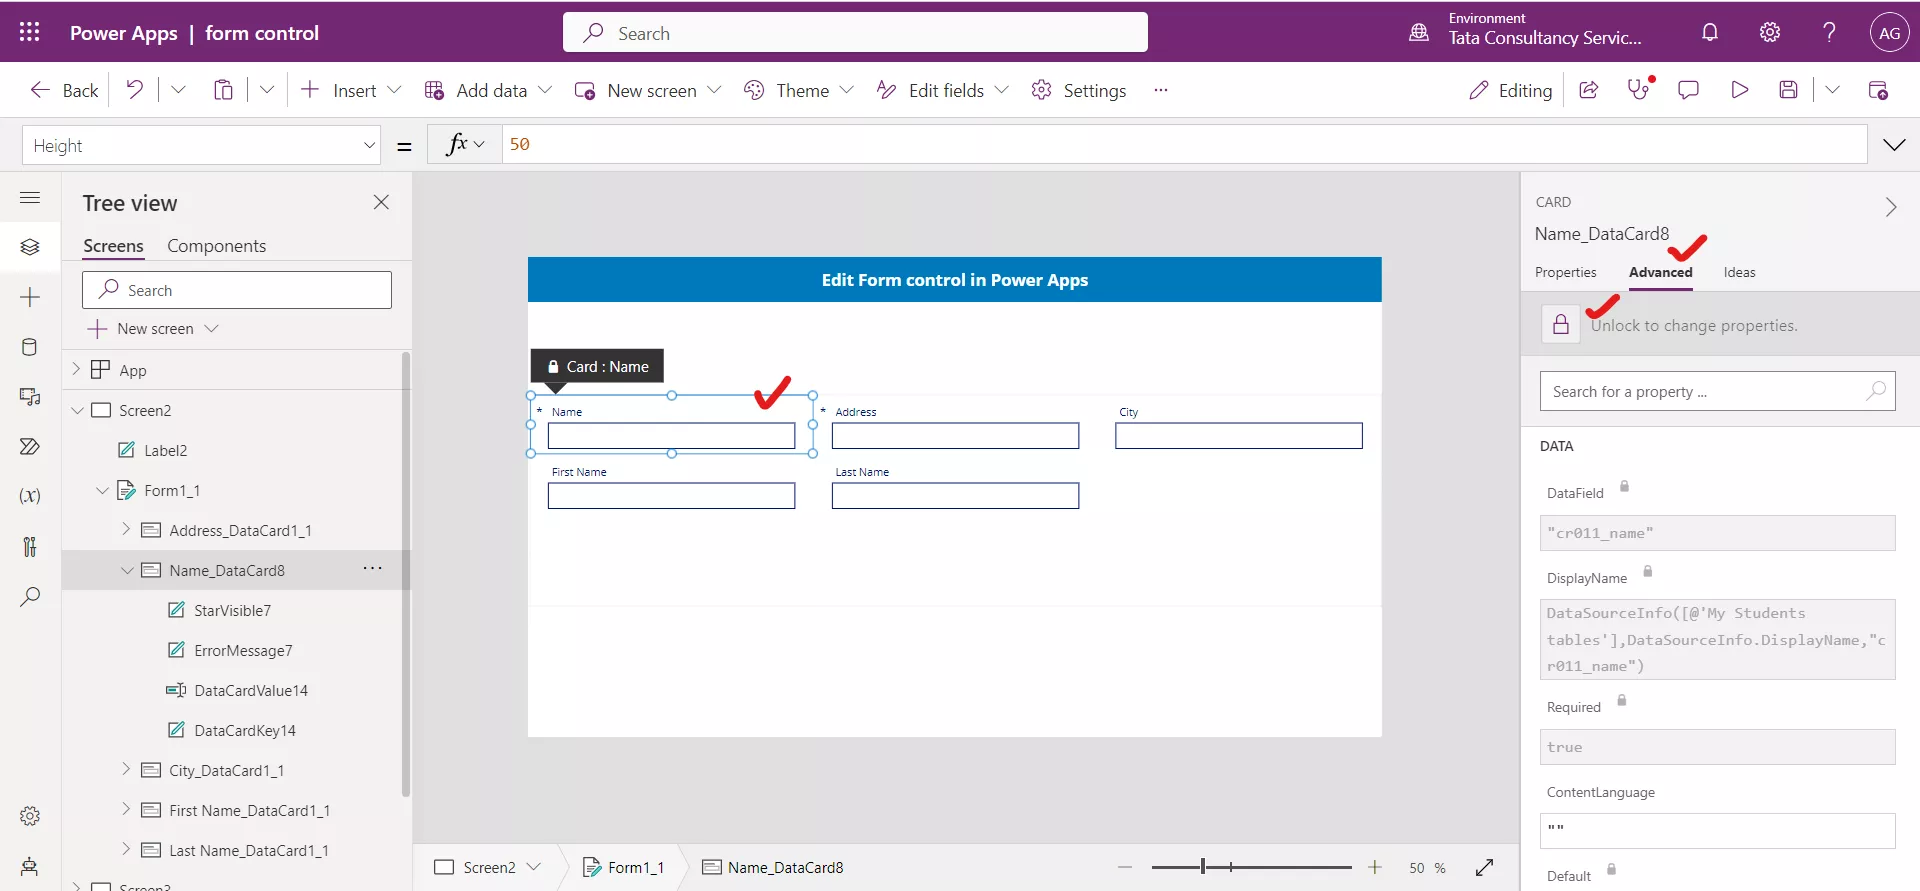
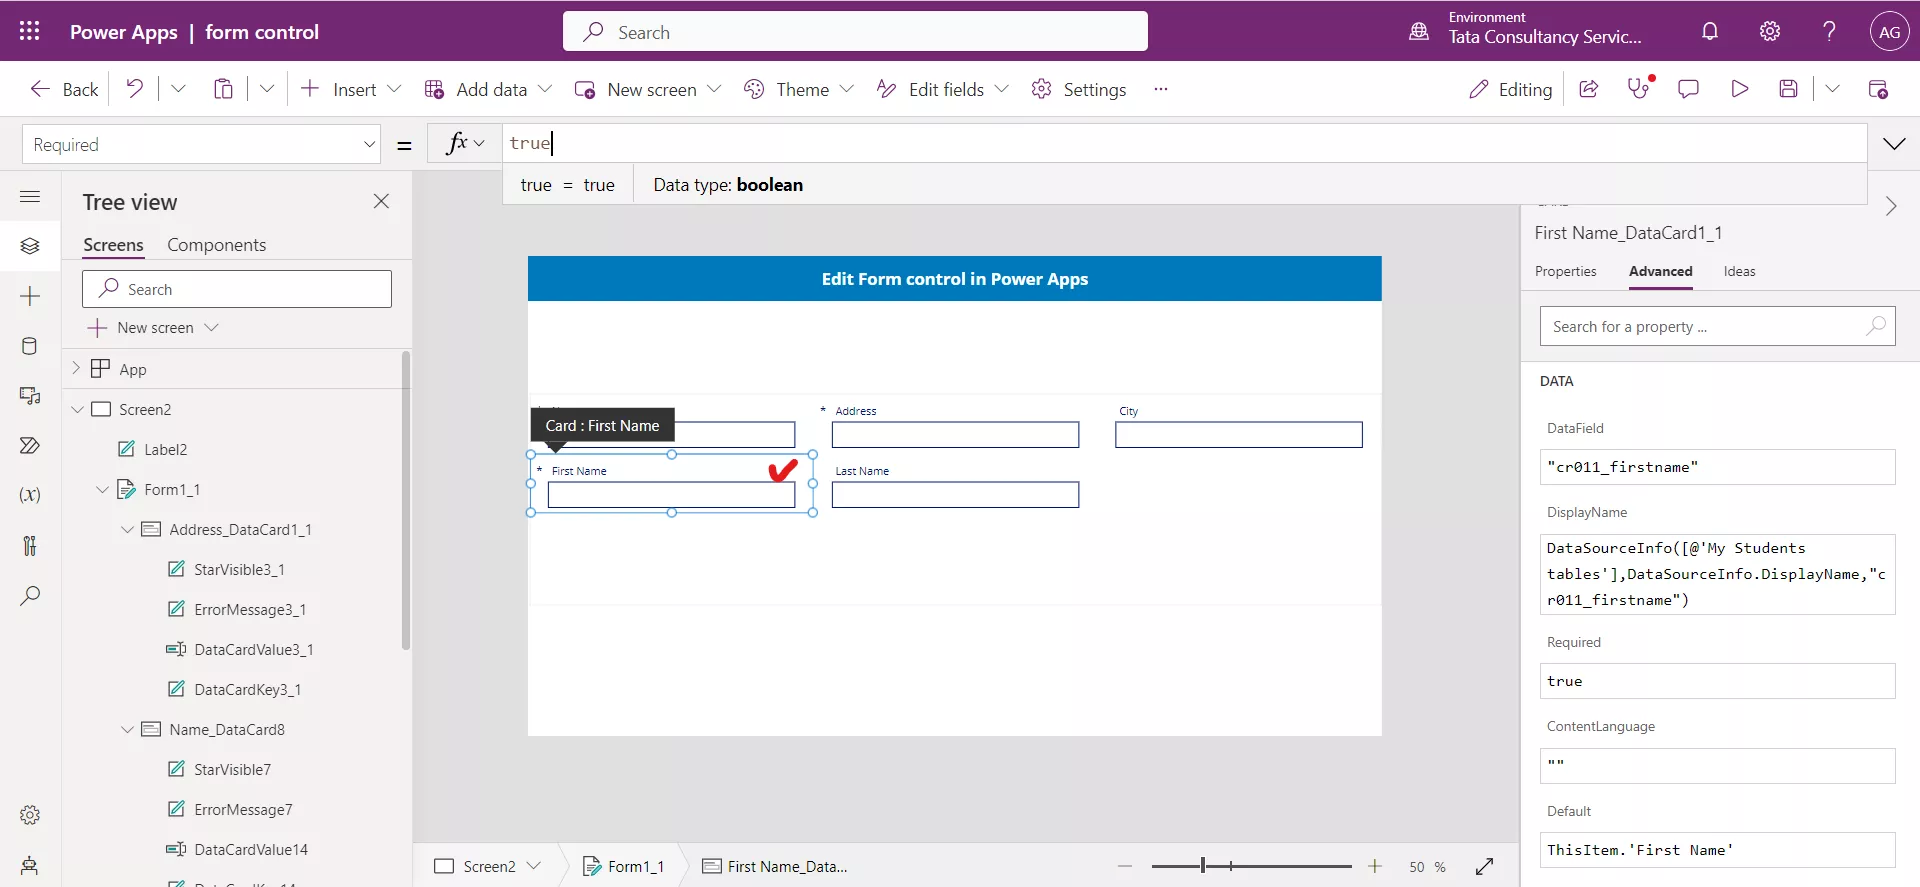
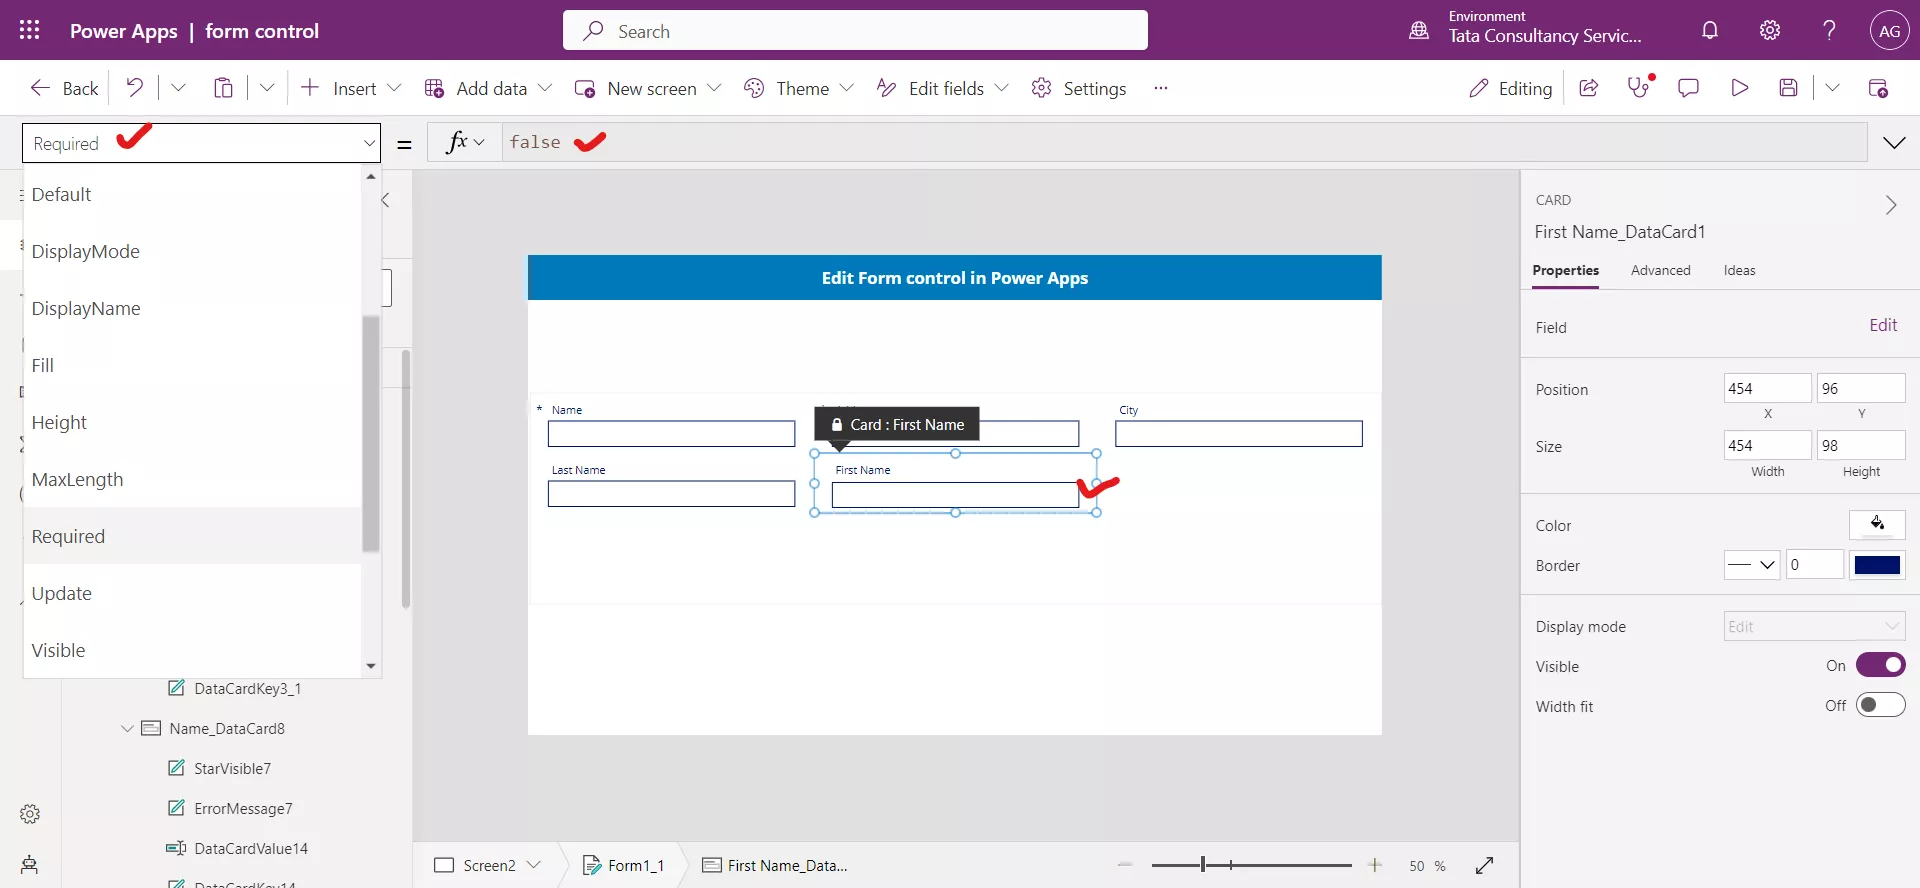
2. Make a field required in the Form control Select the Card component. If we look at the Required property for this field it is false and we are not able to edit.
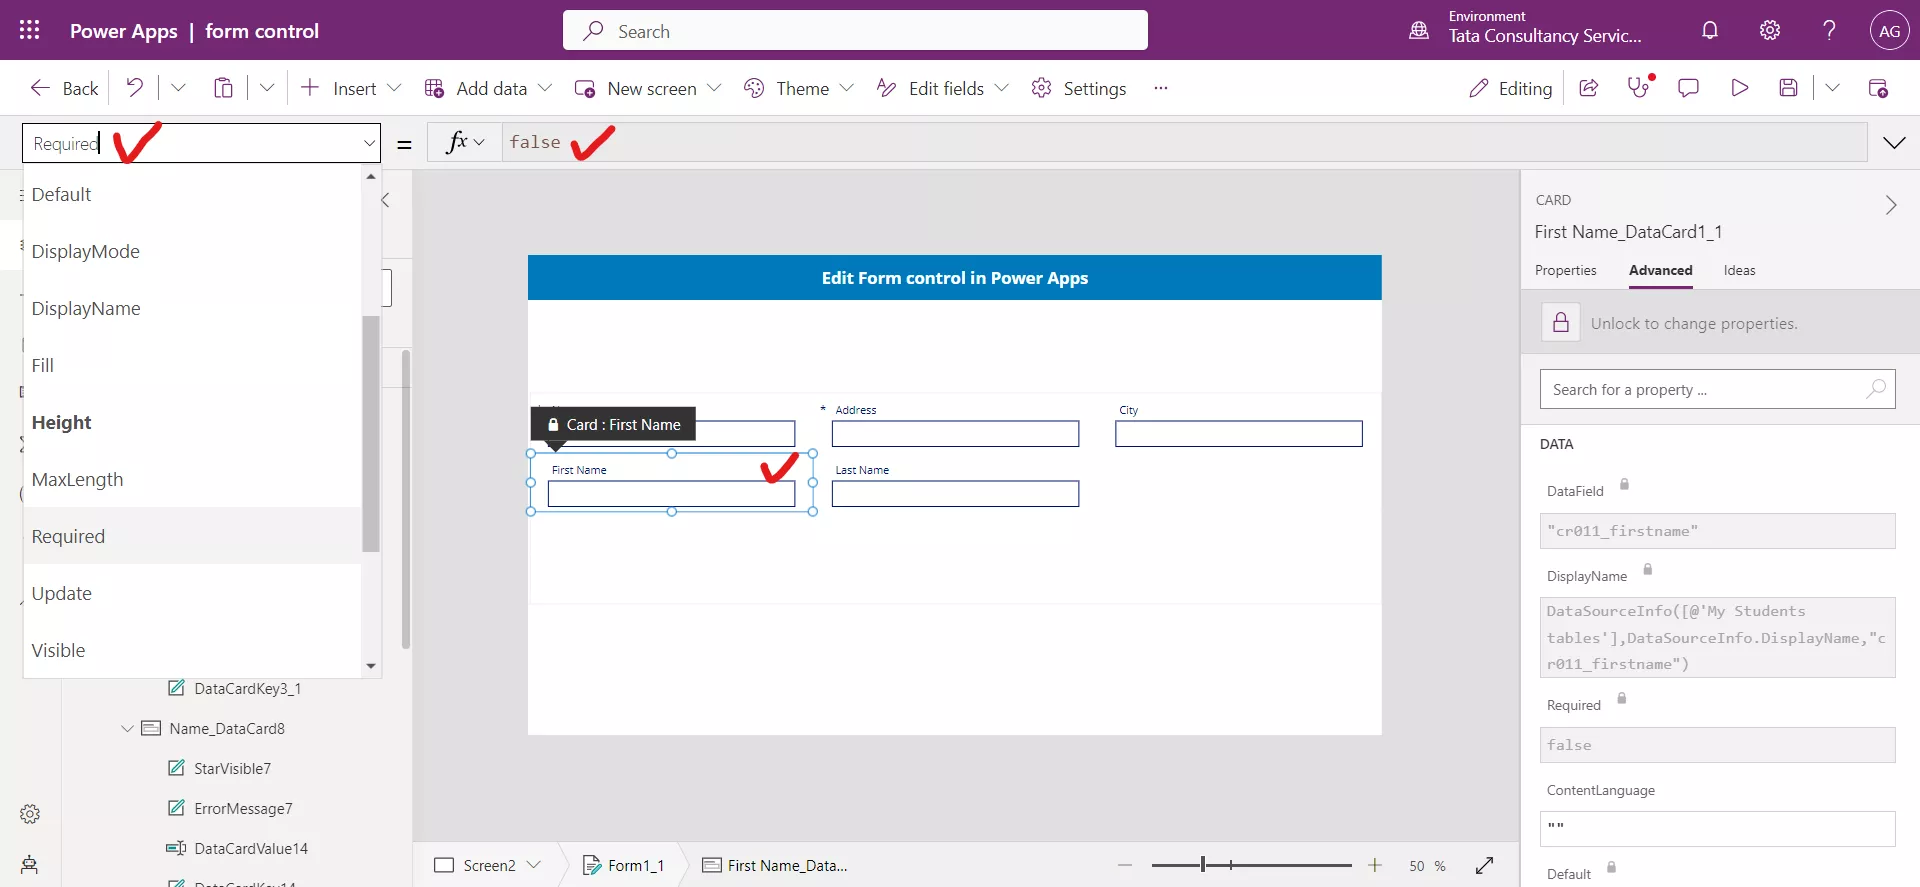
Click on the Advanced tab of the card control. And click on the lock icon to unlock it. After unlocking now we are able to edit.
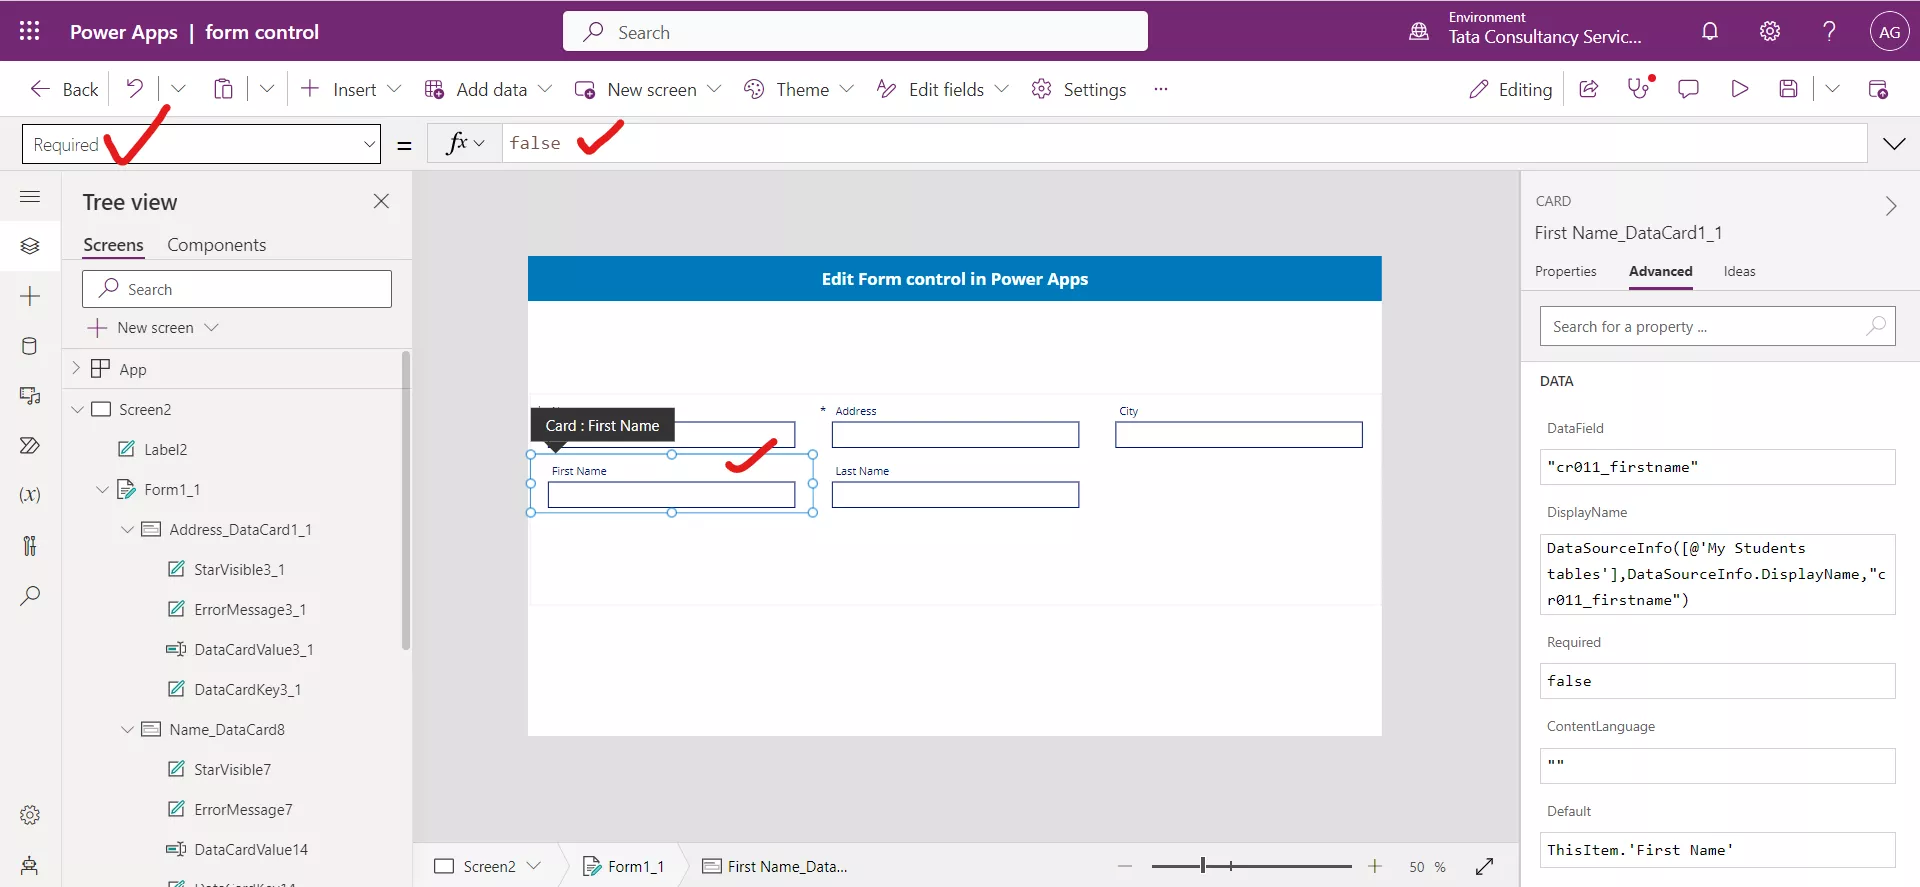
Set the Required property of the card control to true. So, now the First Name field or column is the required field to fill in the form.
If after working with the custom card we decide that we want to return to the original settings, we can delete the custom card and add the column back to the form again. To do this, select the entire form, select Properties on the Edit pane, select Edit Fields, and finding the custom card. Select the ellipses (...) to the right and select Remove.
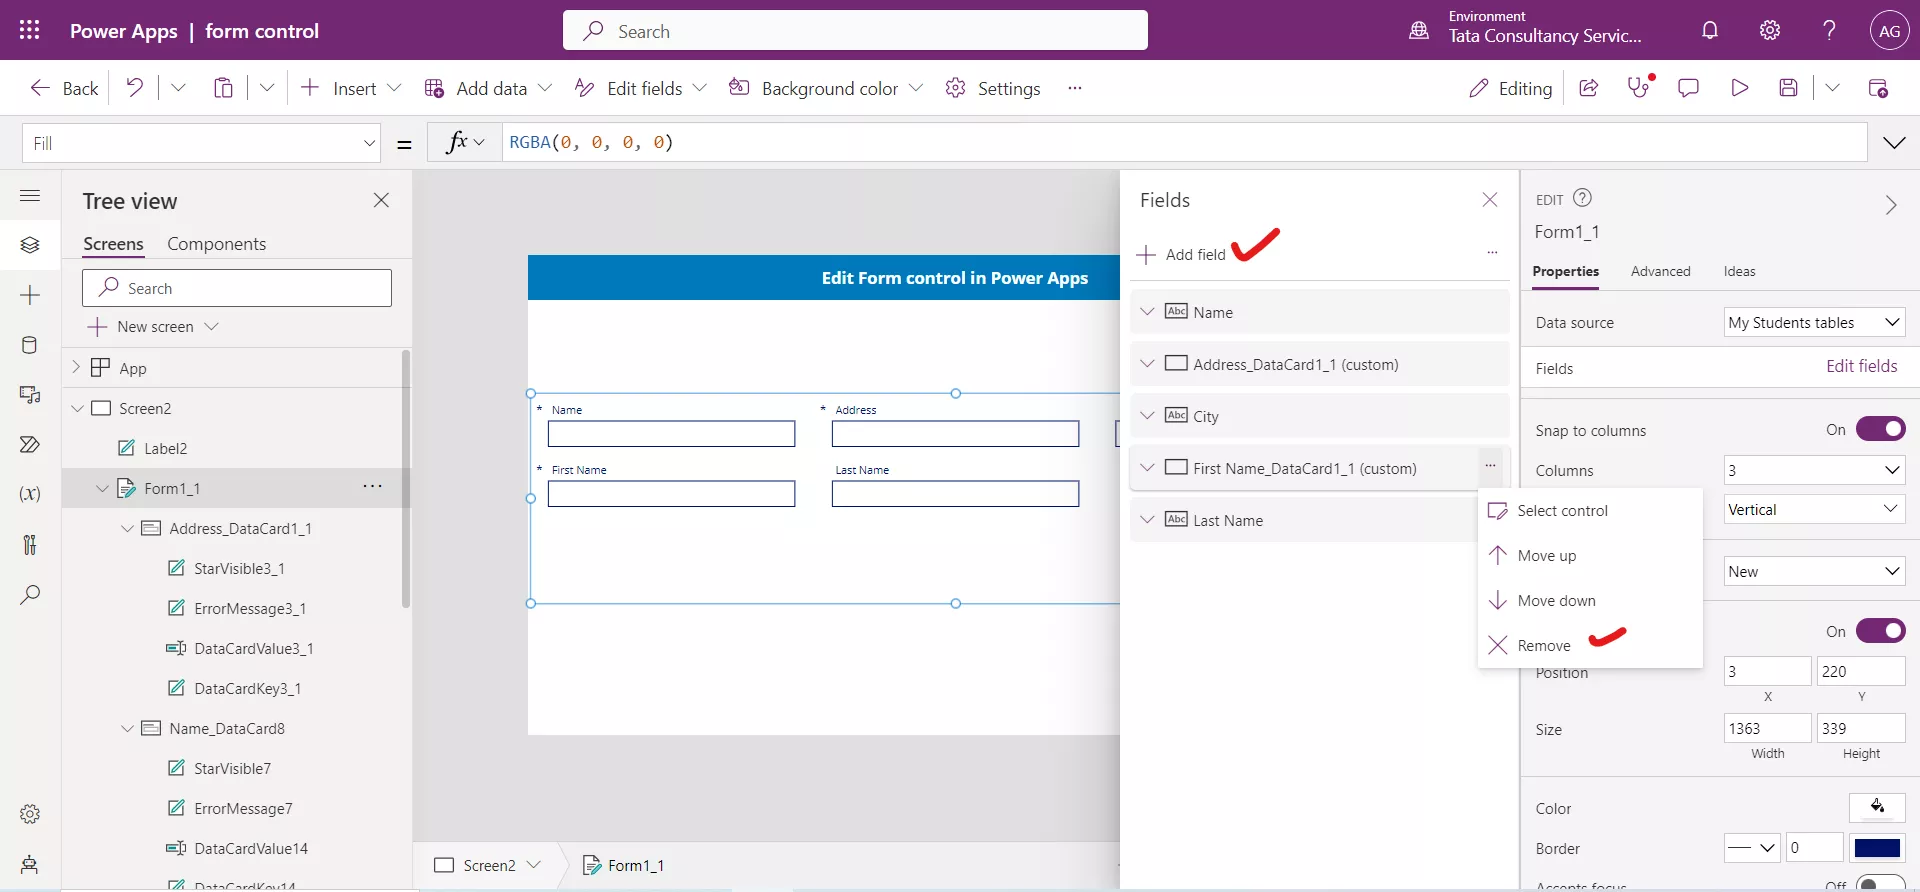
Now we can select Add field at the top. Select the column again and click on + Add field.
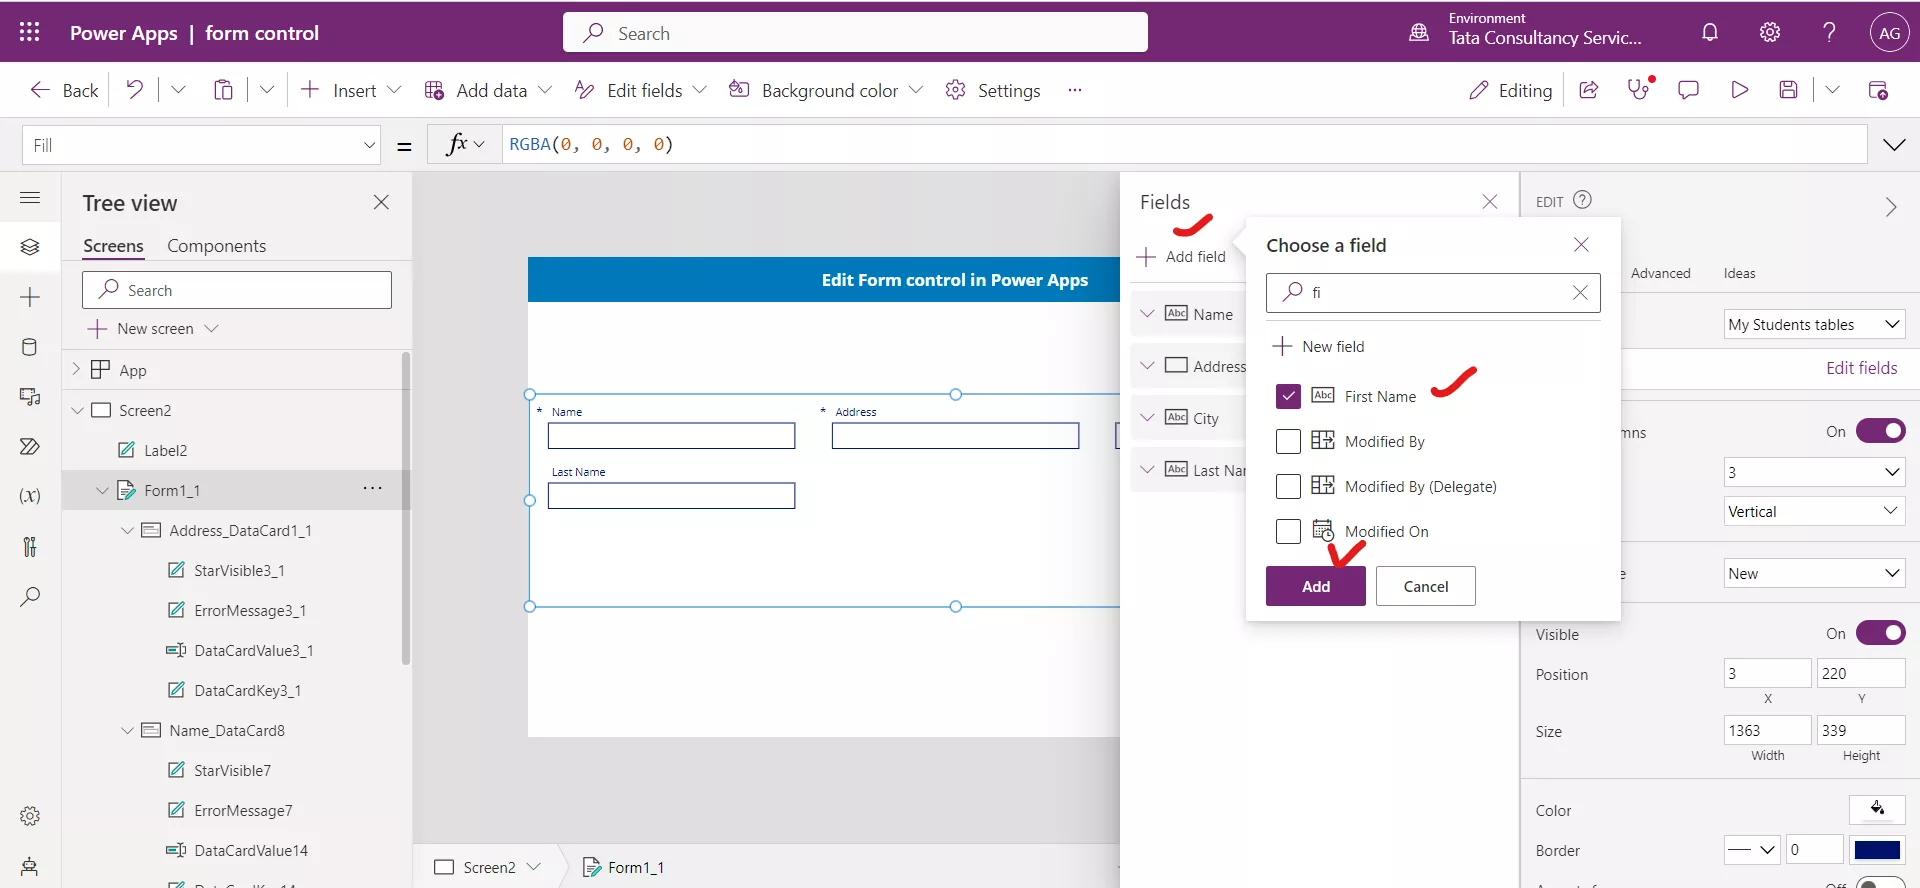
Now we can see that the First Name card control has its previous value.
3. DataField Property of a Card Control
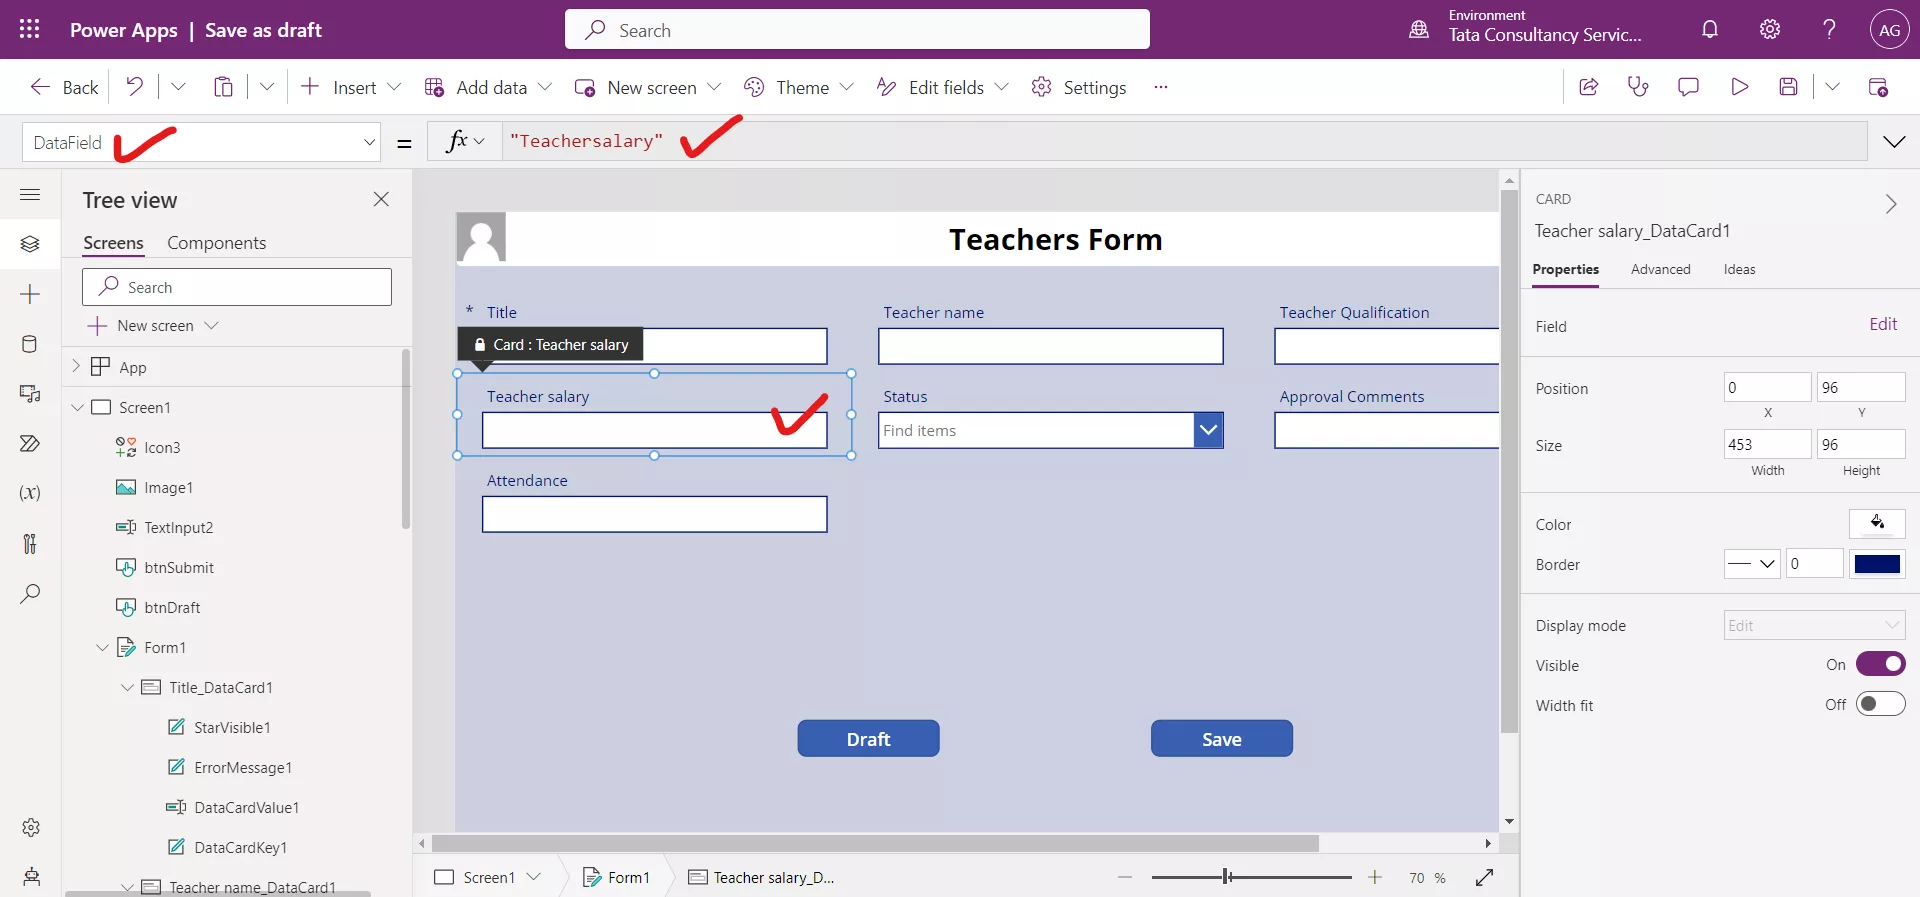
The DataField property of a card control specifies the name of the field within a record that this card displays and edits.
• Specify the name as a single static string that's enclosed in double quotation marks (for example, "Teachersalary"), not a formula.
• Unbind a card by setting its DataField property blank. The Valid and Update properties are ignored for unbound cards
Example: The DataField property of a card control, the internal name of the column.
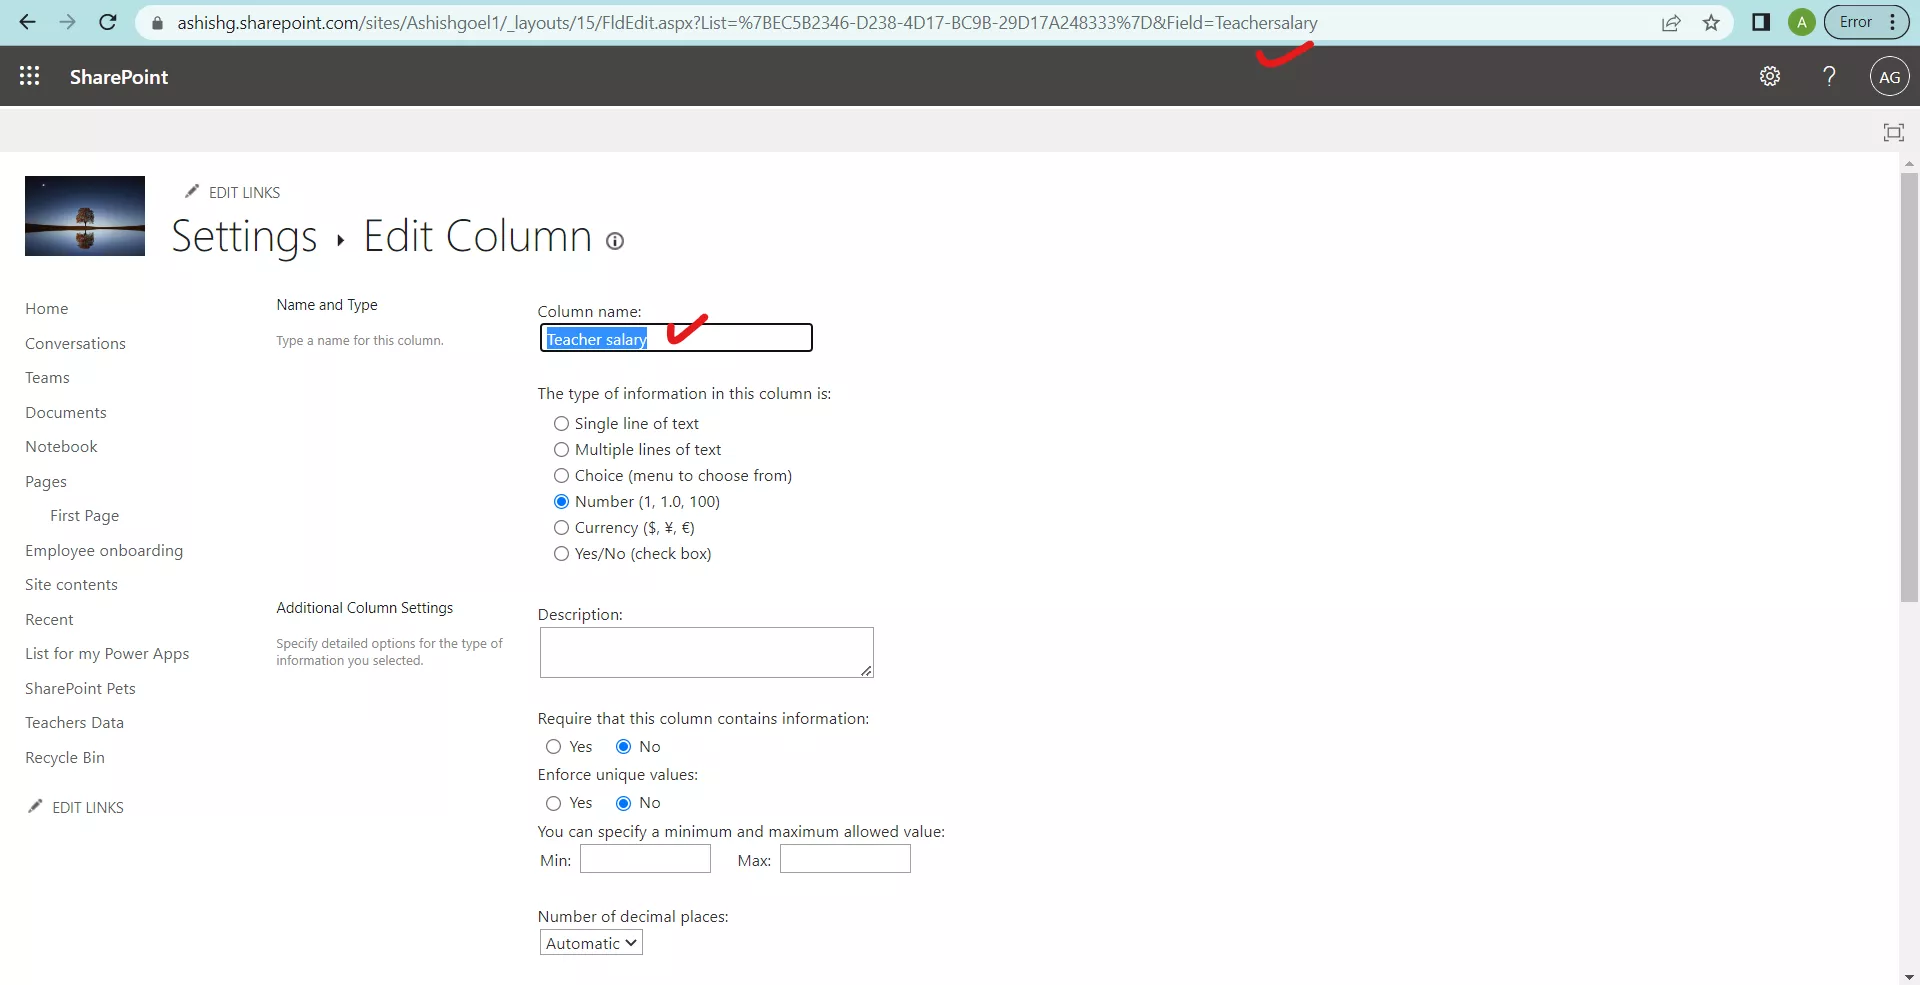
The following is a form comes from a sharepoint list, the internal name of a “Teacher salary” column is “Teachersalary”.
We can verify it from the sharepoint list as this form data source is the sharepoint list.
4. The Error property of a Card control in Power Apps
The Error property of a card control sets a user-friendly error message to display for this field when validation fails. This property is set when SubmitForm function is called for the Form control.
The message describes validation problems based on the data source's metadata and checking the card's Required property.
5. Add a custom card control in Form in Power Apps
To add a custom card control, select the form control then in the properties tab select the Edit fields, then click on the ellipses (…) next to the + Add field, then select + Add a custom card.
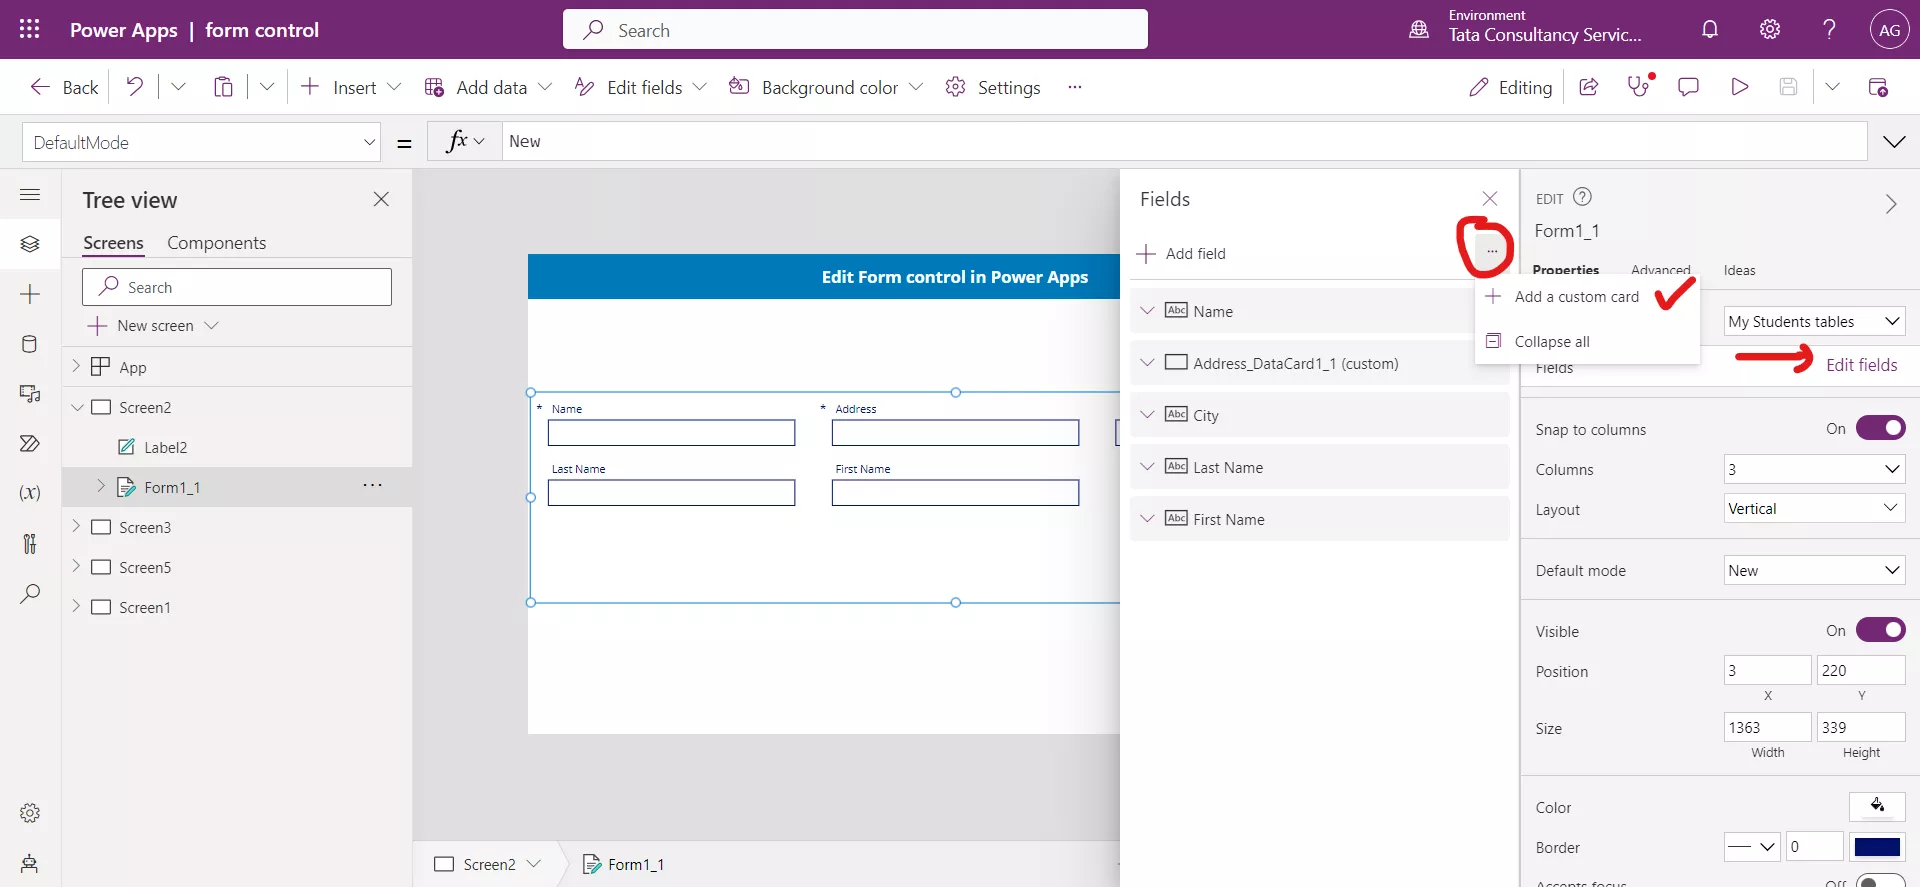
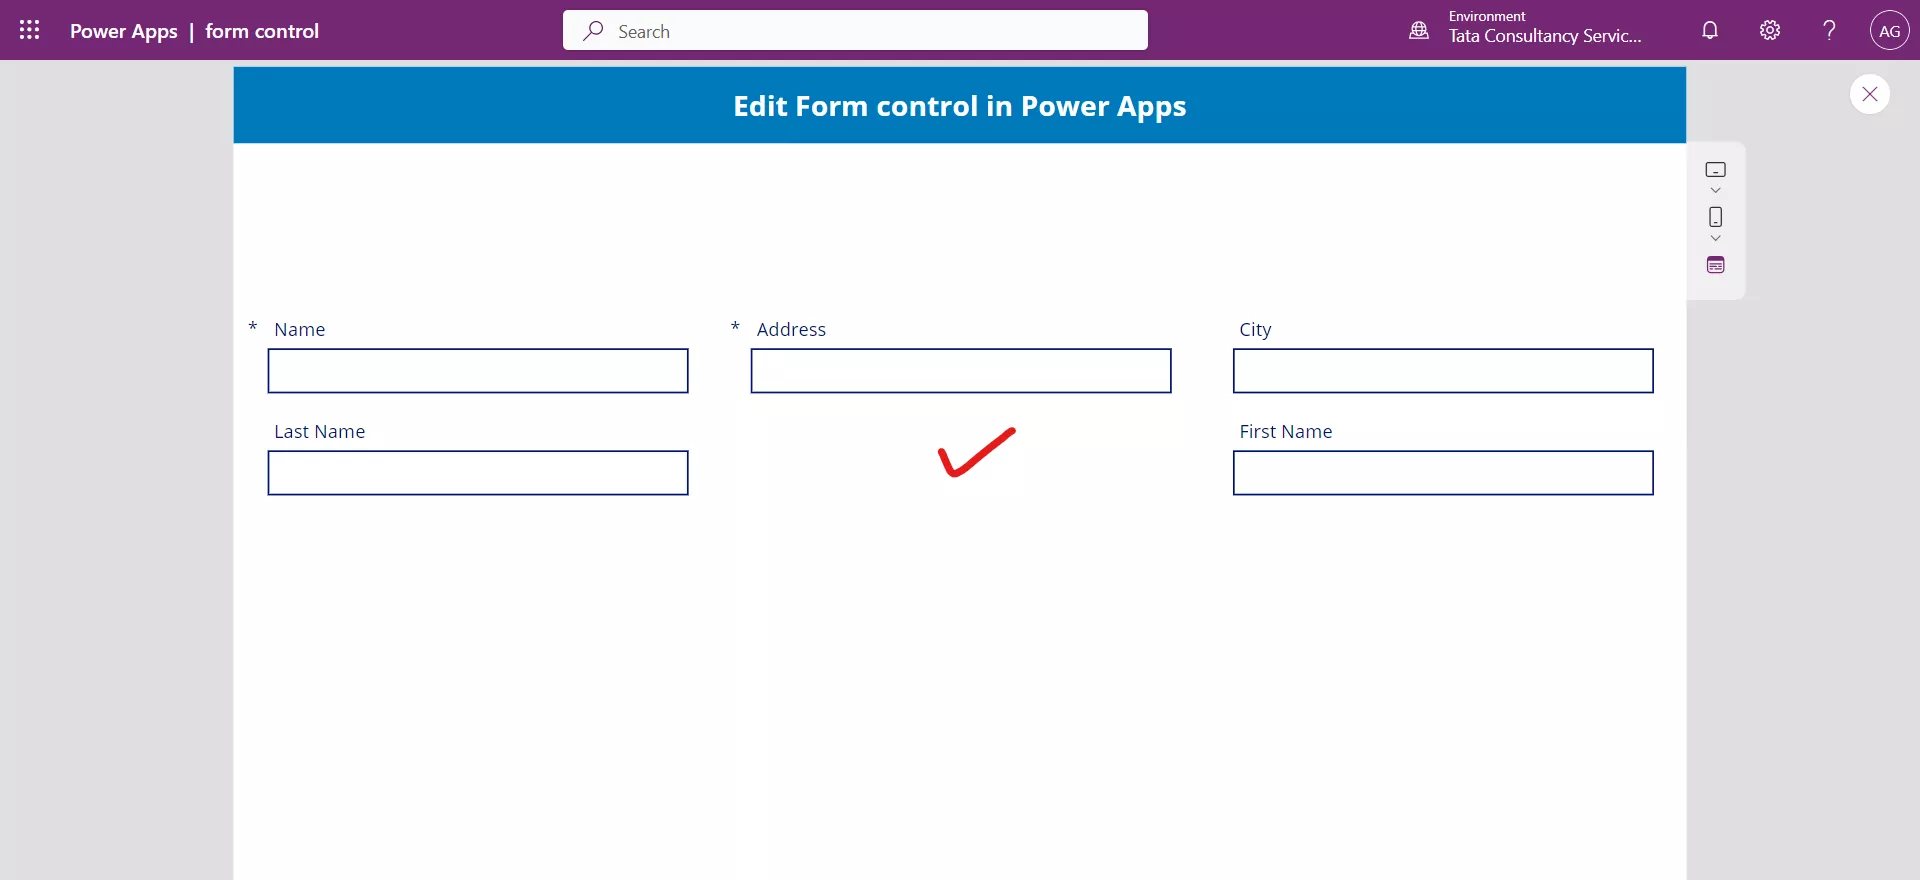
Adding a custom card to the form, allowing us to create blank space or other visual elements. Add a custom card between the Last Name and First Name column.
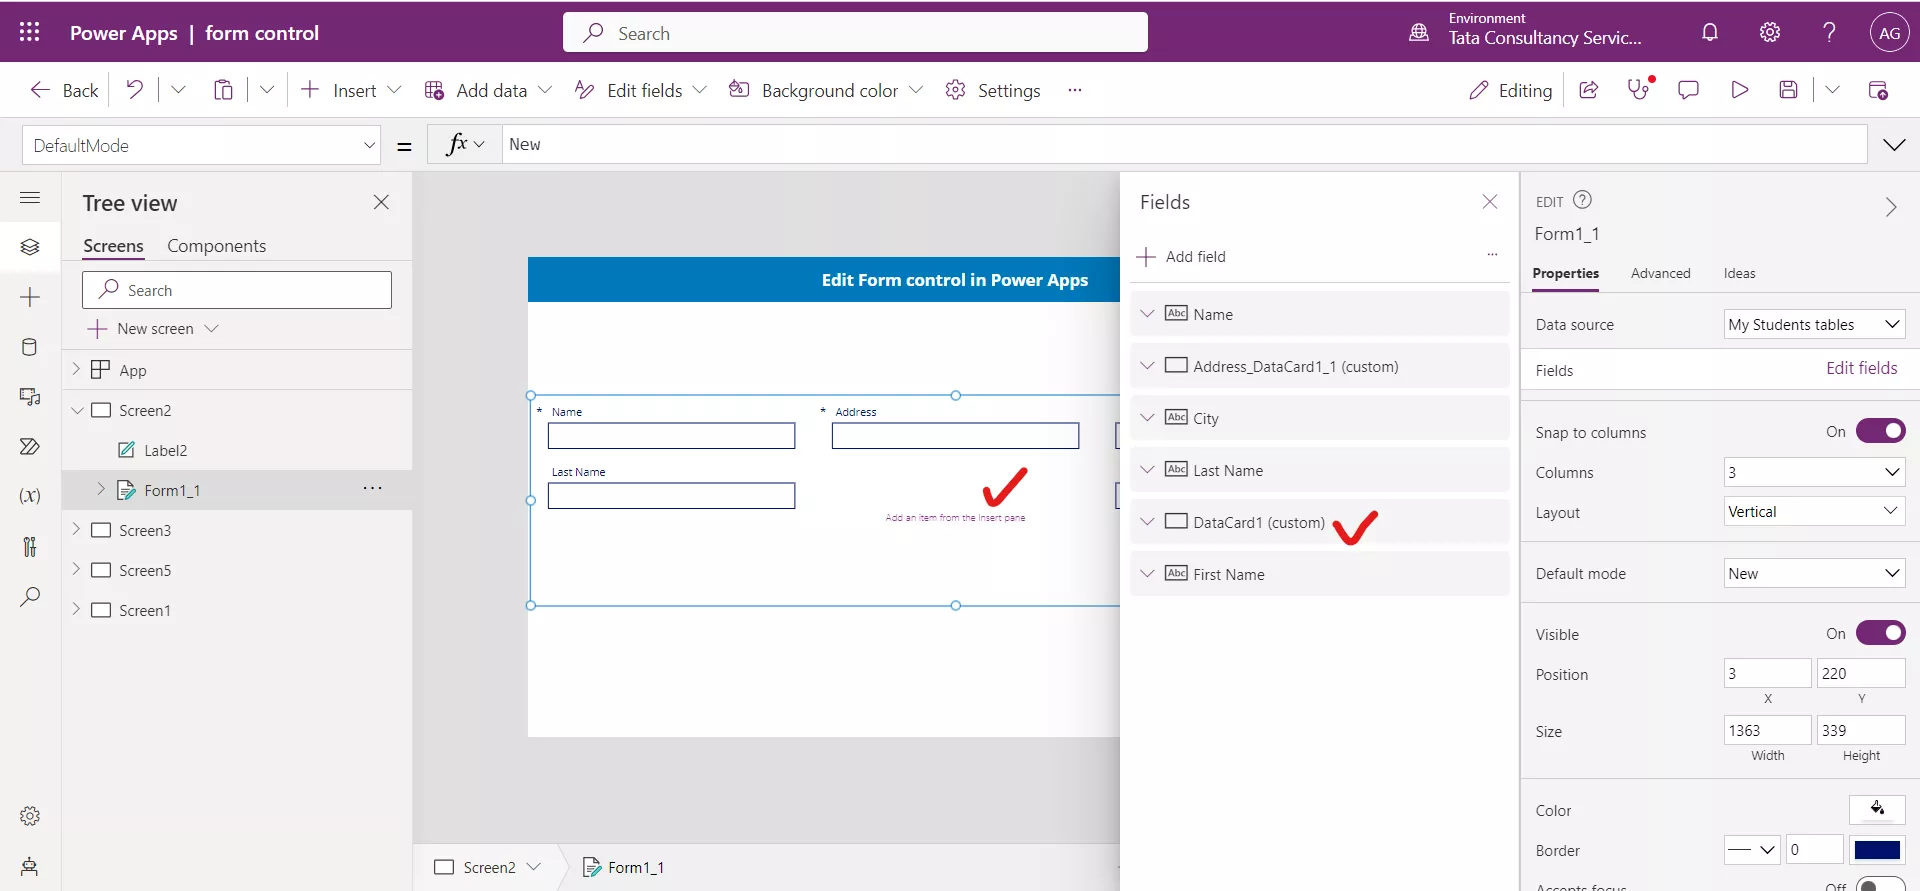
Click the App Preview icon. There is a blank space between the two columns.
6. Update Property of a Card Control
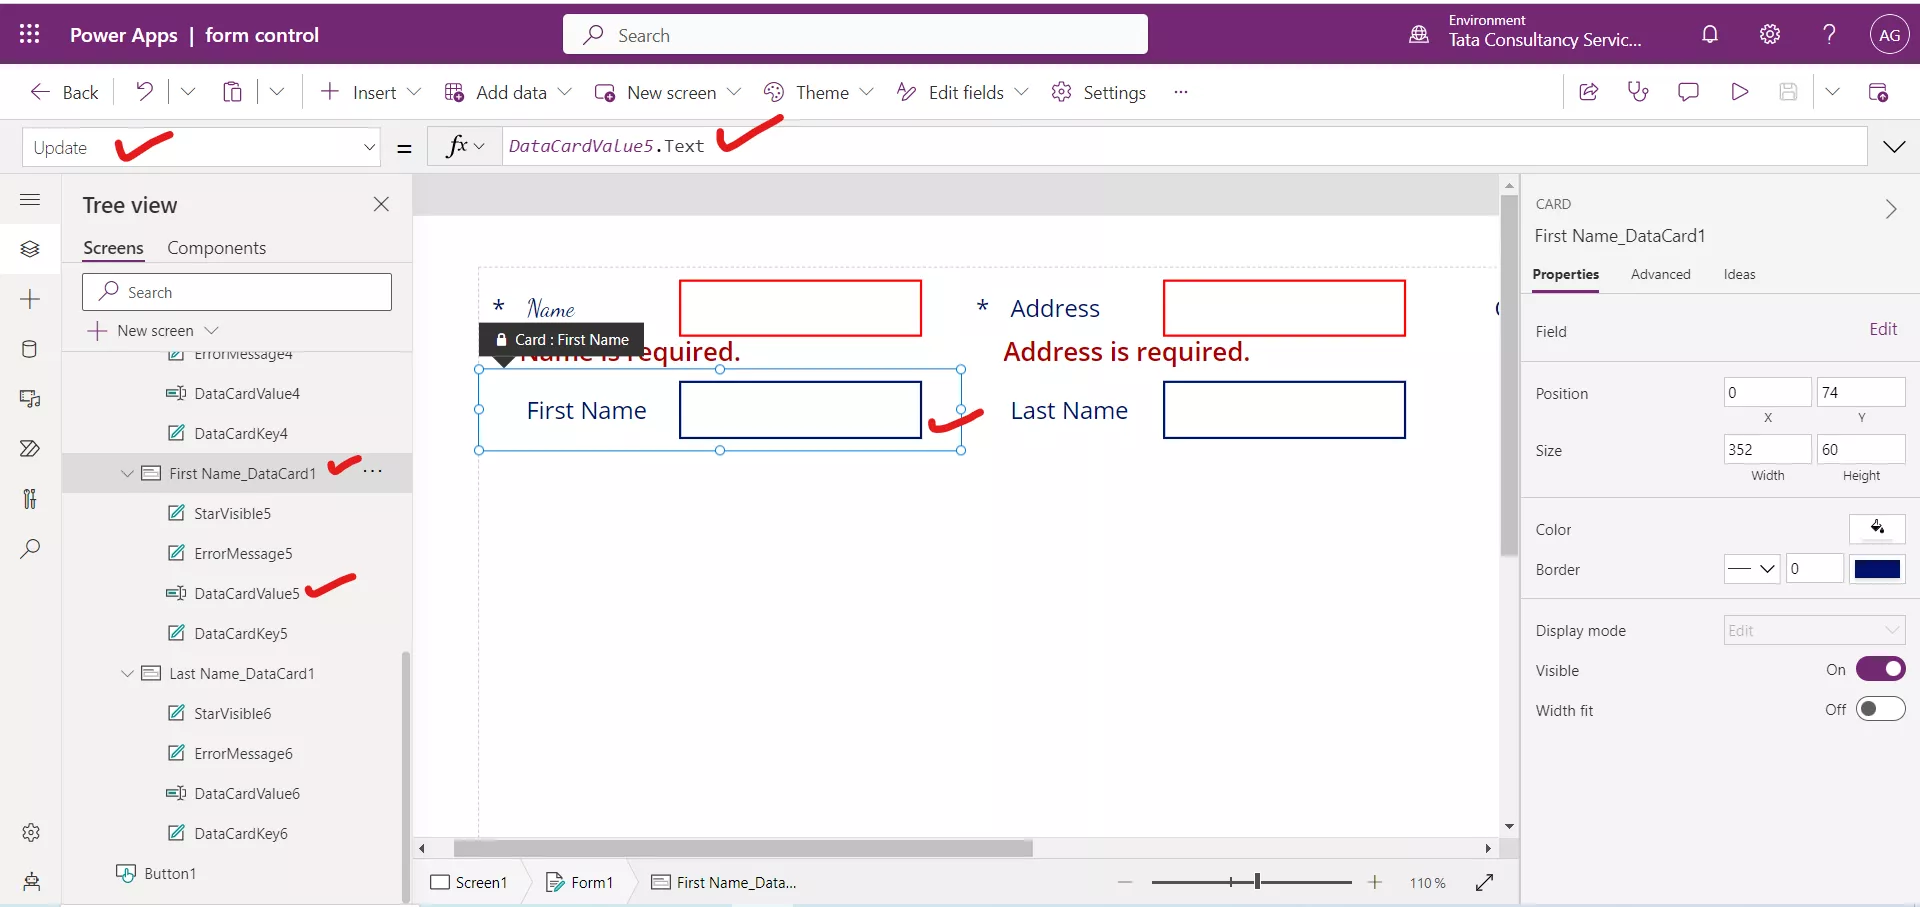
The Update property of the card control in power apps specifies the value to write back to the data source for a field.
For example, for the First Name_DataCard1, set a card's Update property to DataCardValue5.Text to update the data source with a value from the Text Input control in that card.
