Sidebar Navigation Components in Power Apps
In this exercise, we will create a sidebar navigation component which includes a gallery control. And a custom property of data type “Table”.
Step 1: To create a new component, click on + New component.
Step 2: In the Display name, Name, and Description boxes, type the text as MyItems.
Step 3: In the Property type select Input and in the Data type list, select Table, and then select Create.
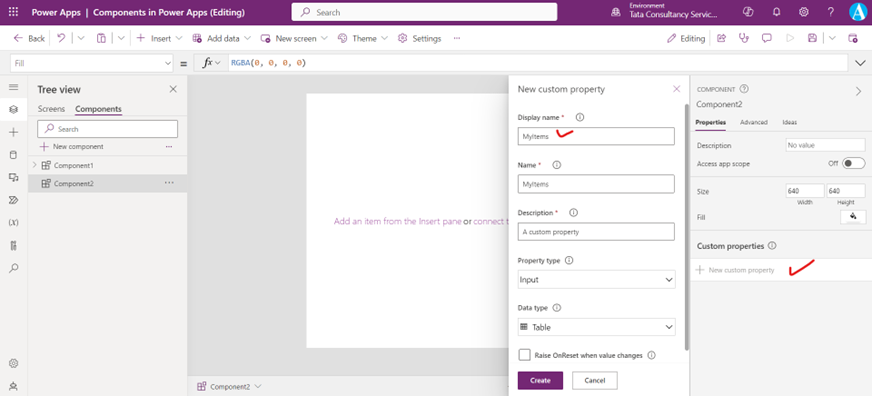
The MyItems property is set to a default value based on the data type that we specified.
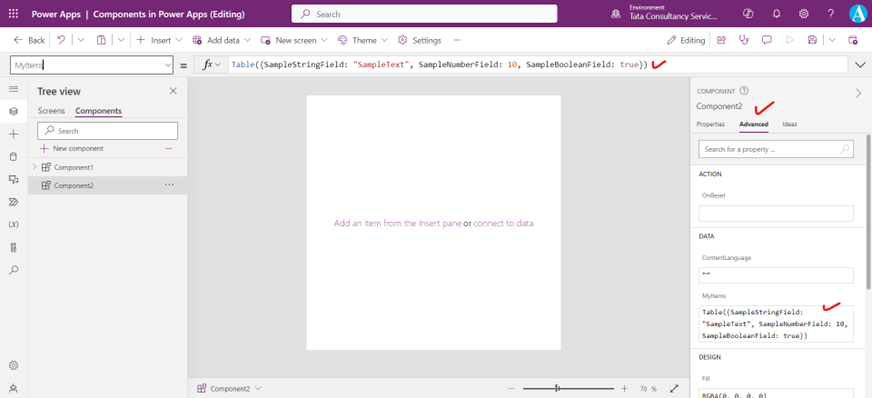
Here we are changing the value of the MyItems property to match the data schema that we want to input to the component.
Power Apps Formula
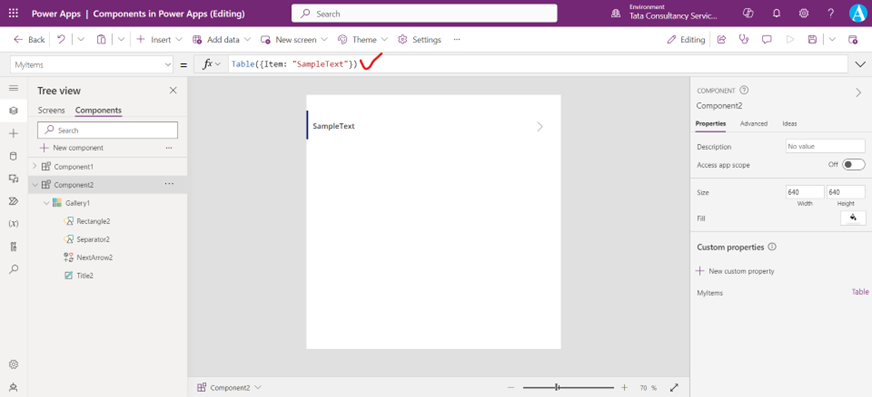
Step 4: In the component, insert a blank vertical Gallery control and select Layout on the property pane as Title.
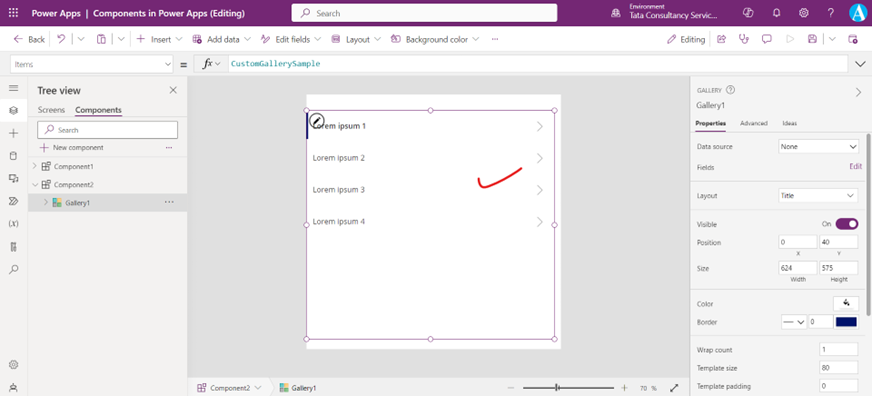
In the Items property of the gallery control to the following expression:
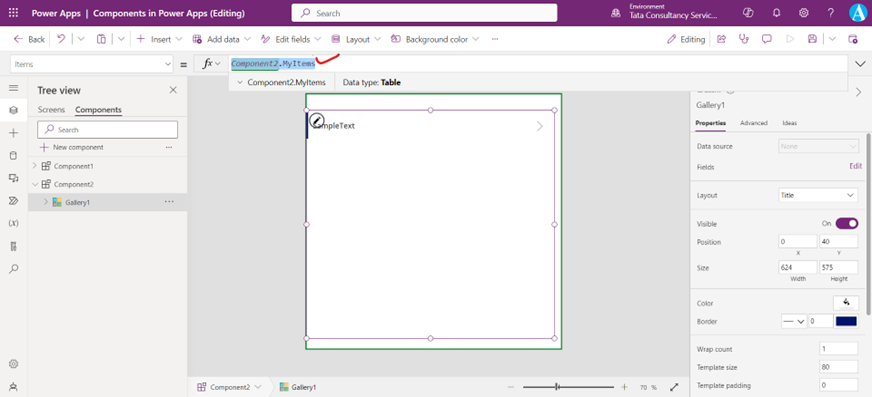
Power Apps Formula
This way, the Items property of the Gallery control reads and depends on the MyItems input property of the component named Component2.
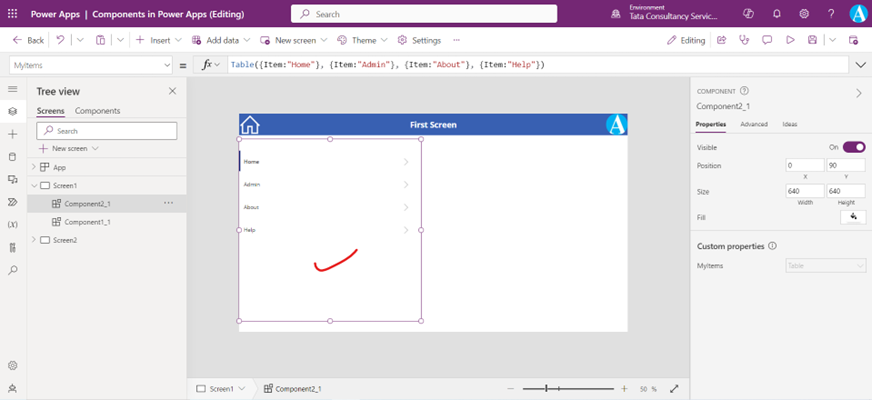
Step 5: Now we will add component to a screen and specify a table of strings for the component to show. In the left pane, select the list of screens, and then select the default screen. On the + Insert tab, and from the Custom section, click on the Component2.
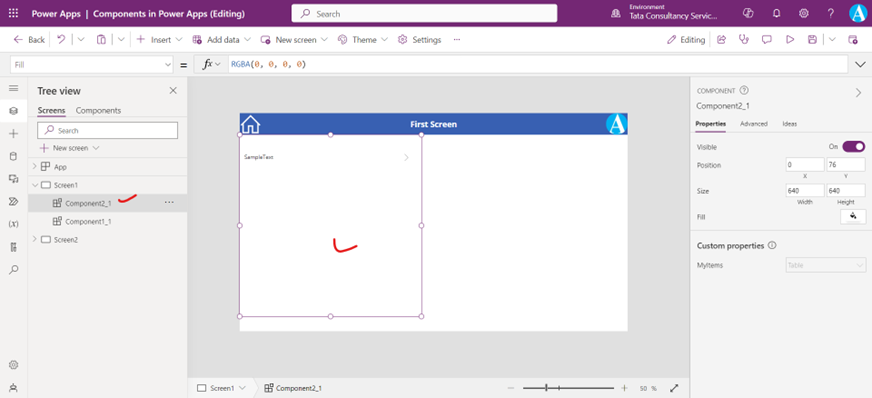
Step 6: Set the MyItems property of Component2_1 to the following power apps formula:
Power Apps Formula
This instance resembles this graphic, but we can customize the text and other properties of each instance.
