Navigate and Back function in Power Apps
The Navigate and Back function in power apps are used to navigate in the power apps between the screen. These functions are generally invoked or triggered using the OnSelect property of a control in power apps. If a screen is added in power apps with no navigation, then this screen is not accessible by the end users. Such screens can be in the Power apps for the developer for documentation or any other purpose. This kind of hidden screen can be accessible by the developers of the app.
1. Navigate Function
The Navigate is used to navigate between the screen in the Power Apps. The first argument specifies the name of the screen to go to. The second argument specifies the visual transition to use between the current screen and the next screen. There are several different ScreenTransitions available in Power apps. Each ScreenTransition produces a slightly different visual experience for the user. The default value for the screen transition is None.
Note: The Navigate function can be used to set one or more context variable in power apps. We can use this approach to pass parameters to a screen.
Power Apps Syntax Navigate( Name_of_the_Screen [,Transition [, UpdateContextRecord ] ] )
The function has the following parameters:
- Name_of_the_Screen - It is the required parameter.
- Transition - It is an optional parameter.
- UpdateContextRecord - It is an optional parameter. A record that contains the name of at least one column and a value for each column. This record updates the context variables of the new screen as if passed to the UpdateContext function. For more information, see UpdateContext function in Power Apps.
The following table covers all the values used in screen transition parameter:
| S. No | Screen Transition Argument | Description |
|---|---|---|
| 1 | ScreenTransition.Cover | The new screen slides into view, moving right to left, to cover the current screen. |
| 2 | ScreenTransition.CoverRight | The new screen slides into view, moving left to right, to cover the current screen. |
| 3 | ScreenTransition.Fade | The current screen fades away to reveal the new screen. |
| 4 | ScreenTransition.None | The new screen quickly replaces the current screen. This is the default value of screen transition. |
| 5 | ScreenTransition.UnCover | The current screen slides out of view, moving right to left, to uncover the new screen. |
| 6 | ScreenTransition.UnCoverRight | The current screen slides out of view, moving left to right, to uncover the new screen. |
Example: a) Navigate(Screen3) The function navigates to the Screen3 with the default transition None.
b) Navigate(Screen2, ScreenTransition.Fade, { Title: 6 , varCol: Color.Blue } ) The function navigates to the Screen2 with a Fade transition. And updates the value of the Title context variable to 6 and updates the value of the varCol context variable to Color.Blue. Here we set the varCol context variable to color blue, if we are using this context variable in Screen2 in any control where we are providing color as a value like Fill, Color properties, that color becomes blue.
2. Back Function
The Back function returns to the screen that was most recently displayed. As the user navigates to other screens, the app tracks the path of the screens and the transition used. So, when the Back function runs, the inverse screen transition runs as well. Using successive Back calls, our user can return all the way to the screen that appeared when they started using the app.
Though Back normally returns true, if the user has not navigated to another screen since using the app, then invoking Back will return a false value and the user will stay on the current screen.
The Back function also has an optional argument for ScreenTransition. The visual transition to use between the current screen and the previous screen. By default, the transition through which a screen returns is the inverse of the transition through which it appeared.
Power Apps Syntax Back( [ Transition ] )
• Transition - Optional.
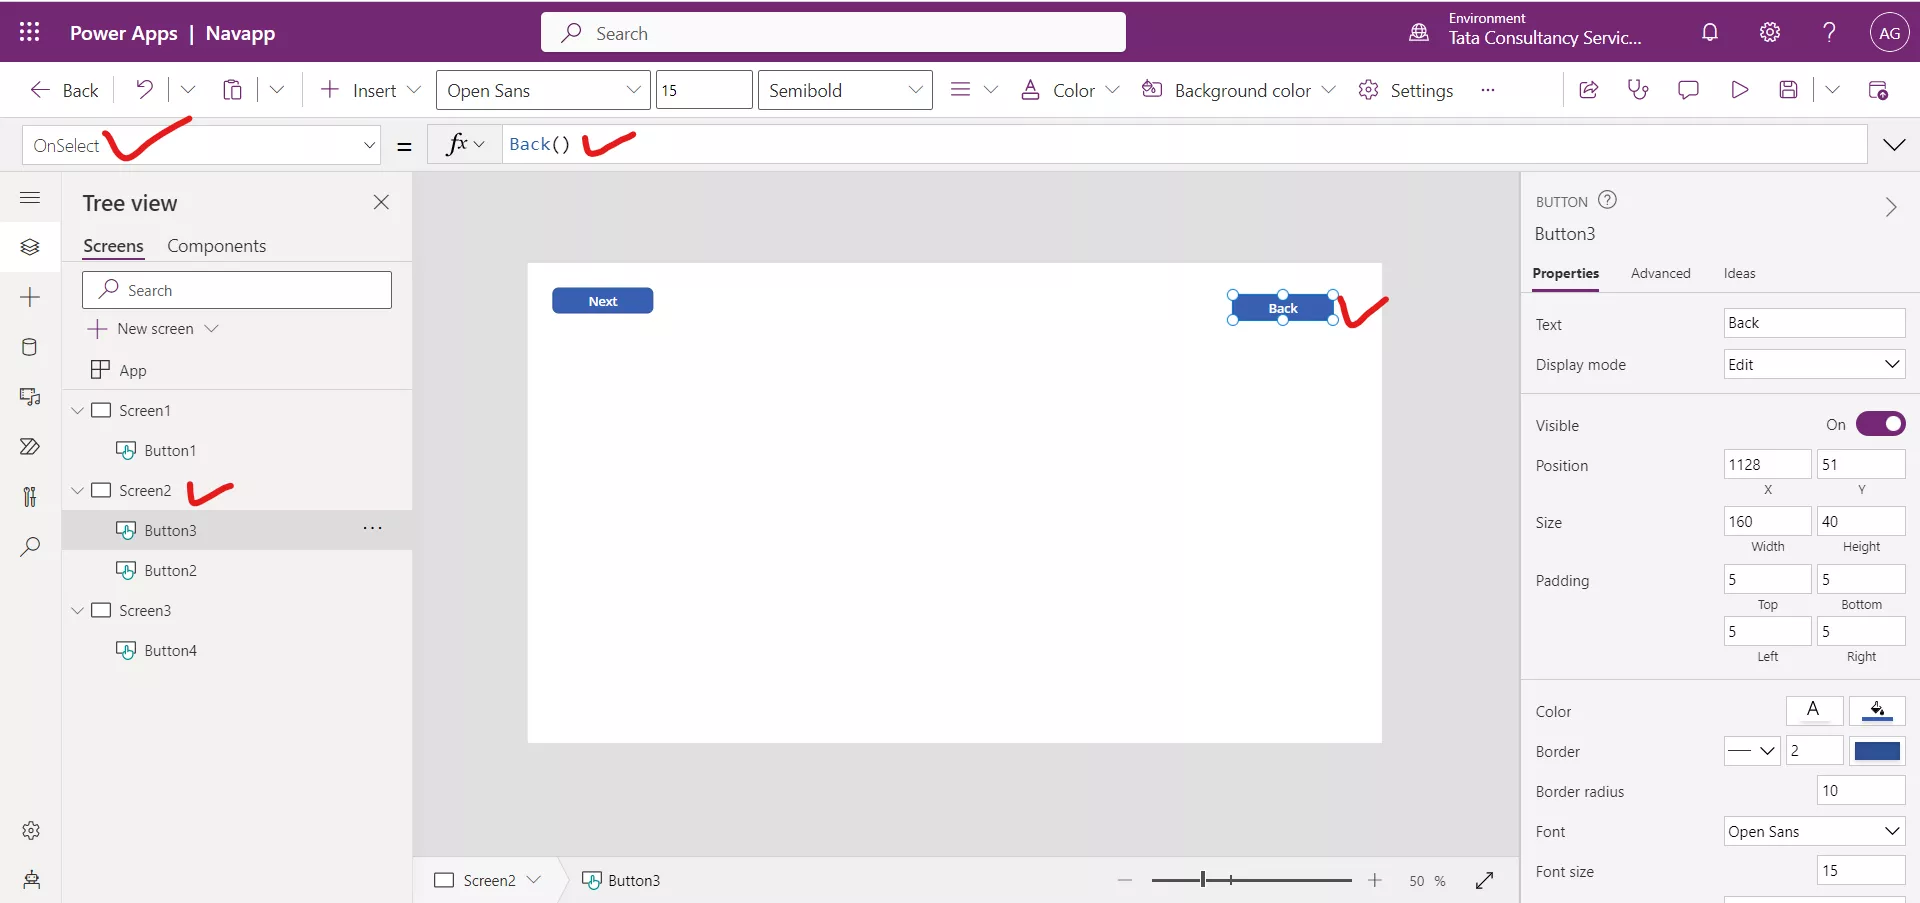
Example: a) Back() When invoke this function, it displays the previous screen with the default return transition.
b) Back( ScreenTransition.Cover ) When invoke this function, it displays the previous screen with the Cover transition.
Example: The demonstration of Navigate and Back function in Power Apps.
In the following example, we will create a three-screen app to demonstrate the Navigate and Back functionality.
Step 1: Click on + New screen then click on Blank. This will create a new blank screen in our app. Repeat once more to have three screens total.
Step 2: On Screen1, insert a Button control and change the Text property to "Next".
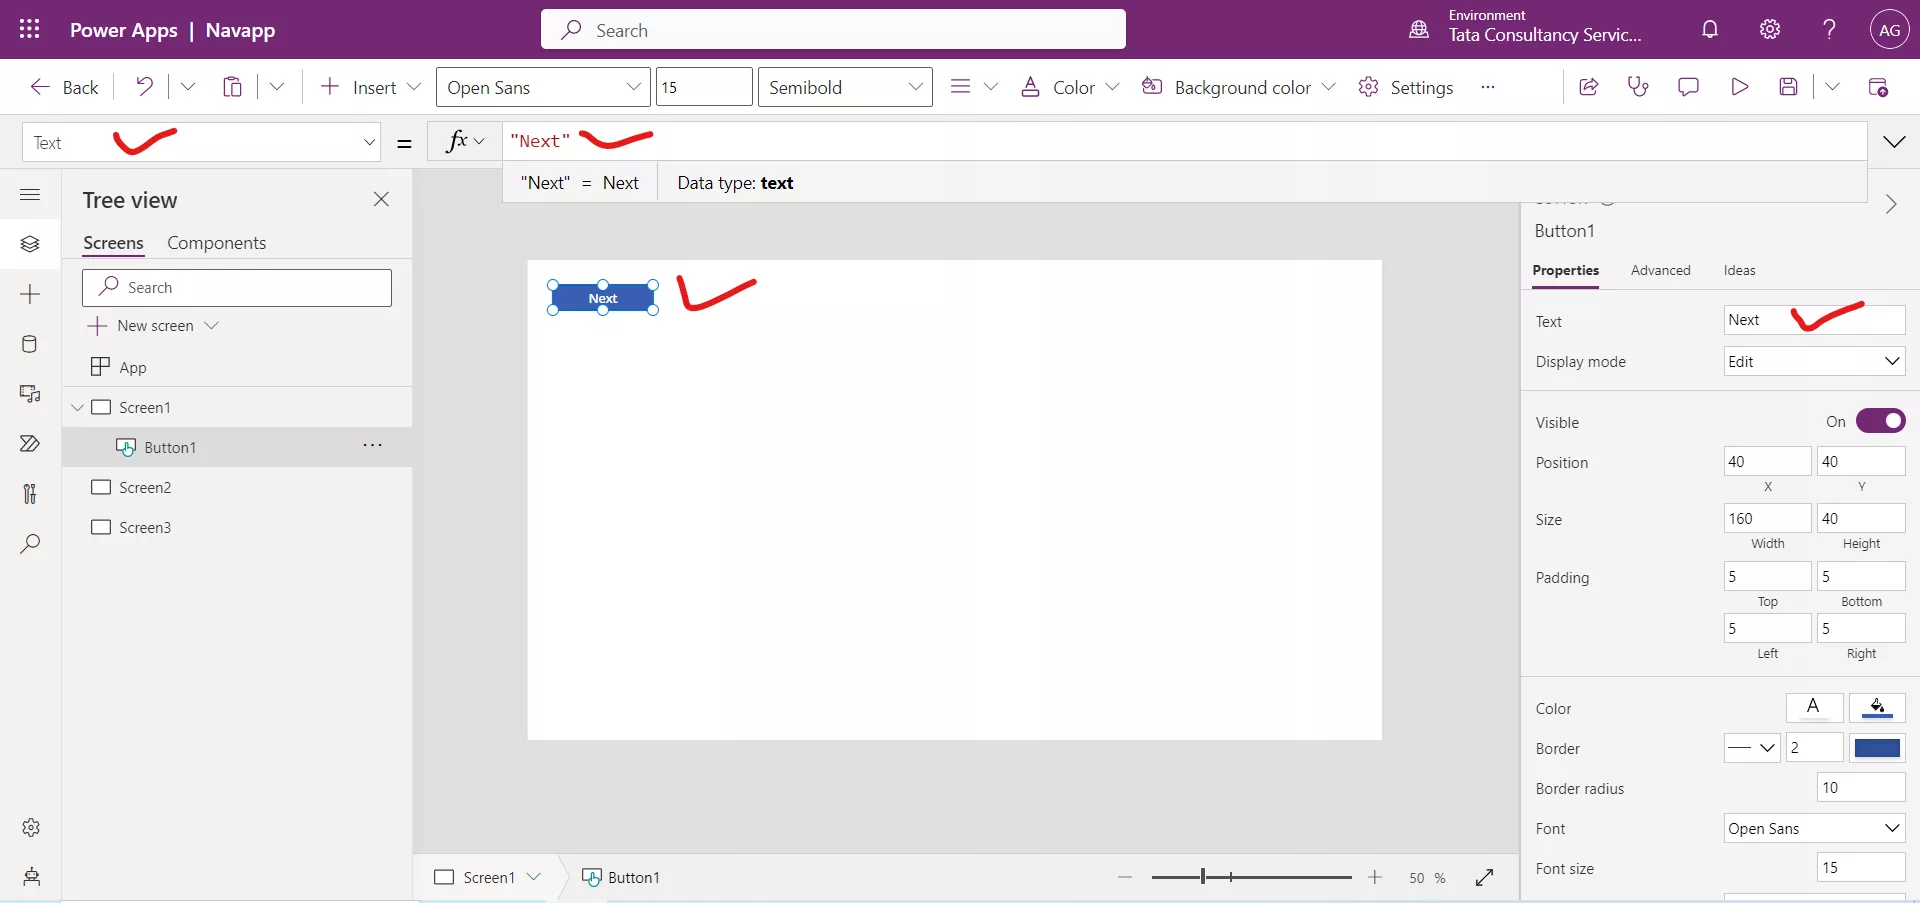
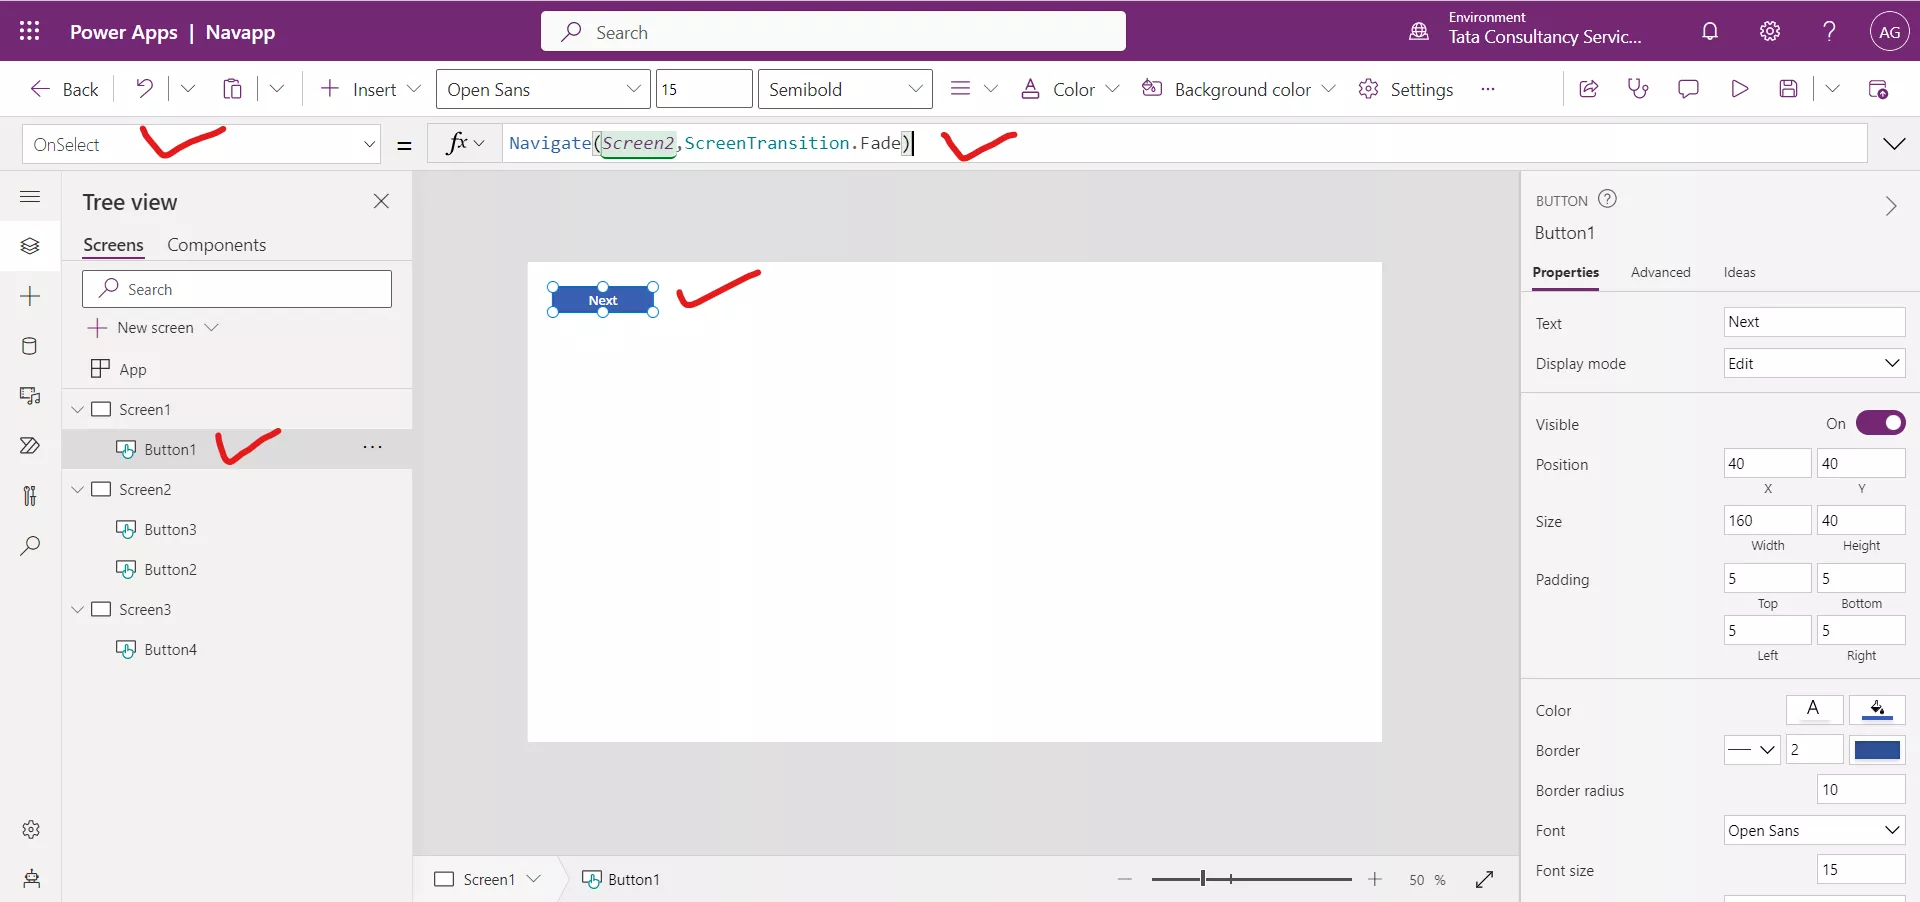
And set the OnSelect property to the following Power Apps formula.
Power Apps Formula
Here, Screen2 is the name of the screen.
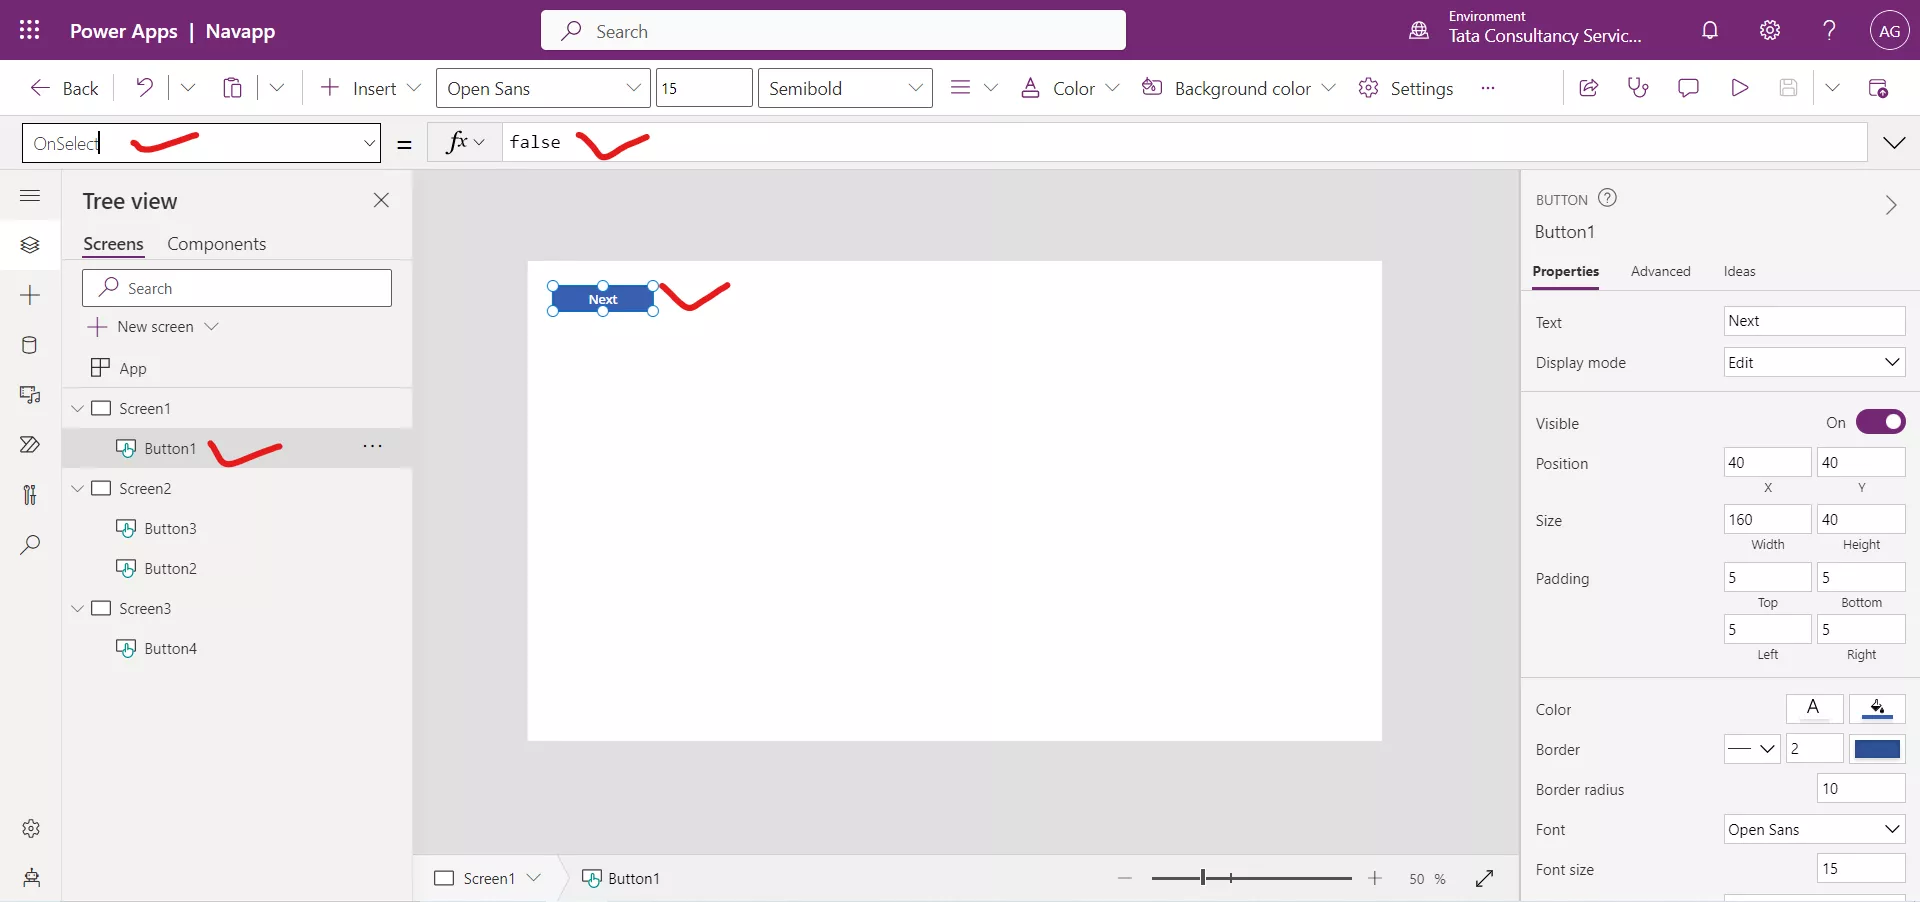
The formula is written on OnSelect property of the button control.
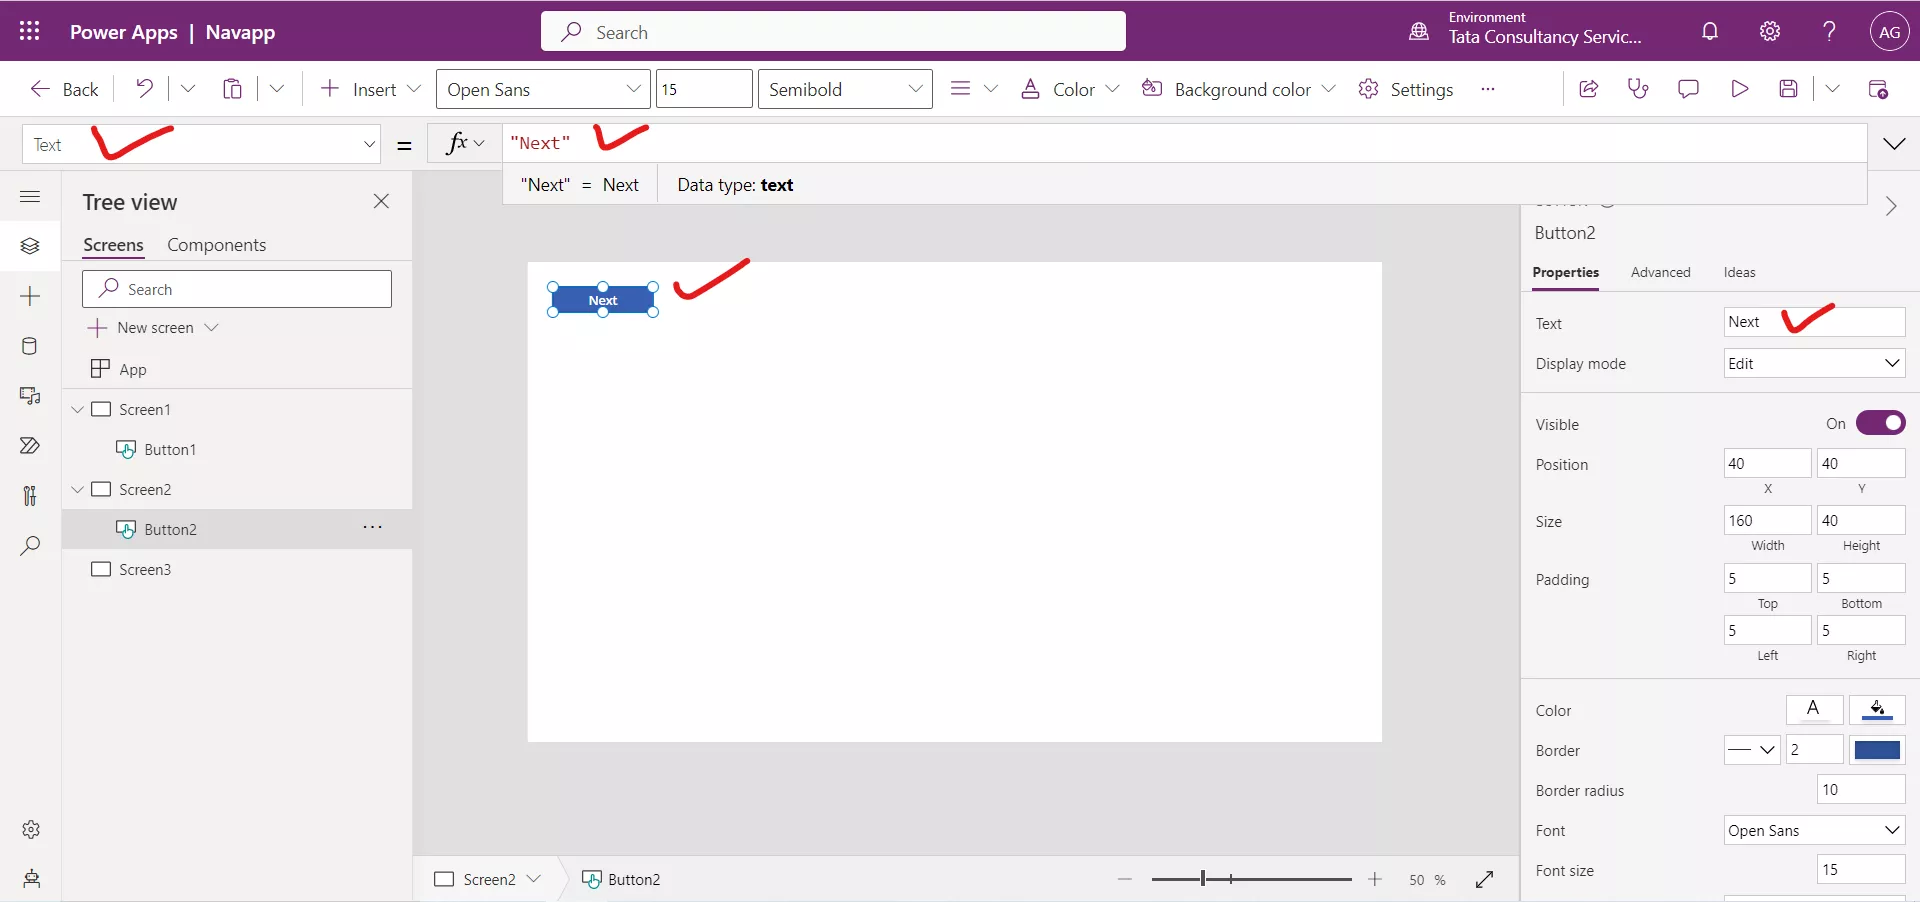
Step 3: Likewise, go to Screen2, add a Button control, and change the Text to "Next".
And set the OnSelect property for the “Next” button to the following Power Apps formula.
Power Apps Formula
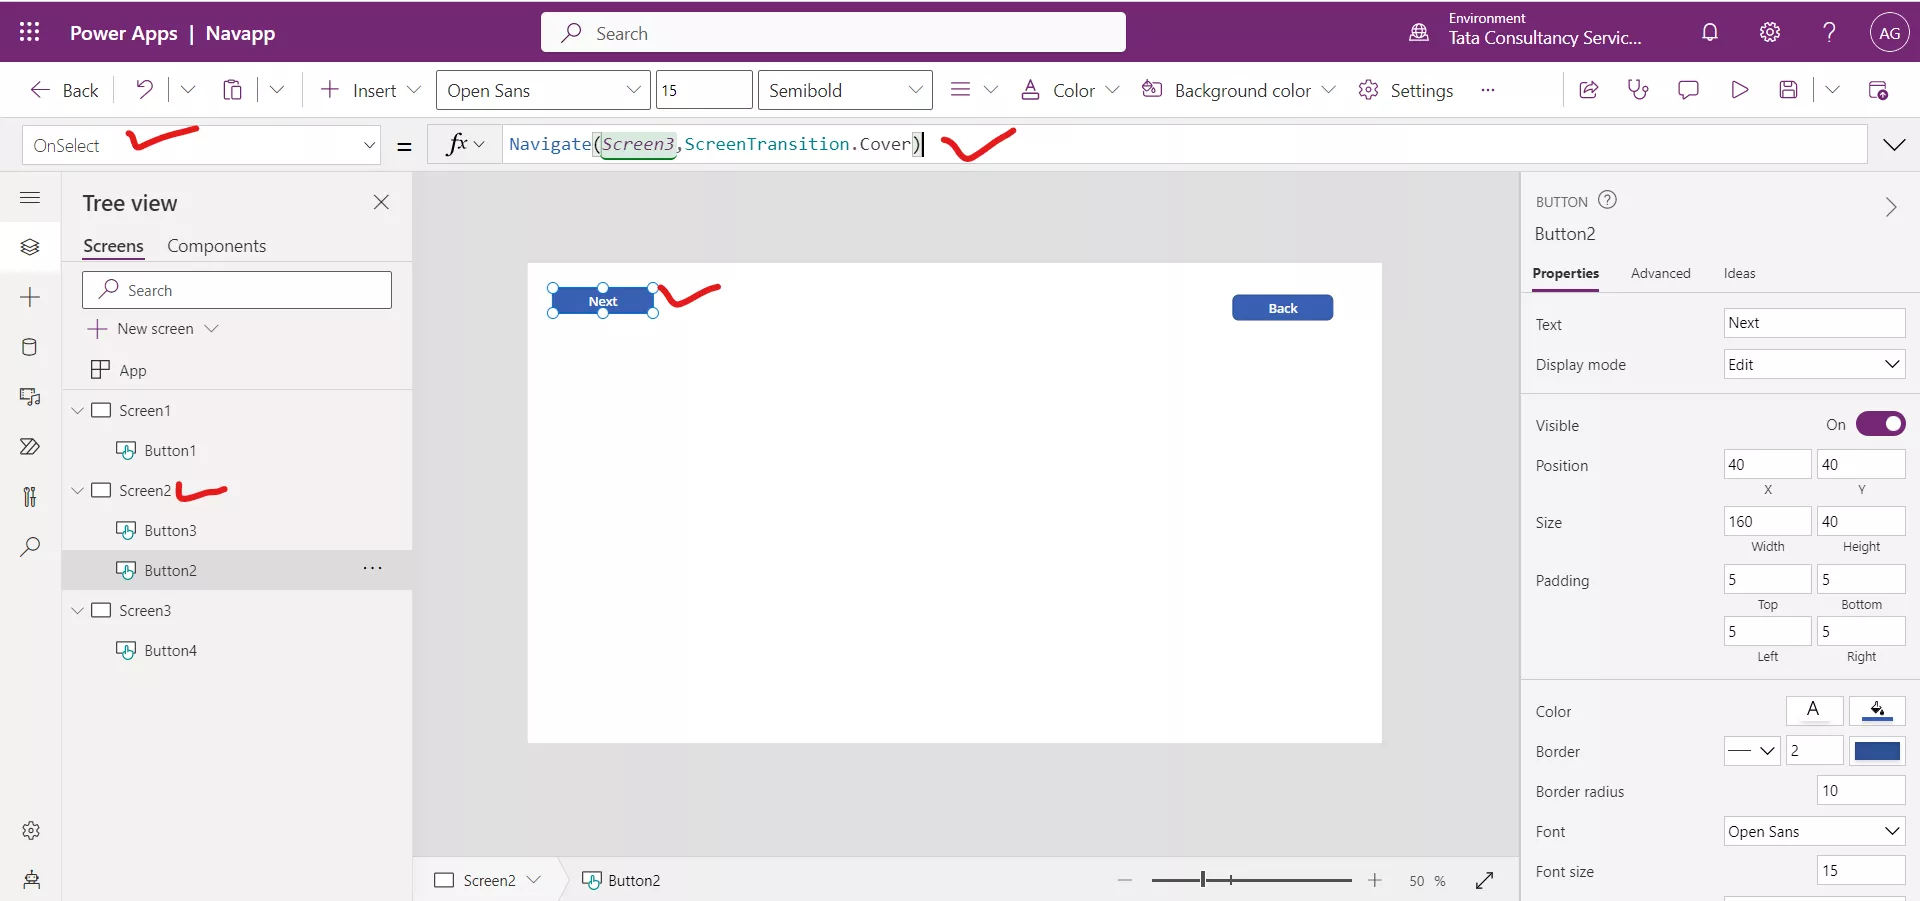
Step 4: Add a second Button control to Screen2 and change the Text to "Back".
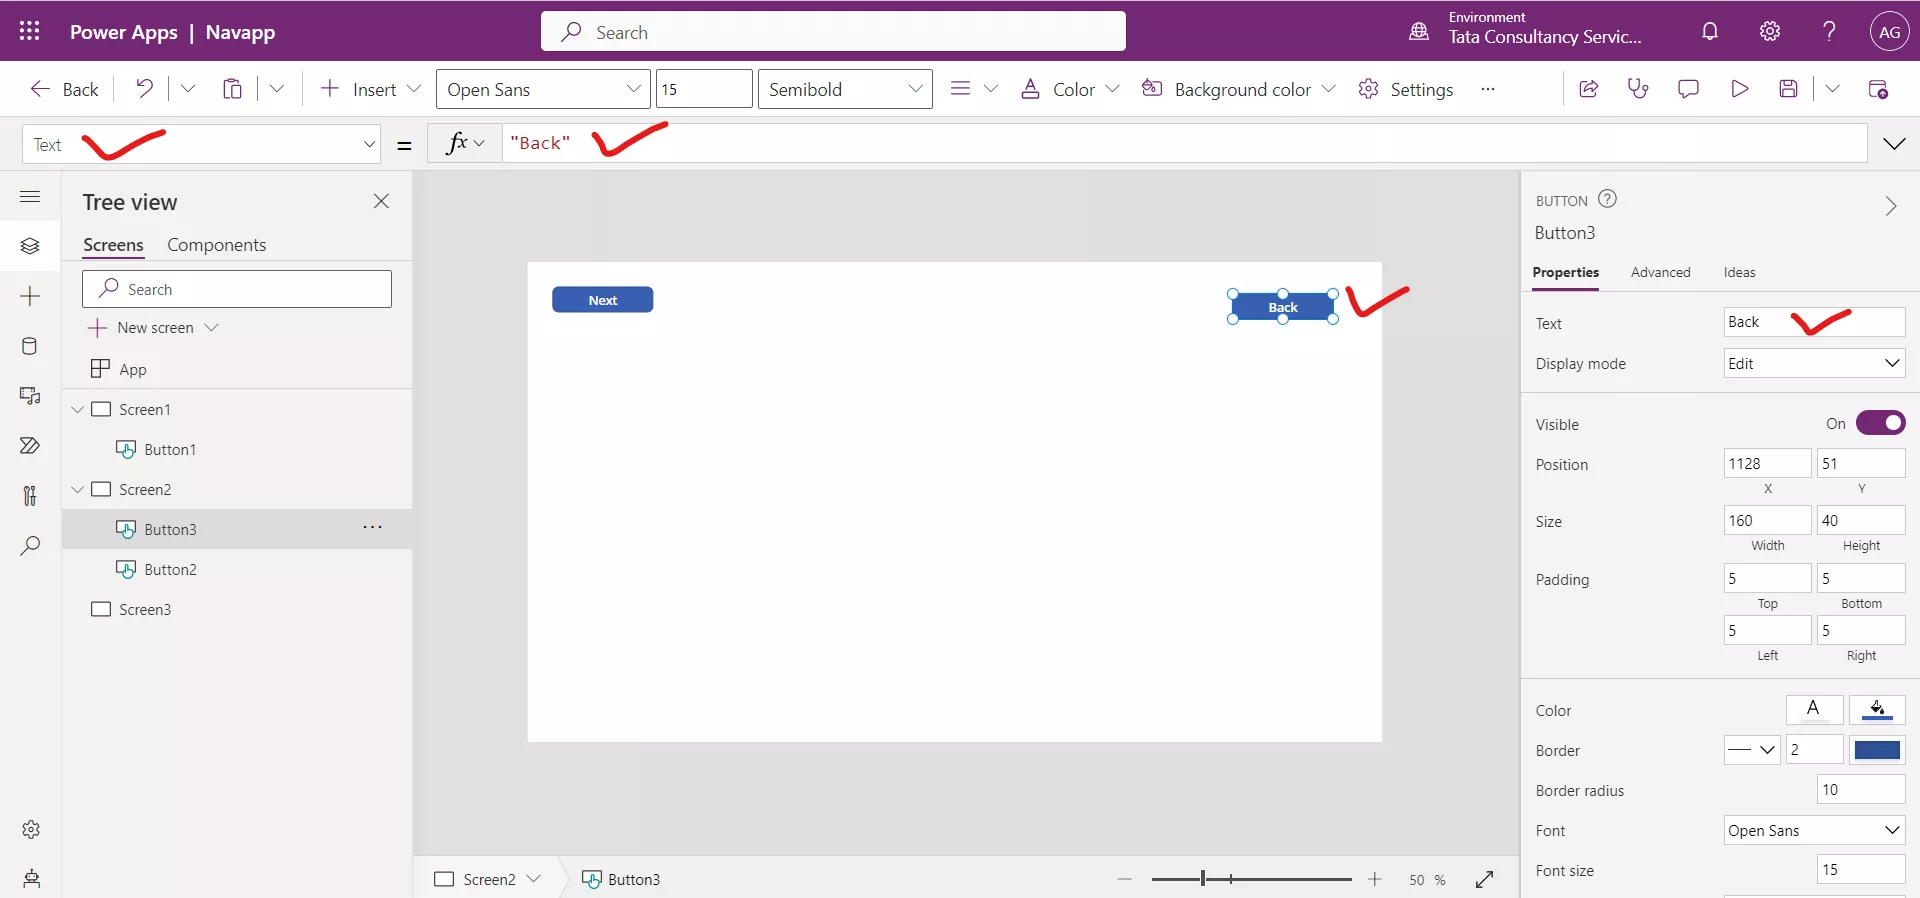
And set the OnSelect property for the “Back” button to Back().
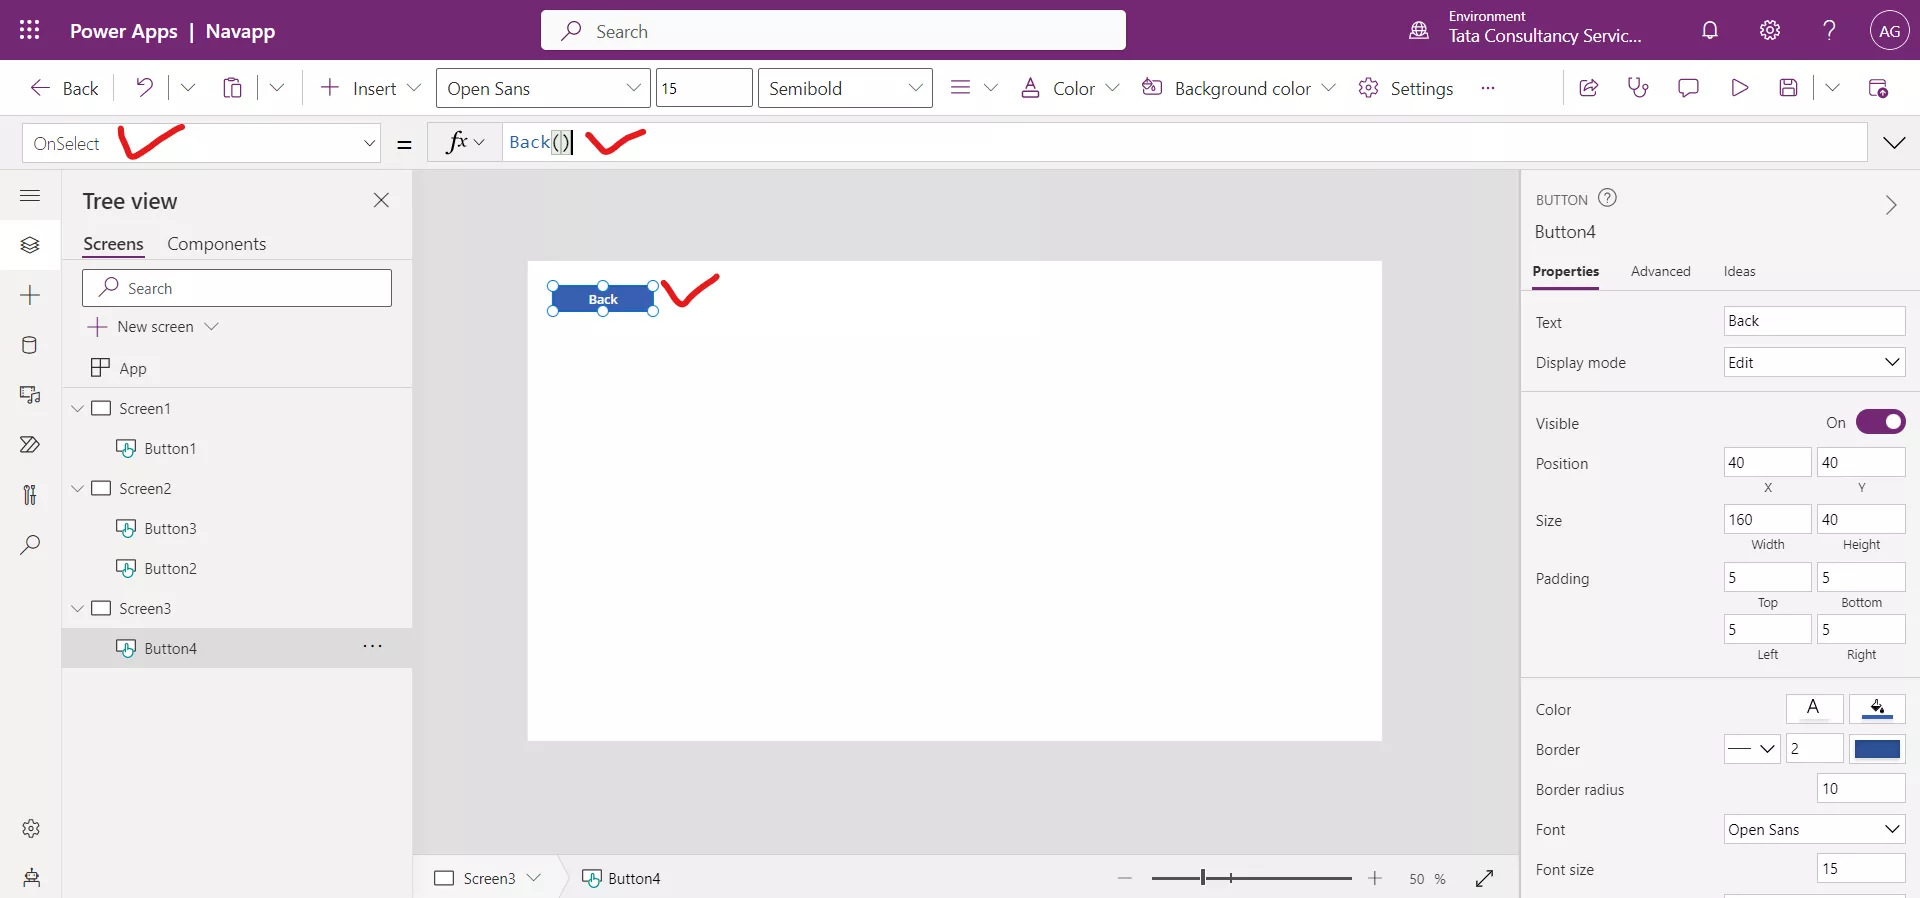
Step 5: Now go to Screen3, add a Button control, and change the Text property to "Back".
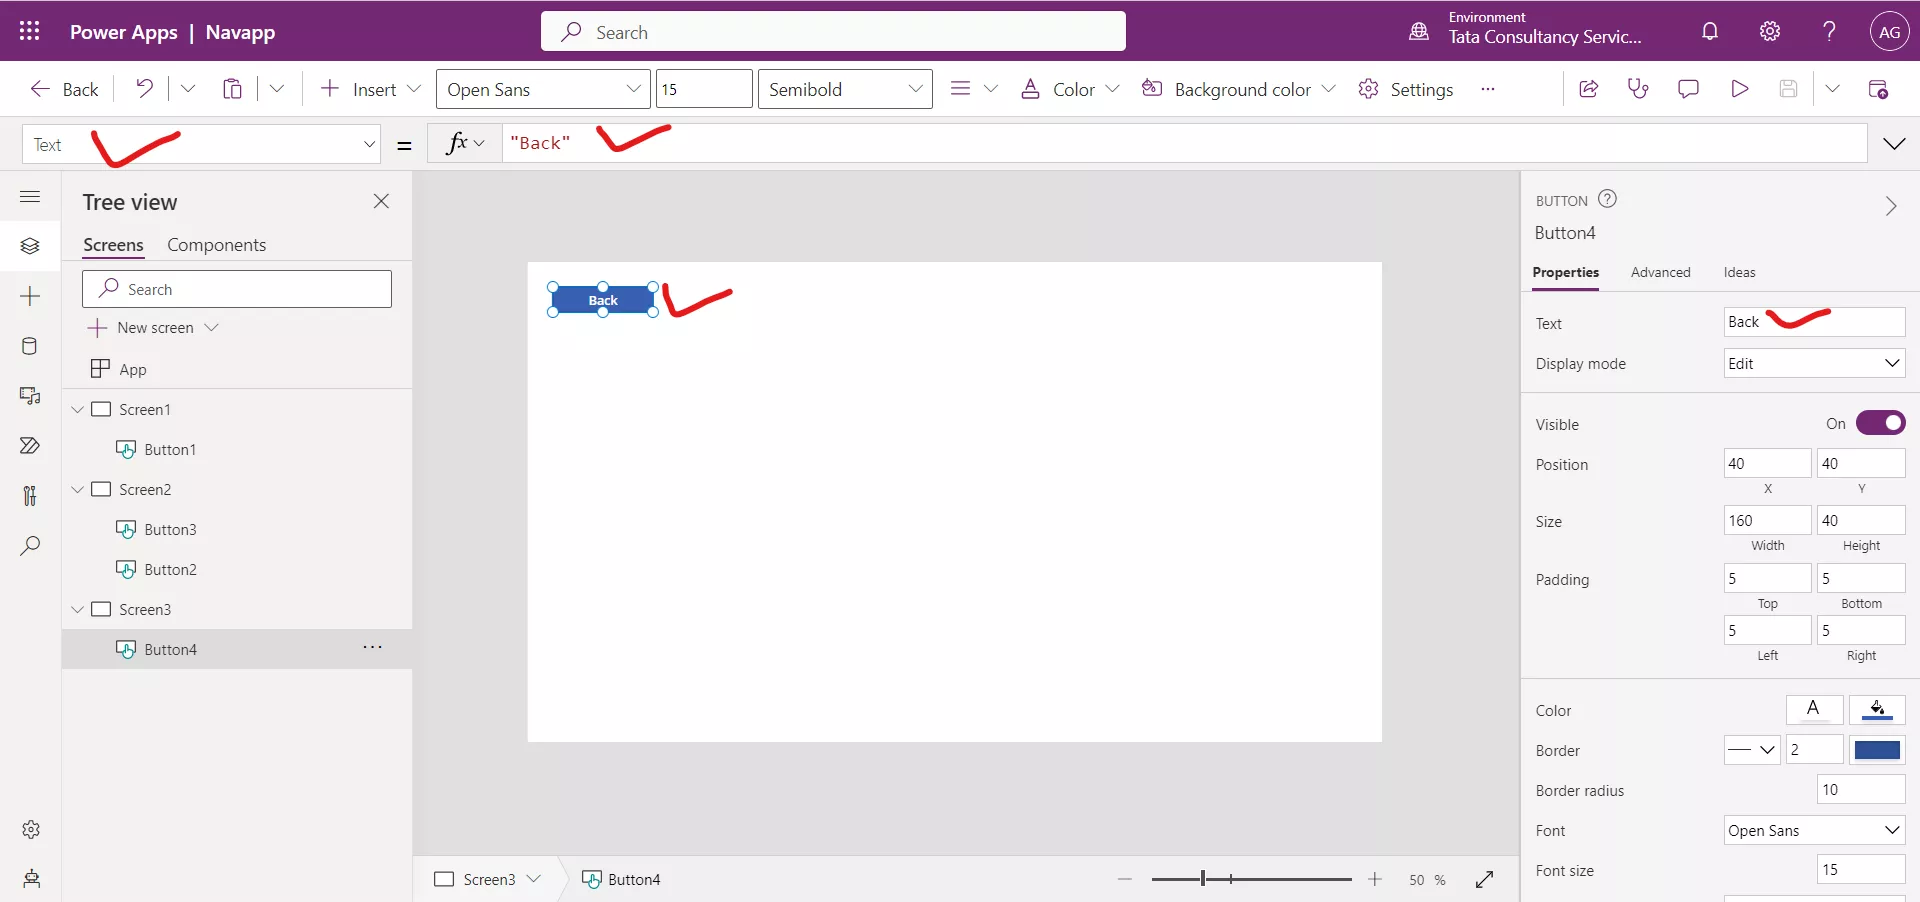
And set the OnSelect property for the Back button to Back().
Step 6: To test the functionality, select Screen1, and put the app in Preview mode and navigate through the app as a user would.